Custom Birthday Banks: Red Oak Screw-Ups & Poplar Hardwoods
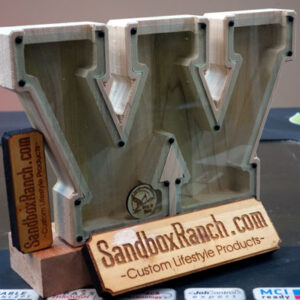
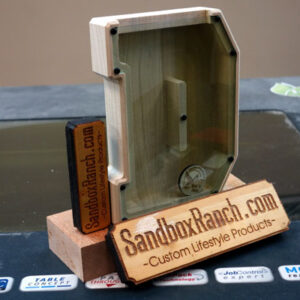
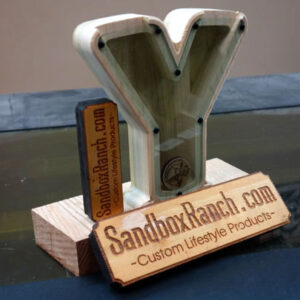
Today we’ll review custom birthday banks, the first round was red oak screw-ups (for various reasons) and then fixing it up by making another round of hardwood banks using poplar for a change.
As you saw, I also further diversified our shapes offering with a dinosaur, will be adding a lot more shapes once I’m done the rounded alphabet designs at SandboxRanch.com.
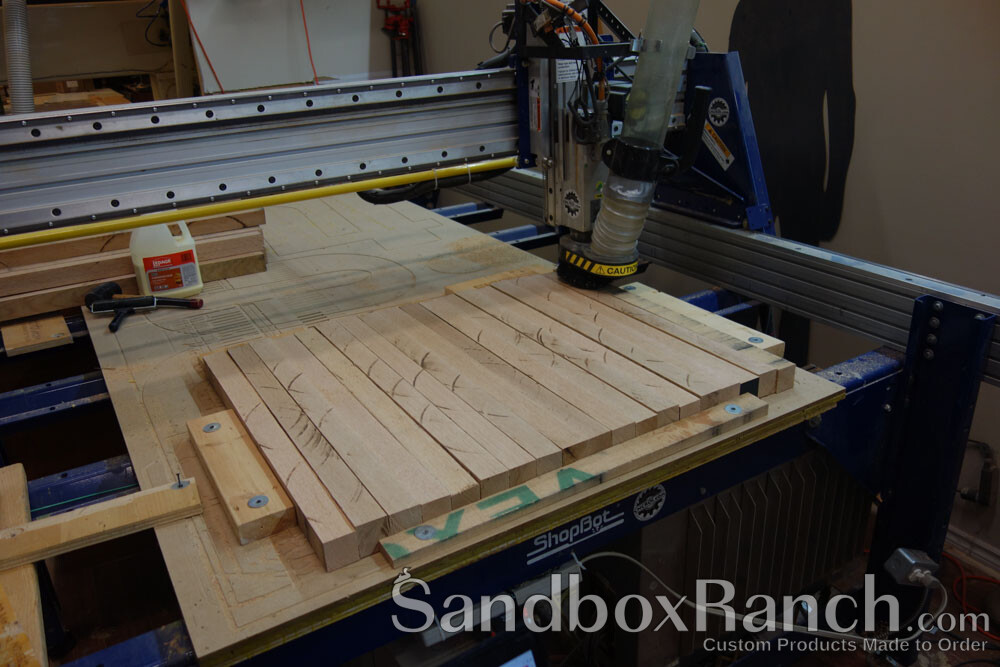
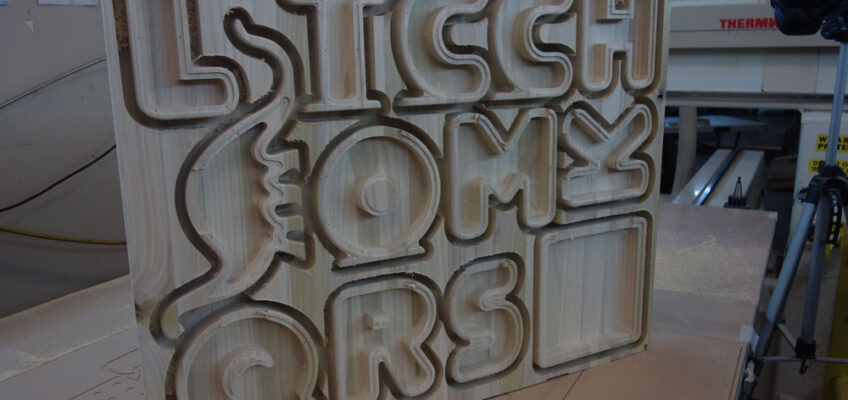
What you see in these pictures is a machine I no longer have at SandboxRanch.com, my goal after getting my Thermwood CNC router was to offload my ShopBot PRSAlpha, wonderful machine, but has now left the shop for a new home, making cabinetry for a new owner.
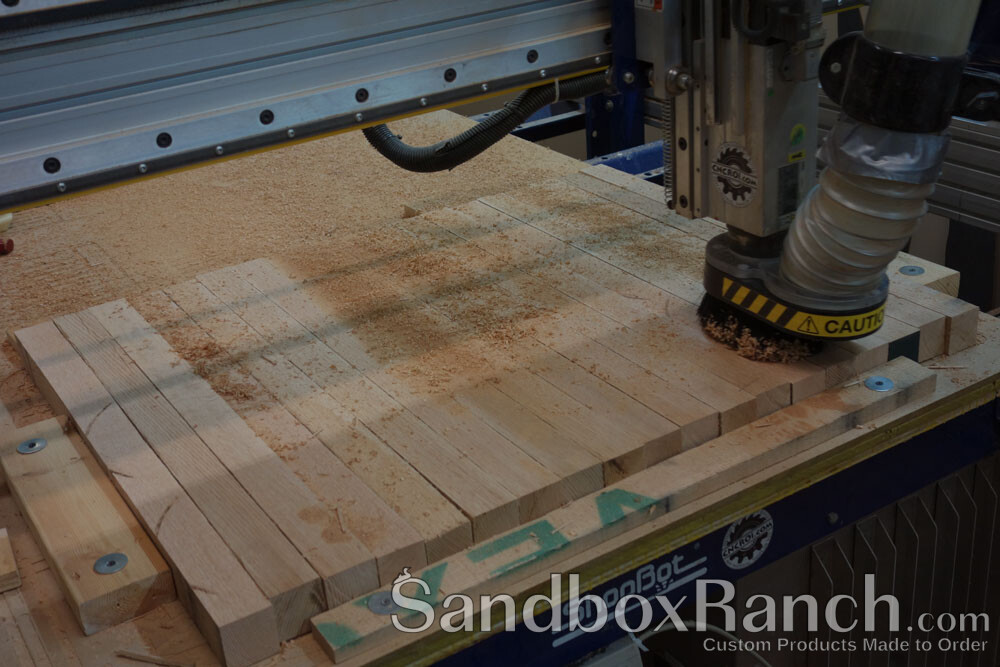
I’ve been with my ShopBot PRSAlpha for many years, it has served me very well, and its what I used to make the first round of custom banks and launch SandboxRanch.com into what it is today – I just needed too many upgrades to make it worthwhile for me, so moving to an industrial platform was the only way forward production wise for my business.
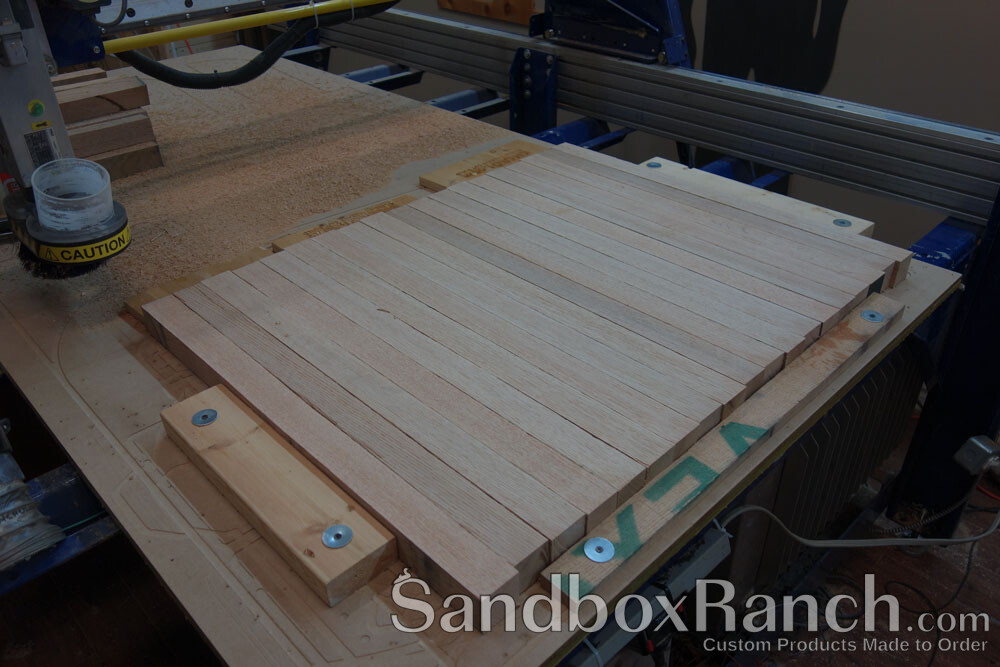
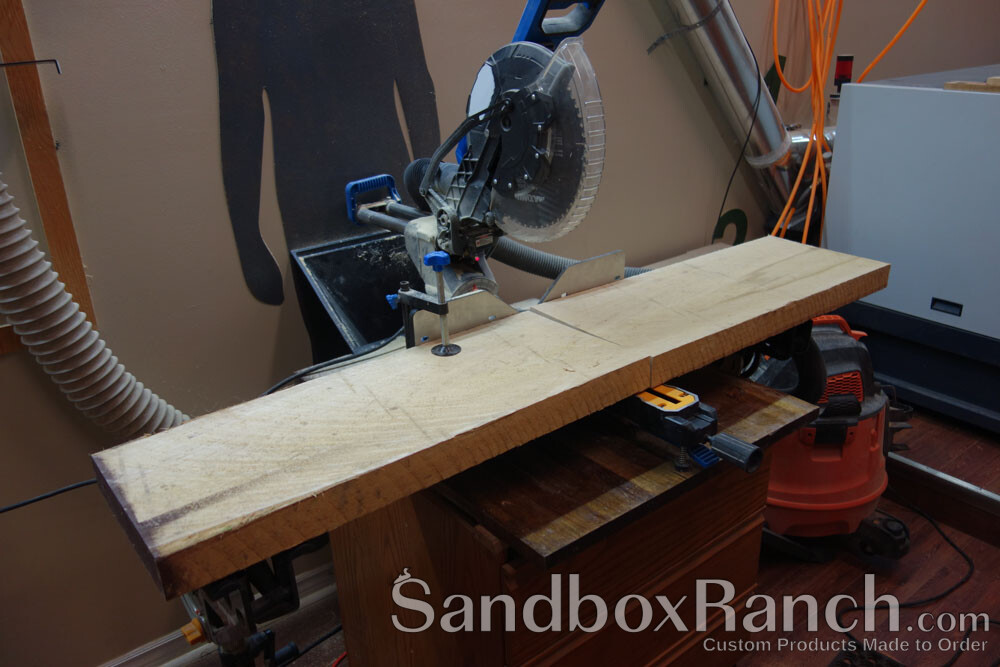
Many of the processes that I use to this day, were established on the PRSAlpha CNC router by Shopbot, the Thermwood just does it faster – in the above picture, I’m creating flat and parallel stick so of red oak so that I can then glue them edge to edge to create the laminated slab which will then become custom birthday banks.
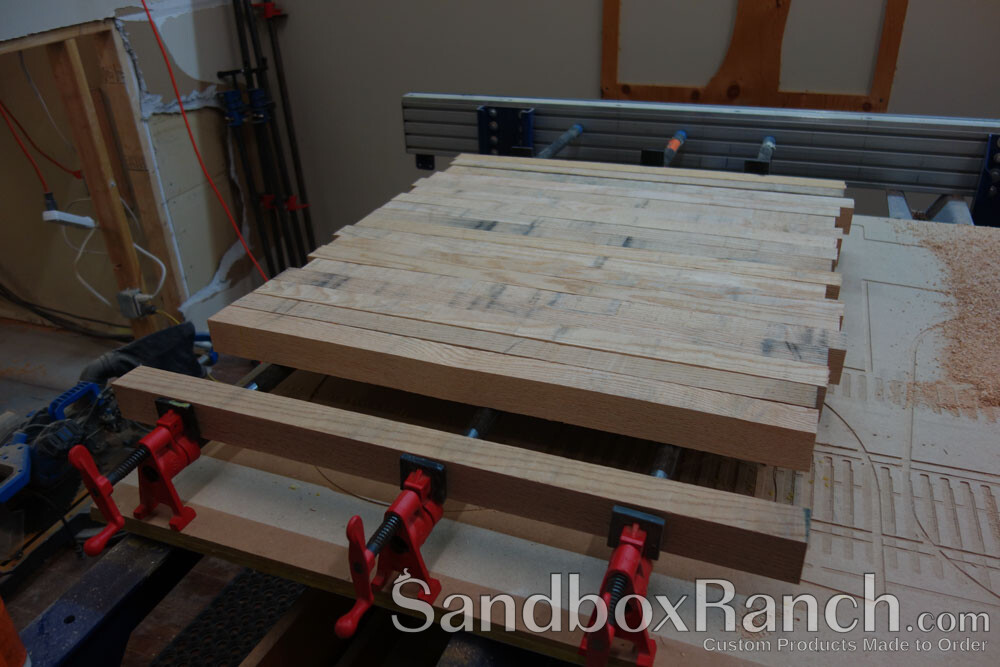
I don’t really care about the surface top and bottom of the wood because this will be cleaned-up with my router anyways before making the hardwood banks, as a result, as long as I have two clean parallel edges, the glue works just fine, essentially, I’m using my CNC machine as a jointer at SandboxRanch.com.
From custom acrylic colors to endless engraving options and even paint filling, we are offering complete customization of these banks to suit just about any desire, custom shapes through sizing even!
I’ve been slowly migrating production of the custom birthday banks over to the Thermwood, it has a rigid structure and a tool changer, making production way easier and more efficient.
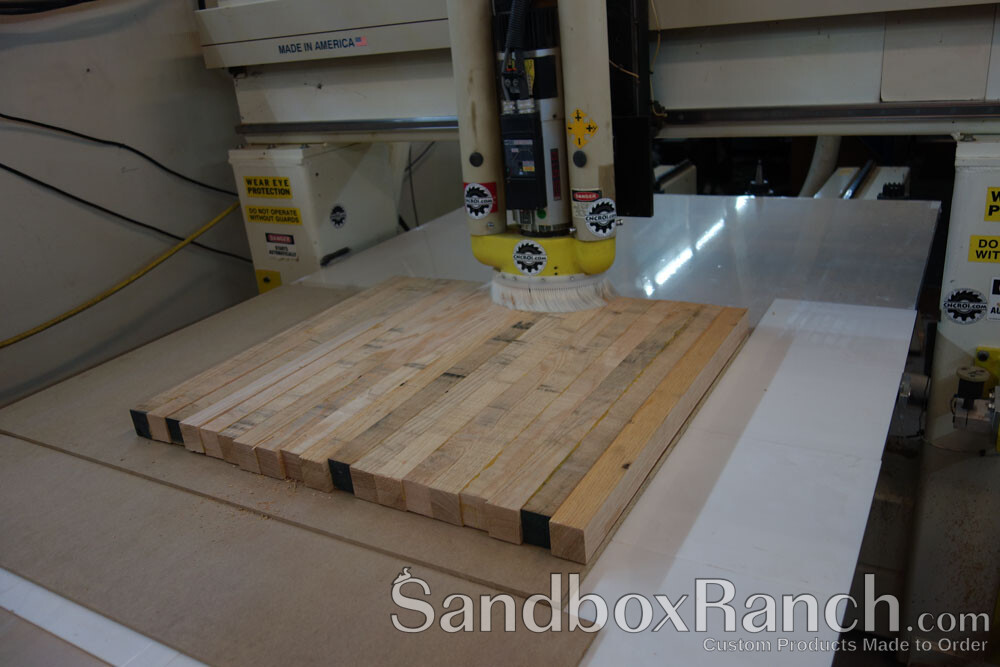
After flattening both sides, yet again, after the glue-up, the next step is to begin making custom red oak banks at SandboxRanch.com.
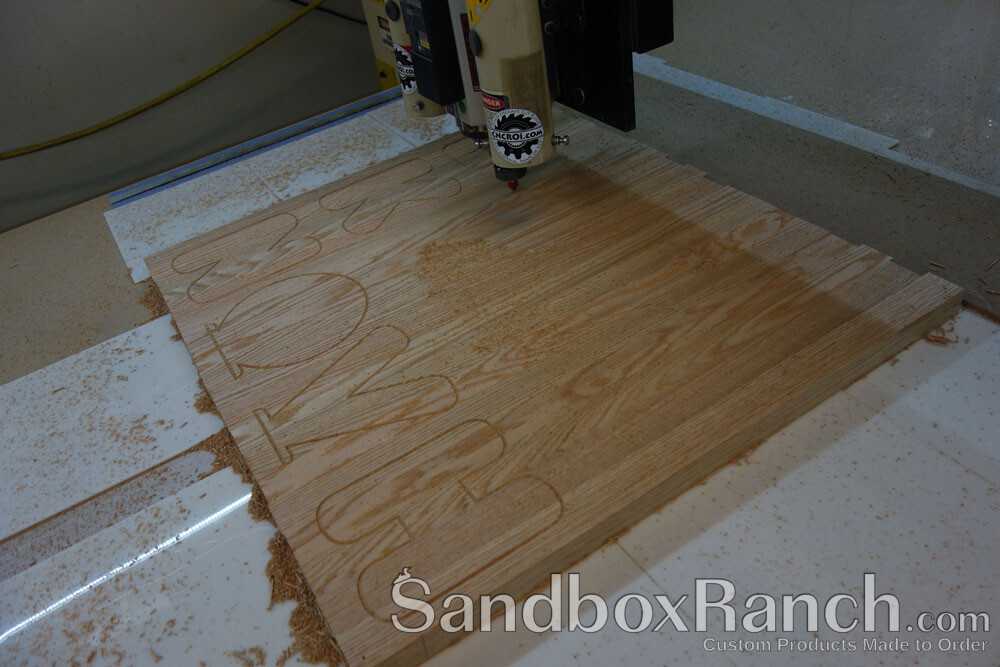
You can already see that things are looking rather rough, I wasn’t sure what was going on but a few things seemed off when I was making this round of rounded custom birthday banks.
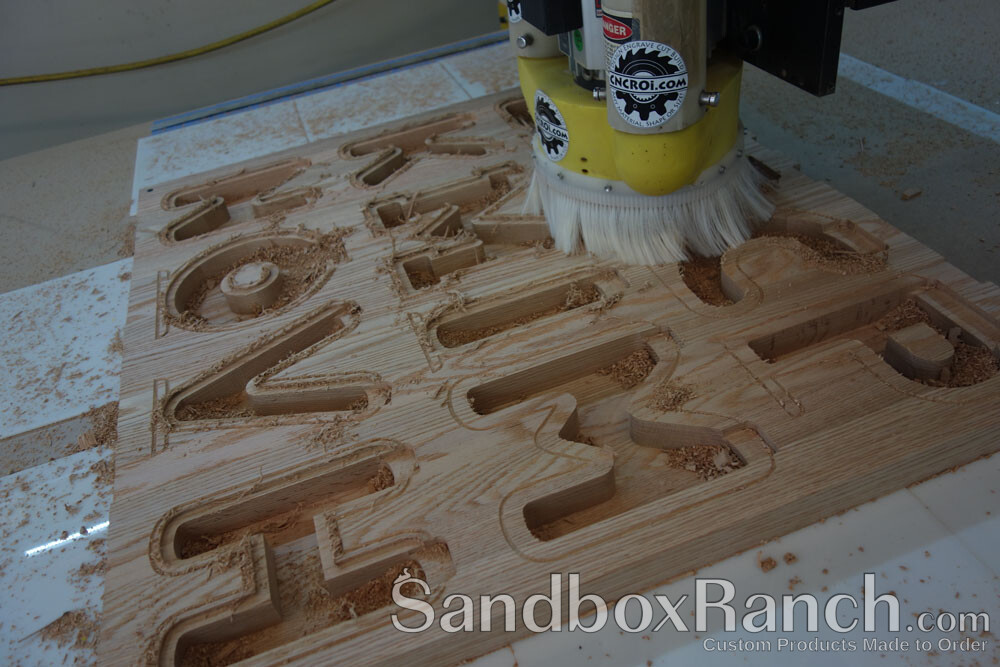
Somewhere very early in the production of these banks, the tips of the router bit sheered off by about 1/16″ on both sides, which means that basically, I was 1/8″ “off” everywhere the tip of the finishing bit did its work, and this is the most important part of the bit for making these hardwood banks.
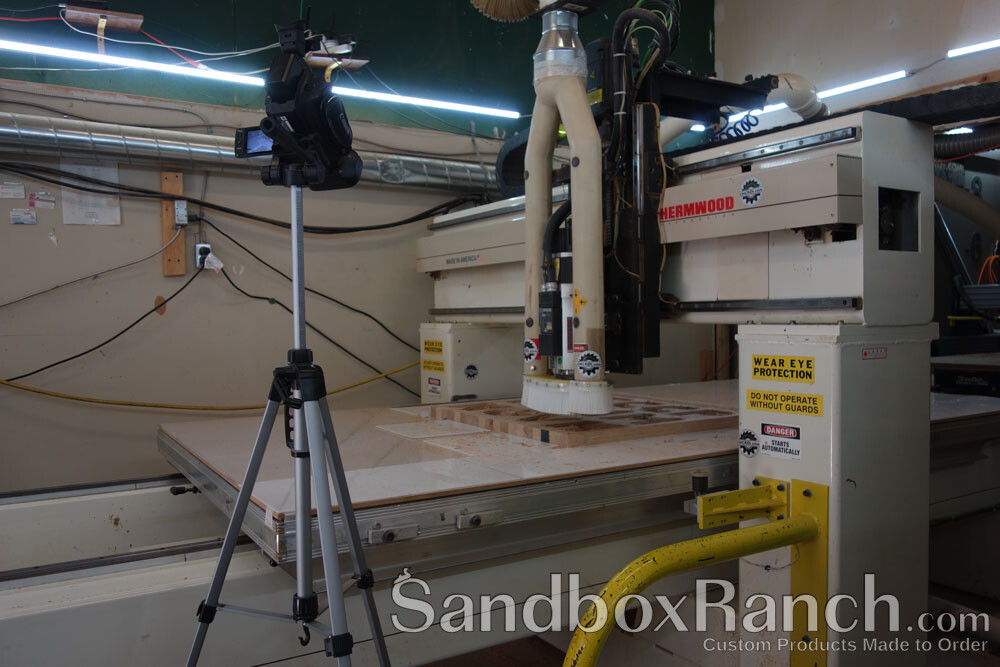
As a result of this bit chipping, without any clear reason as to why it happened, what I produced out of the red oak wasn’t saleable, I was able to fix-up a few of them so it wasn’t a total loss, but it’s frustrating regardless to go through all this work to produce a bunch of banks just to essentially make scrap out of it.
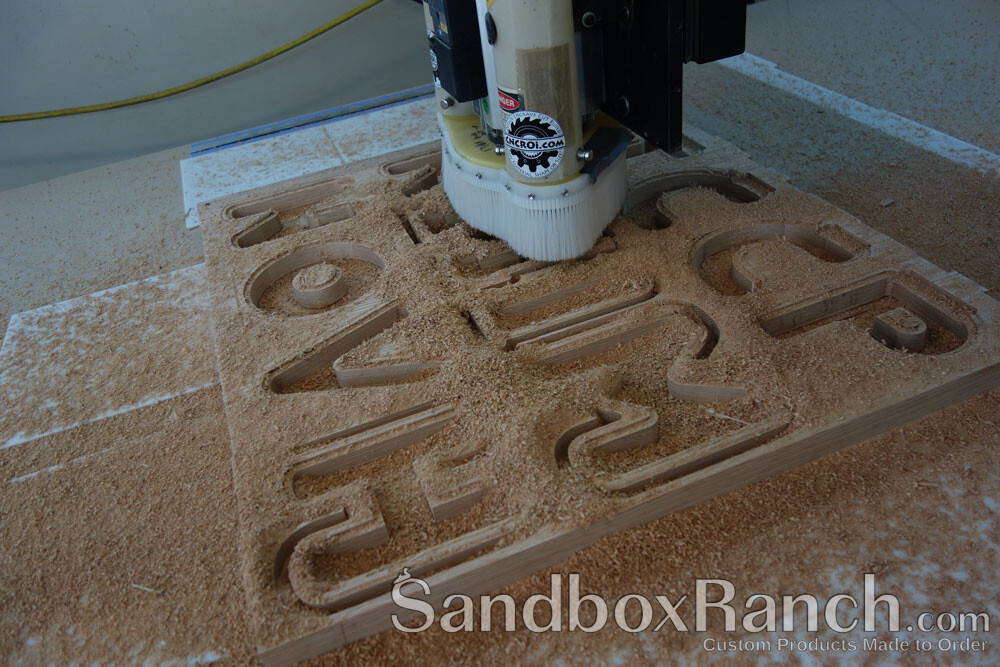
I’ve made a ton of red oak banks at SandboxRanch.com, so the next step is to further diversity into wood species, hardwood to start, as it makes things fun at the shop, diversity is an enjoyable thing when it comes to woodworking.
You can see below the symptom of the problem, these I was able to fix-up during production but the rest were no good, this has to be manually sanded, which is a step I can’t really do in full production as I have a lot of banks to make and sanding takes way too much time to do properly.
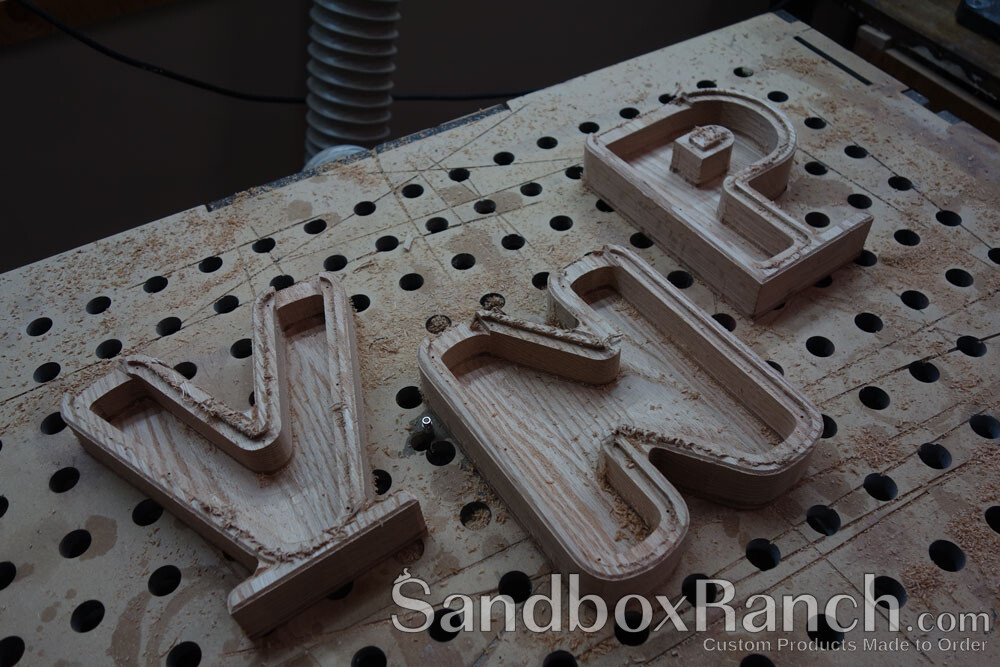
No problem though, I have some hardwood poplar in the shop and I decided that we’ll make another round of custom birthday banks using this material at SandboxRanch.com!
I started with red oak because it’s a very hard hardwood, this is a softer hardwood, but keep in mind, as mentioned in the video, there is some deviation in hardwood densities, meaning some red oak sections can be as soft as poplar and some sections of poplar can be as hard as red oak.
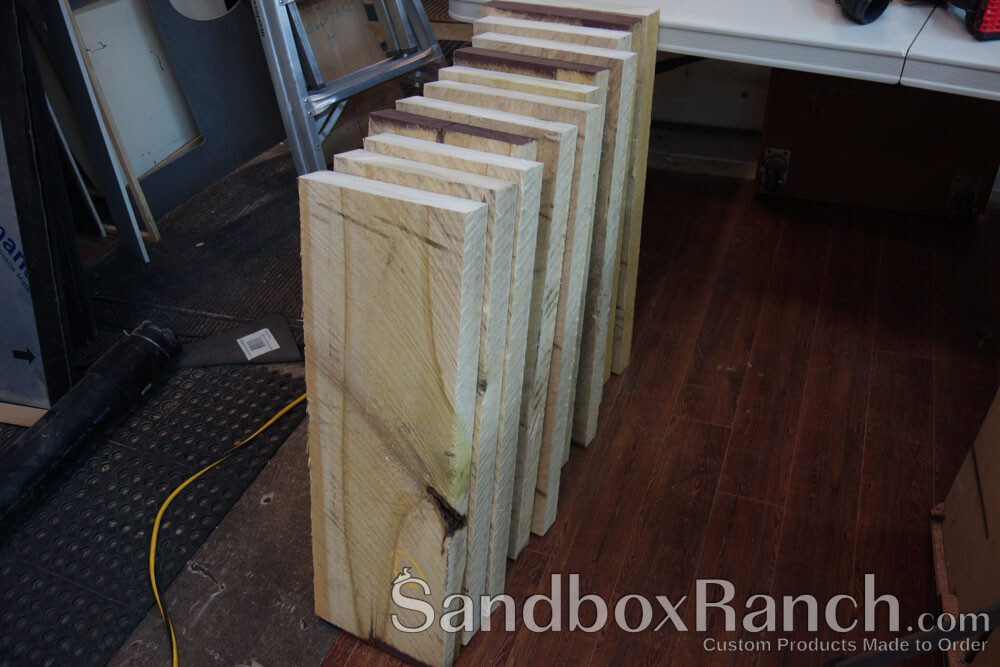
After cutting down the kiln dried poplar lumber, the next step is to convert it into sticks that will then be glued together to form a slab that is then transformed into another batch of custom birthday banks at SandboxRanch.com.
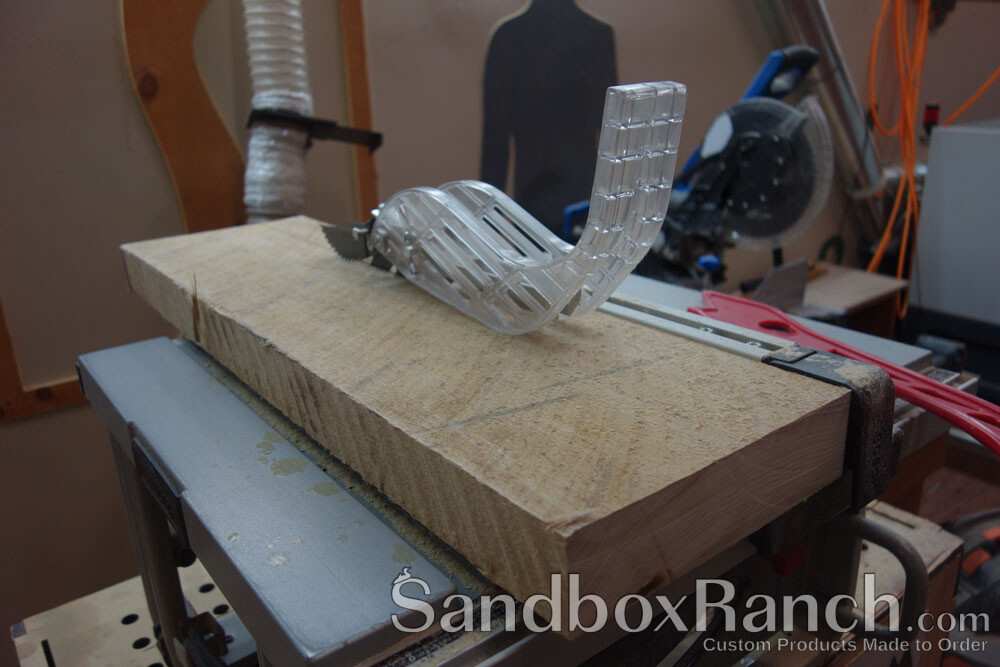
No longer having the ShopBot PRSAlpha in the shop is a sad thing, it’s in a good home though, but this provides me with an opportunity for SPACE that I can better utilize, making production far more efficient, from using my chop saw to table saw to transform lumber into banks.
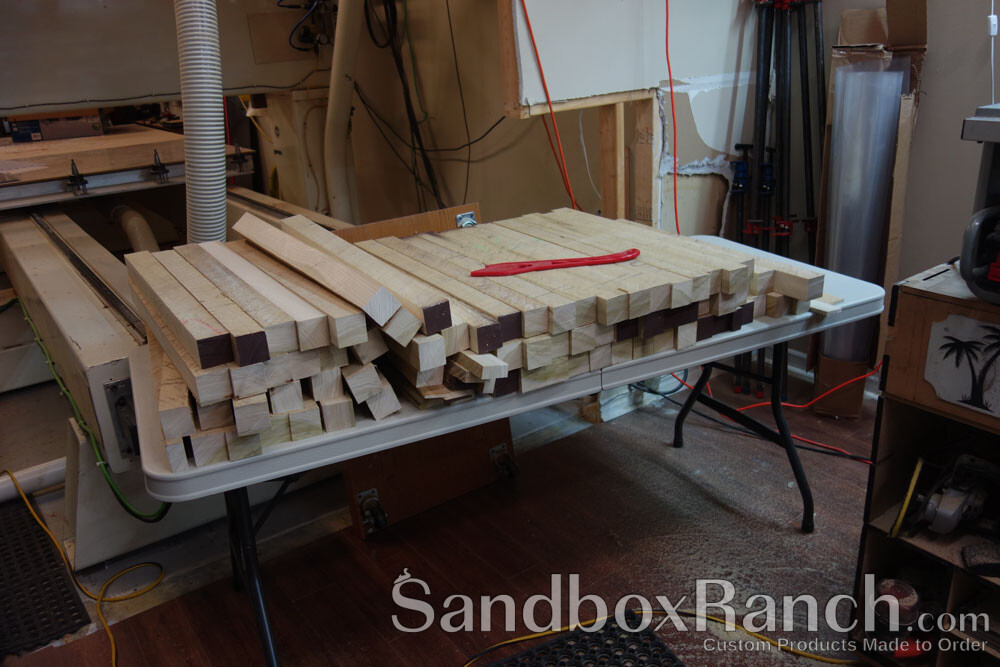
I can’t really screw things into the spoil board of my Thermwood as I could with my ShopBot, so that means creating a jig to hold the sticks together to flatten both sides and make them parallel, yes, welcome to my new 5ft x 10 ft jointer!
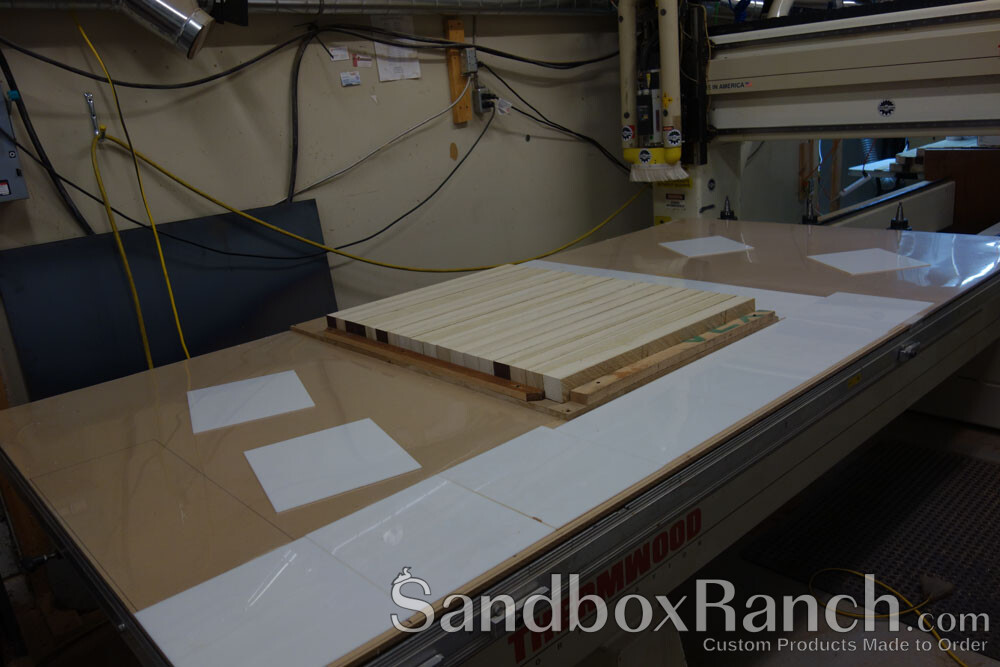
Custom shapes is something I want to drastically increase the number of on the website, the reason being, literally any shape can be made as we are essentially making one bank at at time, what the actual bank is, makes no difference to our machinery.
As poplar is a light colored wood without a very strong grain pattern, it can be hard to see what was flattened and cleaned-up, so I’m using pencil lines in order to mark the surface and once they are all gone, I know that every surface is dead-flat for the custom birthday banks to be able to move forward.
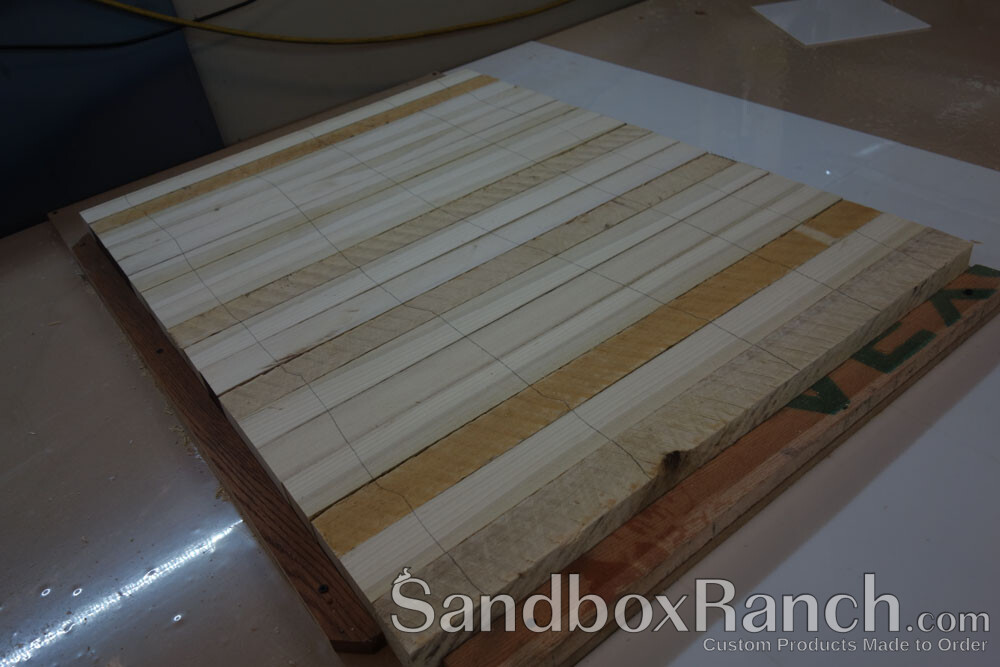
I really love my new jig, it does a wonderful job of holding the wood in place while I clean-up all the surfaces to get it ready for glue, having exact flatness means you barely see the seams in the wood slab after glue has been applied, the joints are that tight and flush to one another!
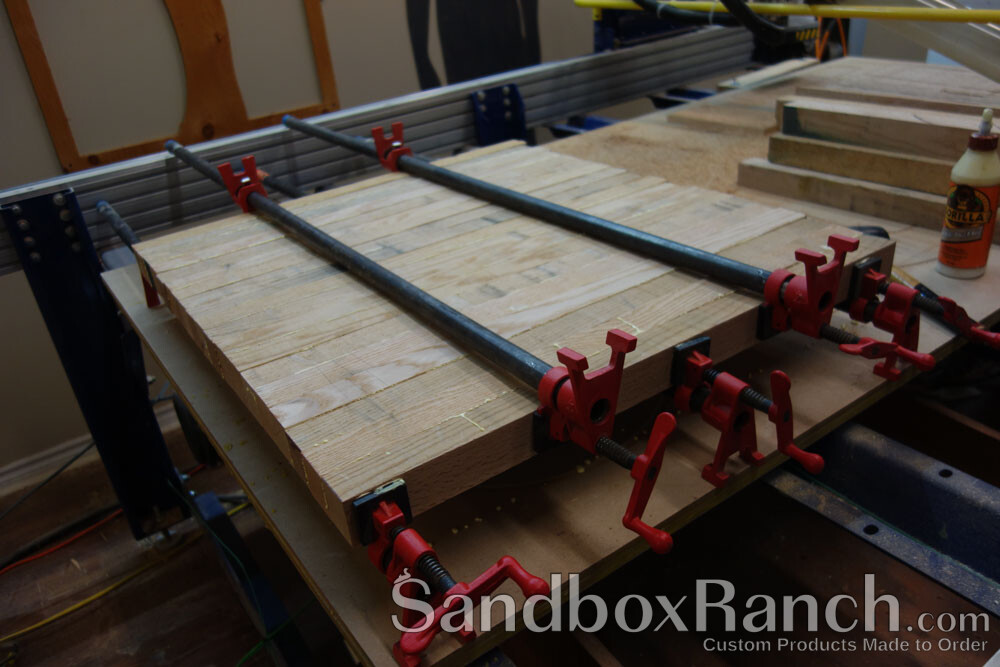
As you saw with the red oak slab earlier I screwed-up on, the glue-up happens in much the same way, regardless of species, I like having big slabs to work from as it makes overall production more efficient to make a dozen at once rather than just a hand full when the time comes at SandboxRanch.com.
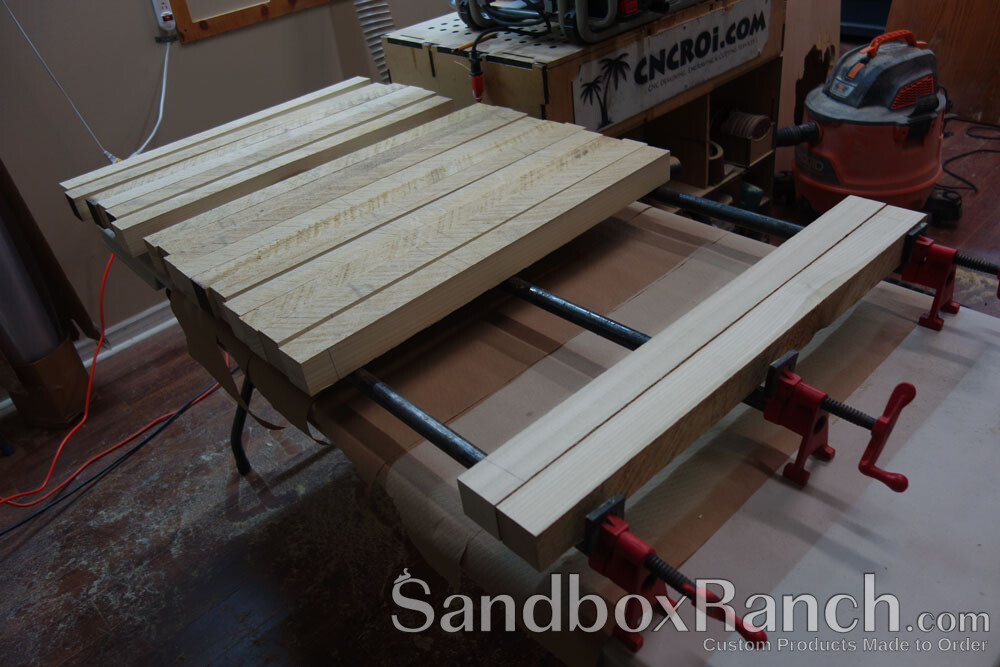
I generally let these dry for a few days, the glue that you see may dry overnight, but the glue inside that isn’t in contact with much of any air may need a little more time to settle, I want to make solid custom birthday banks, not banks that have gluing problems the moment I cut them out with my CNC router.
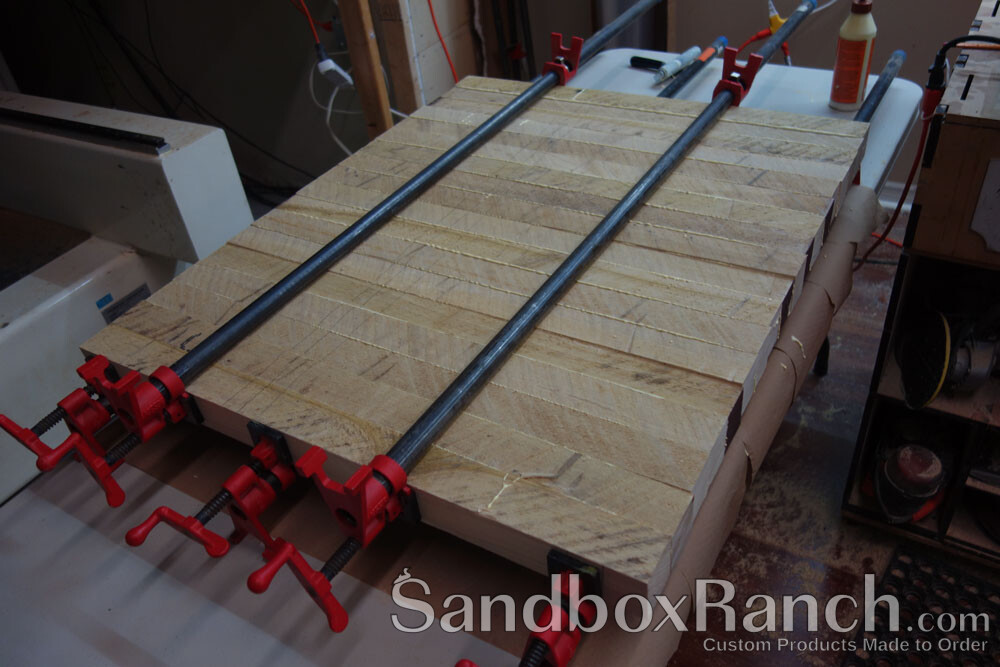
As you can see, there is quite a bit of woodworking involved with making these custom birthday banks at SandboxRanch.com before they are even produced, and that’s what makes it fun, each design mix applied to the finished slab is different as is the grain pattern on the finished banks we make.
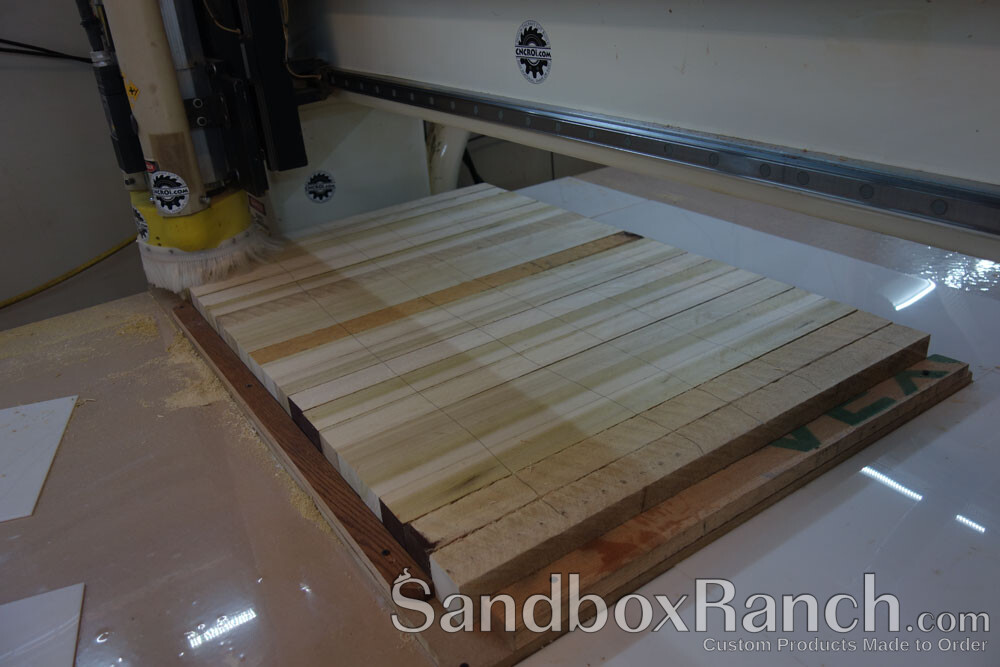
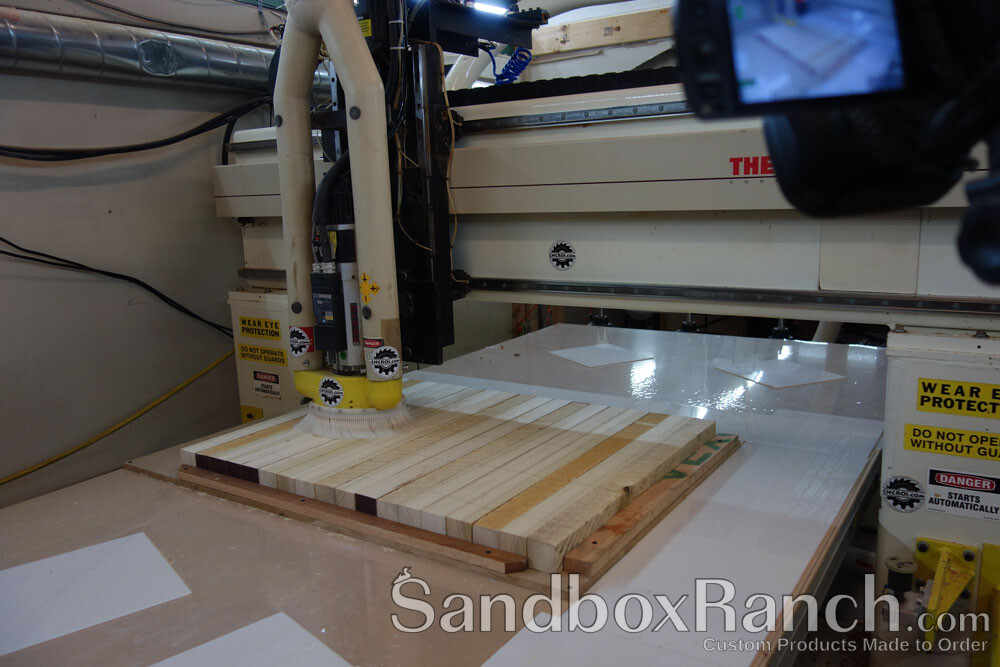
After the glue has dried thoroughly, I stick the newly minted slab of poplar (in this case) onto my Thermwood CNC router, it will then proceed to flatten both sides and make them parallel, which means awesome custom birthday banks!
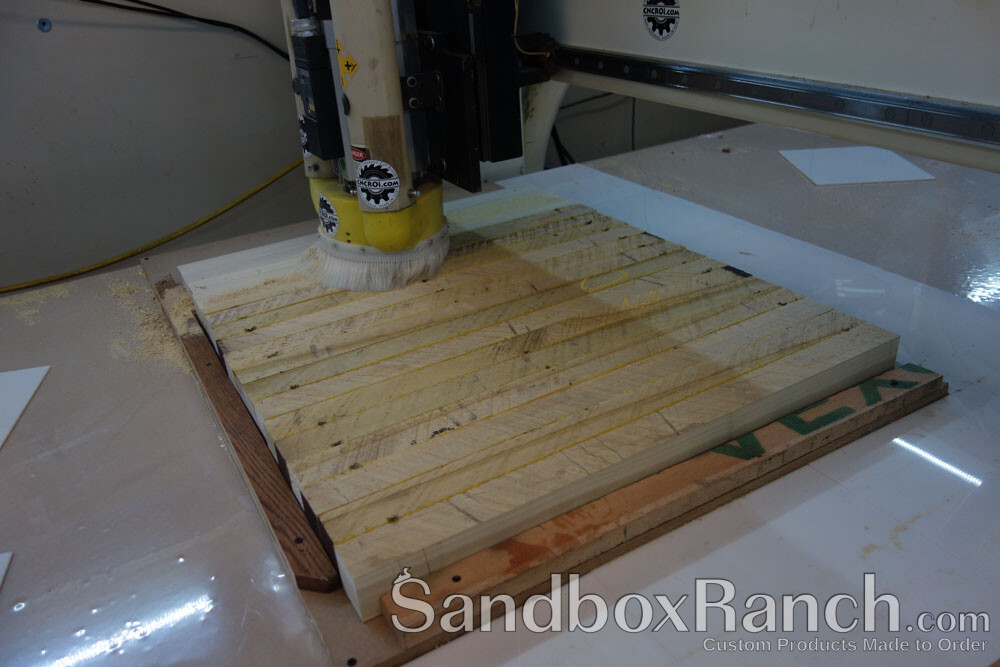
Each step of the way thus far, I’ve been making saw dust, so the original poplar hardwood has gotten shaved repeatedly on all sides, and the final step is almost upon us before we can proceed and make custom birthday banks.
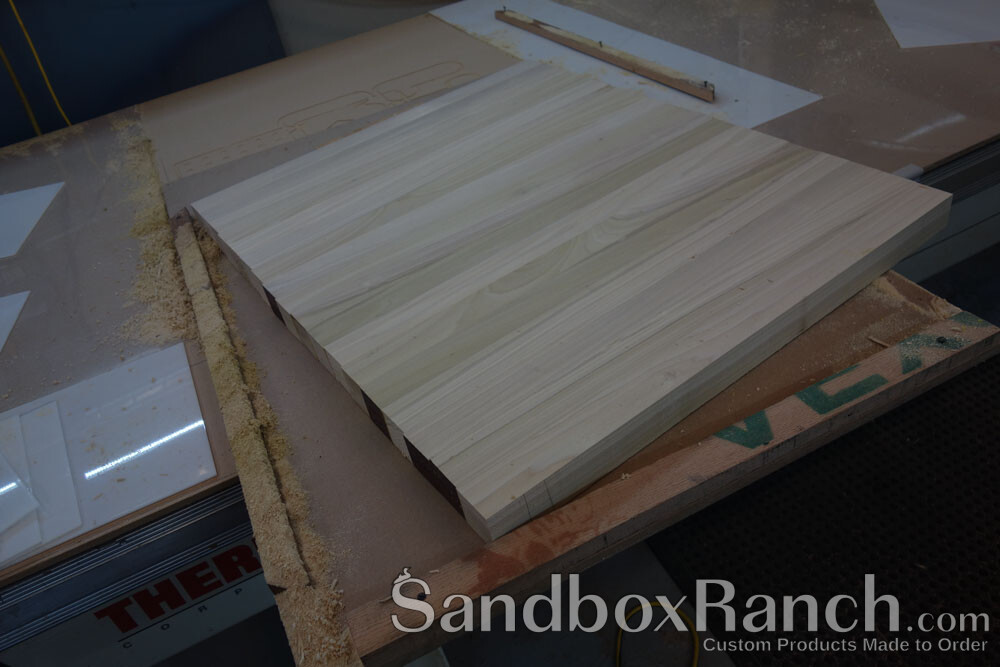
We are now more than 6 months since my first attempt at making these custom hardwood banks, as you can see, many of the processes and even machinery has changed, I use to make all of these using only two bits, as I had to manually change them which is a pain, now I can mix and match four of them with more on the way.
Once the slab is flattened on one side, I flip it over, no longer requiring my jig, and begin flattening the other side, this will be the side that ultimately becomes the front of the custom birthday banks that SandboxRanch.com is making.
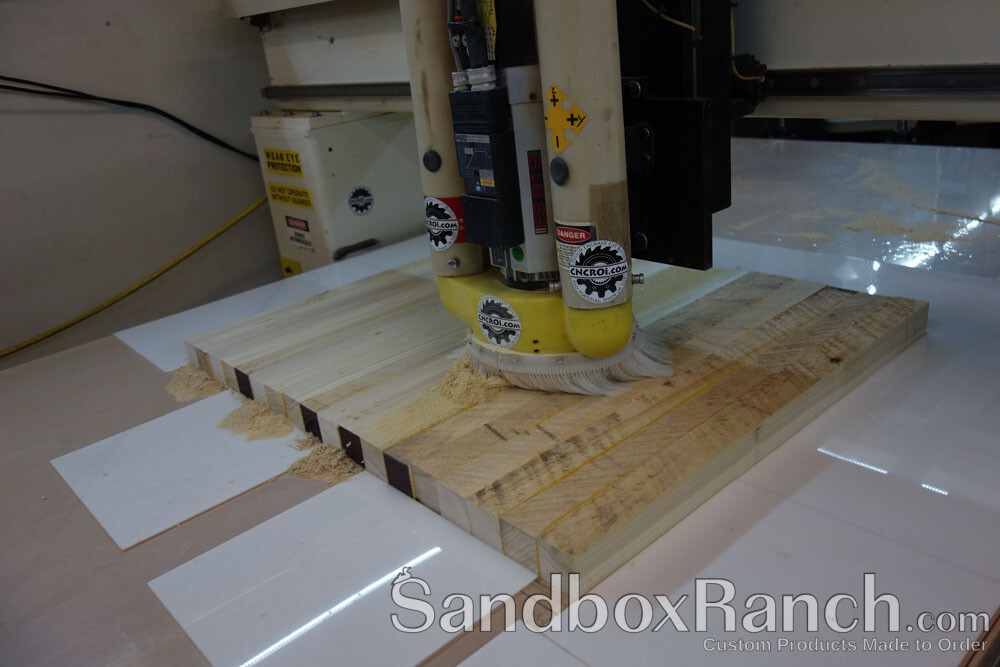
As part of my ever-increasing checklist of things to watch for, making a chamfer on all the edges reveals to me that my design is sound, and that everything will fit accordingly, if you look at earlier videos of me making custom hardwood banks, I didn’t have this step all the time and as a result, yep, made lots of scrap in the process.
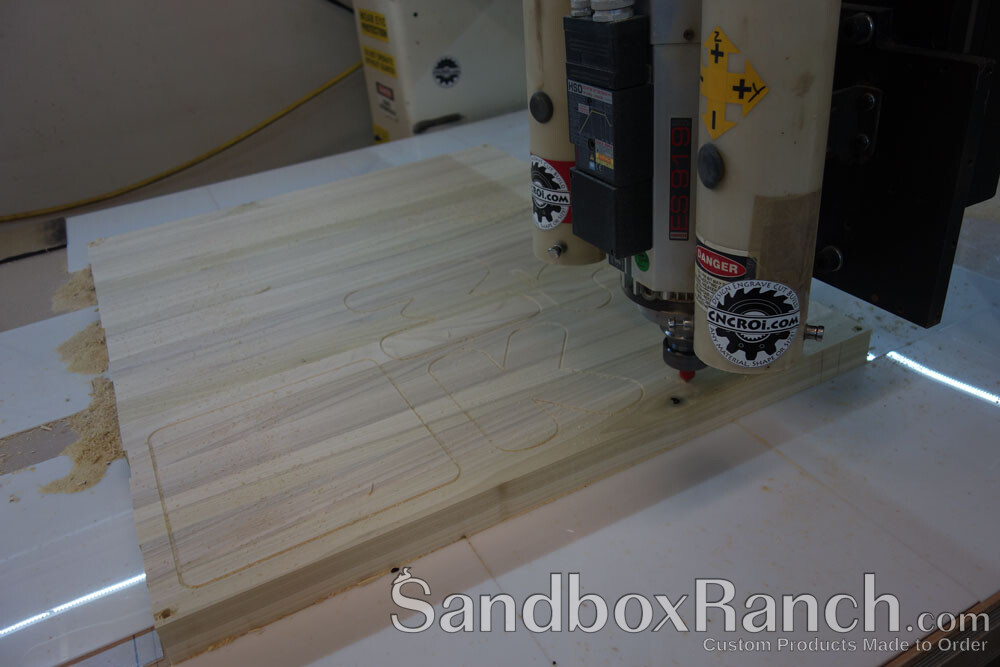
After the design is sound, I can then go into full production, I’m currently limited to four bits to make each one of these custom birthday banks but I make the most out of it, you have the roughing bit, the finishing bit, the chamfering bit and the drill bit – having more would just make things go faster but the quality would be the same for SandboxRanch.com products.
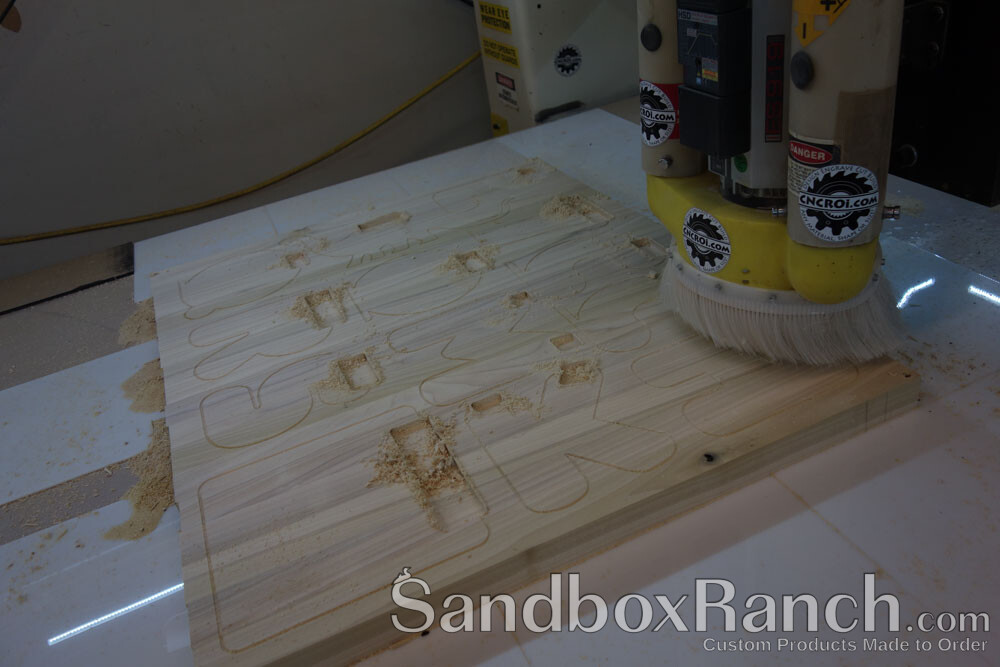
The more I can fit on a finished laminated slab, the better use of the hardwood I get, so I try to squish as much as possible and as you’ll see when production is done, there is very little wasted at the end of the wood chipping day.
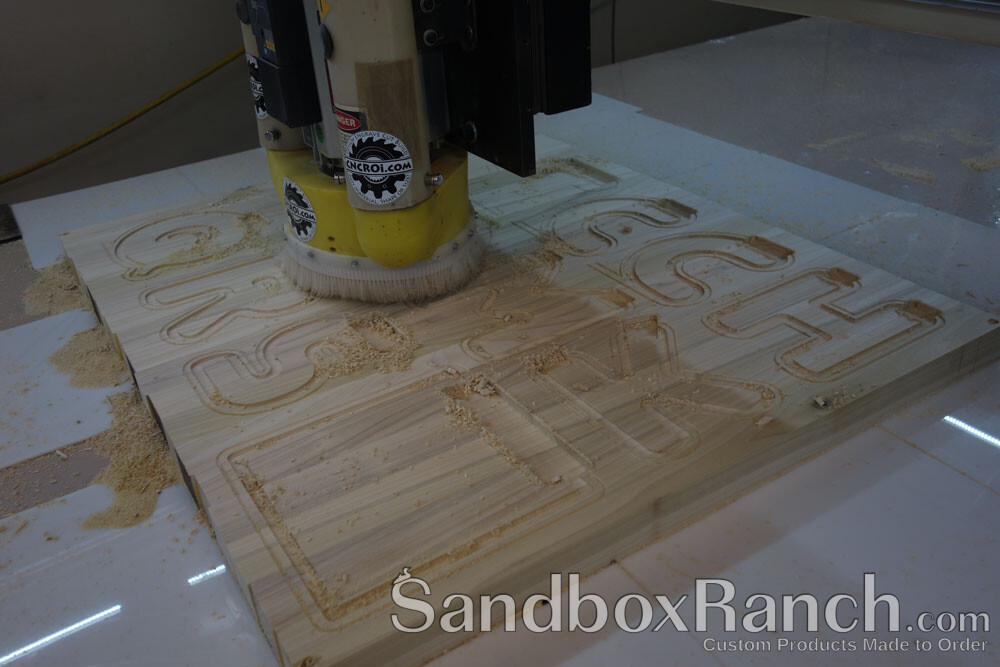
I’ve used poplar many times before, it’s a wonderful wood whose aesthetic fits perfectly with the rounded look and feel of these custom birthday banks, the grain is subtle, the color is more muted and the durability is still awesome for SandboxRanch.com customers!
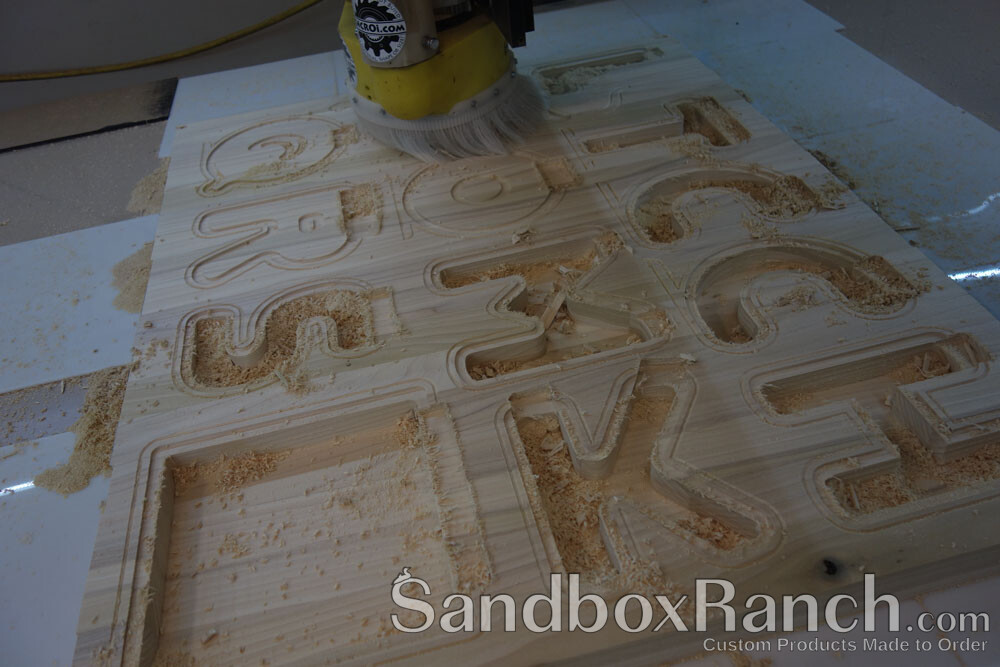
You can see immediately that the finish on these custom birthday banks is a lot cleaner than on their screwed-up red oak cousins, I replaced the bit with a fresh one and threw-out the chipped one, still have no idea what the other one hit but we’ve certainly moved on since then at SandboxRanch.com.
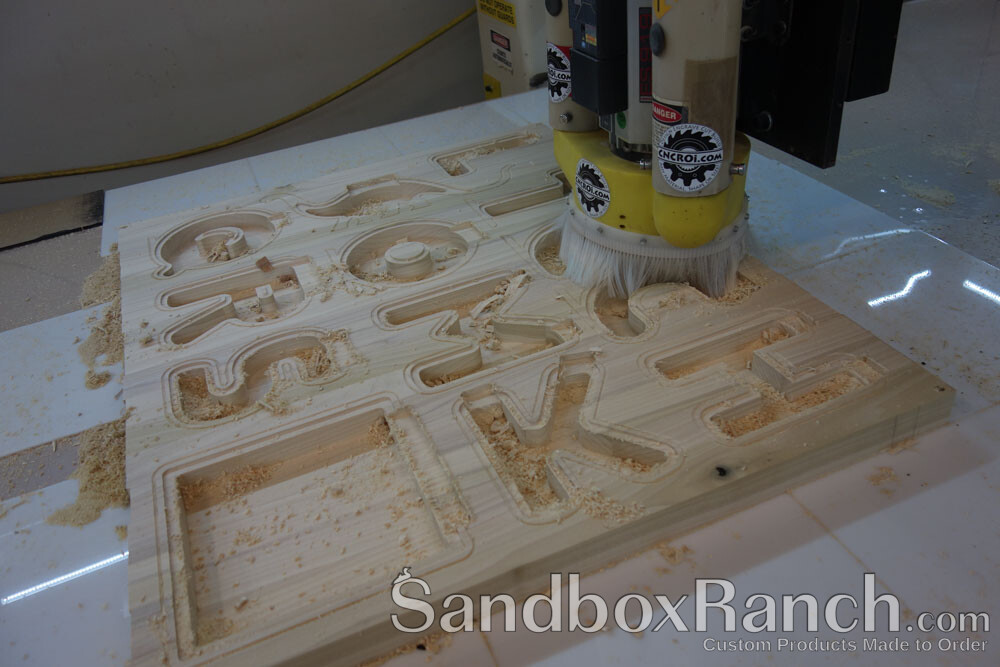
Having custom options is important, and my goal with this business it to bring a little custom to everybody’s lives, banking is only the start but an important one to achieve this milestone globally.
Periodically, you saw in the video, me vacuuming the surface of the production area, the reason for this are those little pieces of stray hardwood that can be flung across the shop if they get hit the right way by our CNC router, though this possibility has lessened quite a bit with the dust hood.
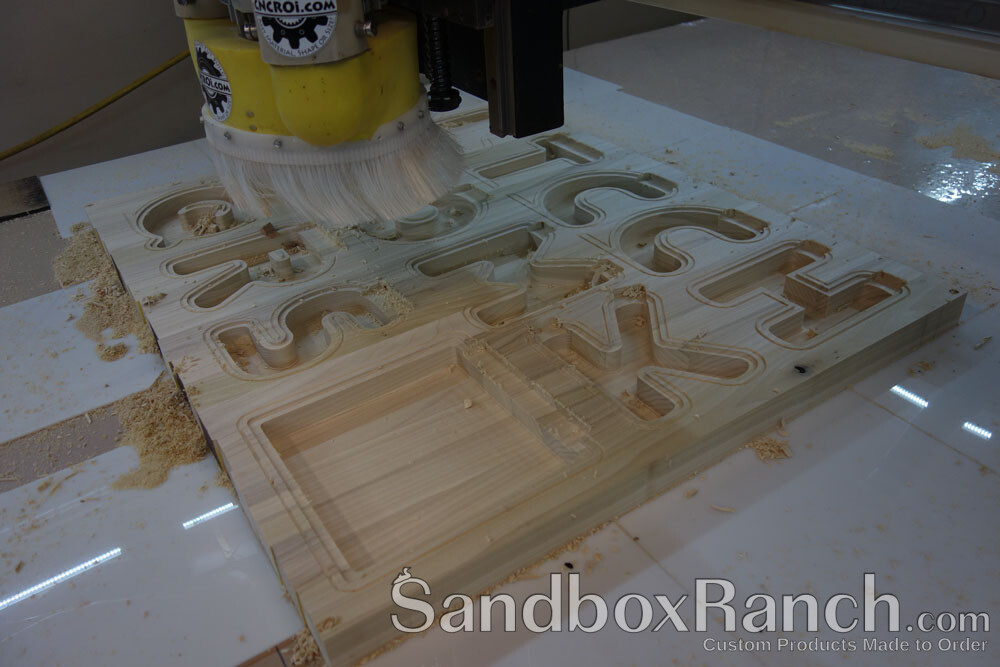
You can see now in the photo below the drilling bit I use to make the holes in the banks, I use to do this with a regular drill and wow, this is so much easier and consistent, and the holes match perfectly the holes made into the acrylic from our CNC laser, so the entire assembly process is dramatically more efficient at SandboxRanch.com.
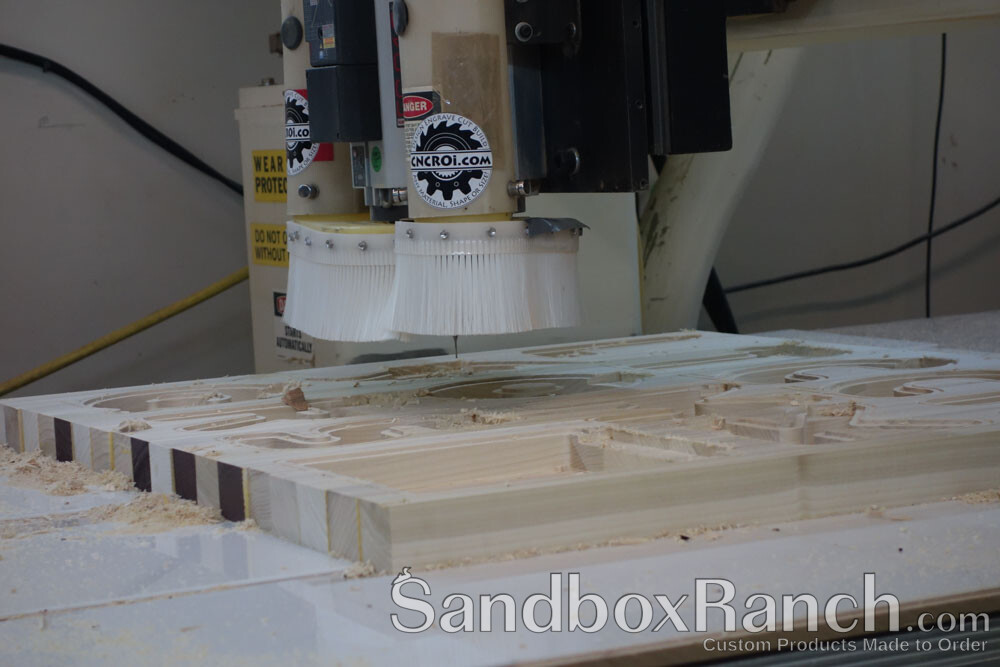
After the drill has done its magic, it’s time to move onto the rouging and finishing bit once more, that’s where having a tool changer really comes in handy, because I don’t have to re-do the Z-axis zeroing each time and go through the process of manually changing them between each process of transforming this slab of poplar into custom birthday banks.
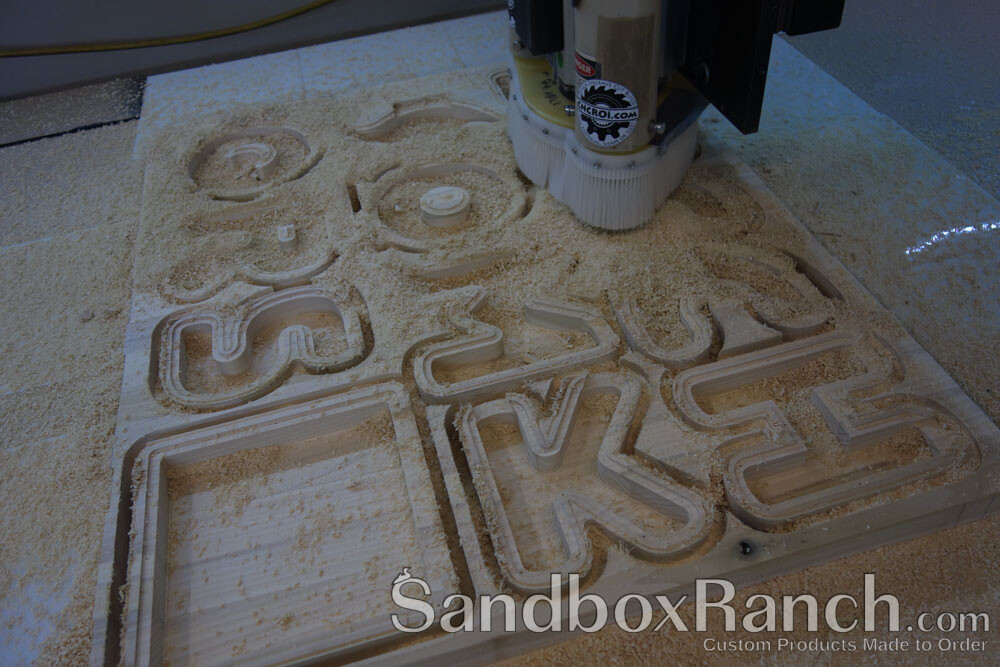
Below is what you see straight off the machine, a few splinters and wayward pieces of wood that need to be cleaned-up but overall, these are almost ship ready right off the machine, a process that has taken MONTHS to achieve on both the machine and design front at SandboxRanch.com.
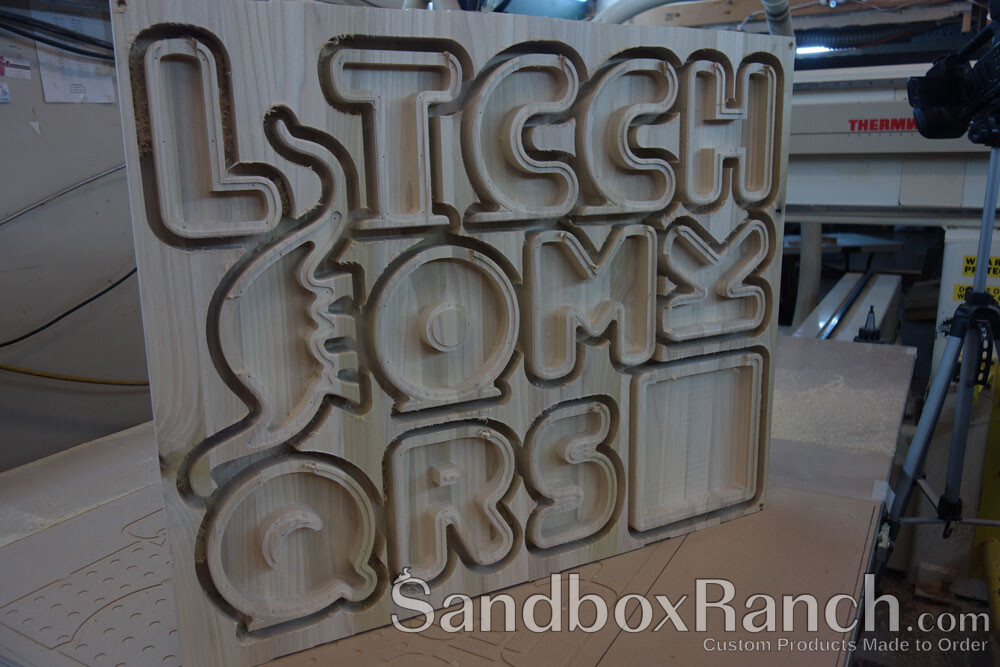
There are endless possibilities when it comes to your own hardwood bank, if there is a shape or letter that you don’t see that you’d like on our website, contact us to turn that wish into reality.
Next step to streamline at the shop will be what you see below, the jigsaw is a good tool, but not optimal for cutting out these banks, as a result, a bandsaw is in my very near future, a big one, that can handle big slabs of wood like this with ease.
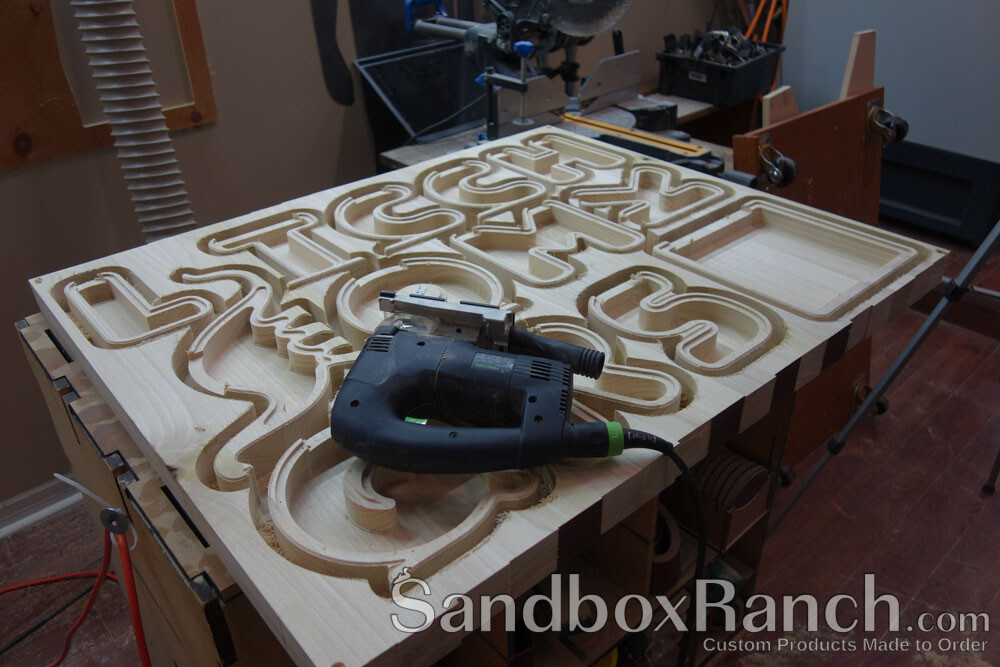
You can see the small ledge I leave on all the bank in the image below, after cutting out the various letter and shape banks using the jigsaw, I have to move to another tool in the shop, the table router, in order to remove this and make the hardwood poplar banks full again.
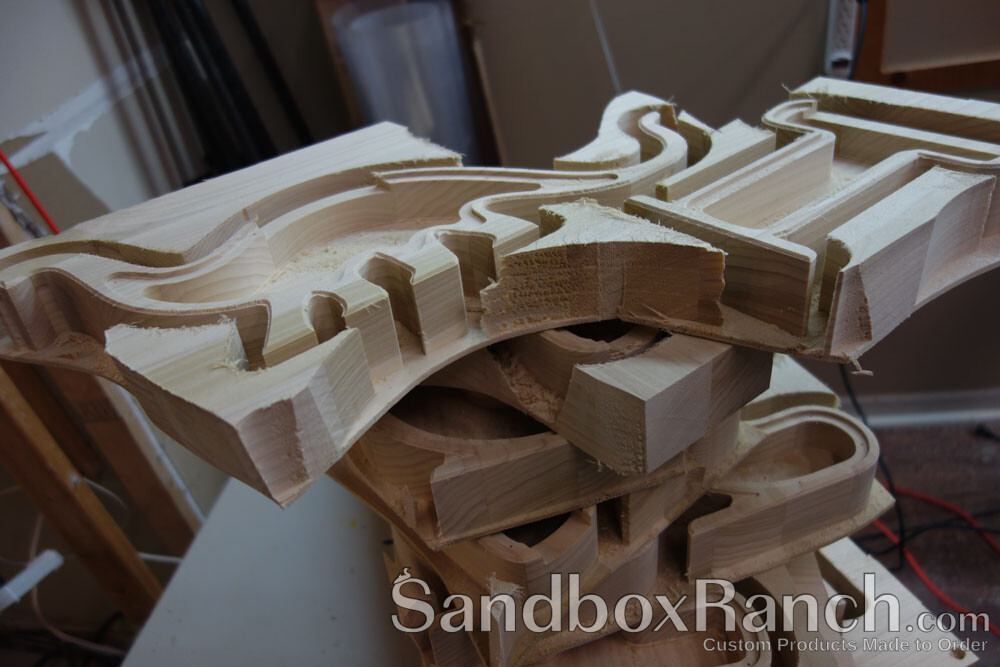
You can see below, the small amount of scrap that’s left over after making all these banks, it’s almost nothing!
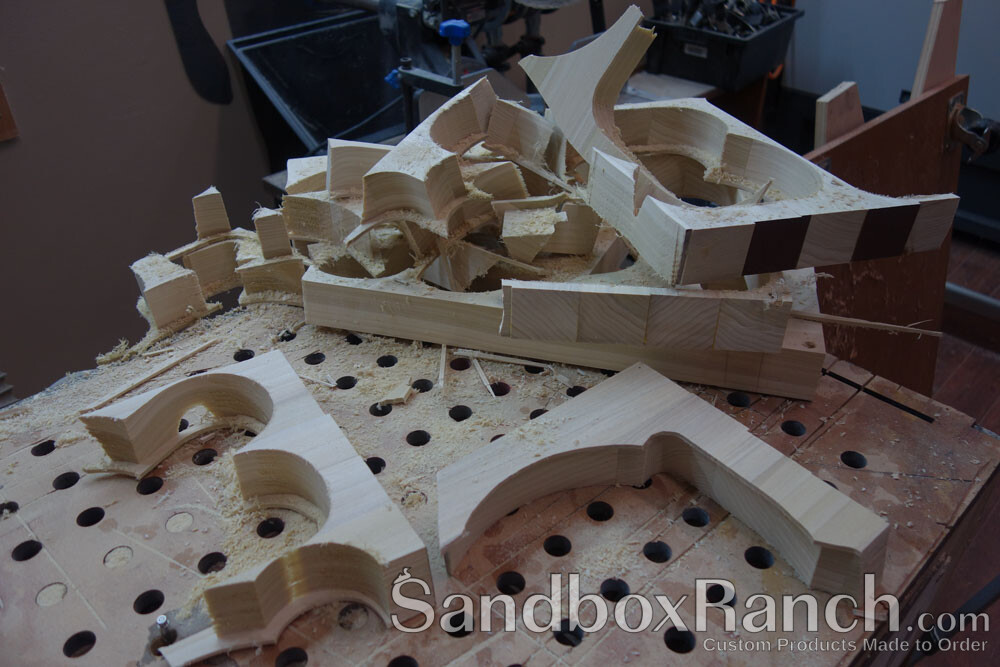
Each process of making these custom birthday banks removes material, each surface by the time I’m done, has been touched in some manner, and this is the process that has taken a very long time to optimize to produce the best possible banks possible at SandboxRanch.com.
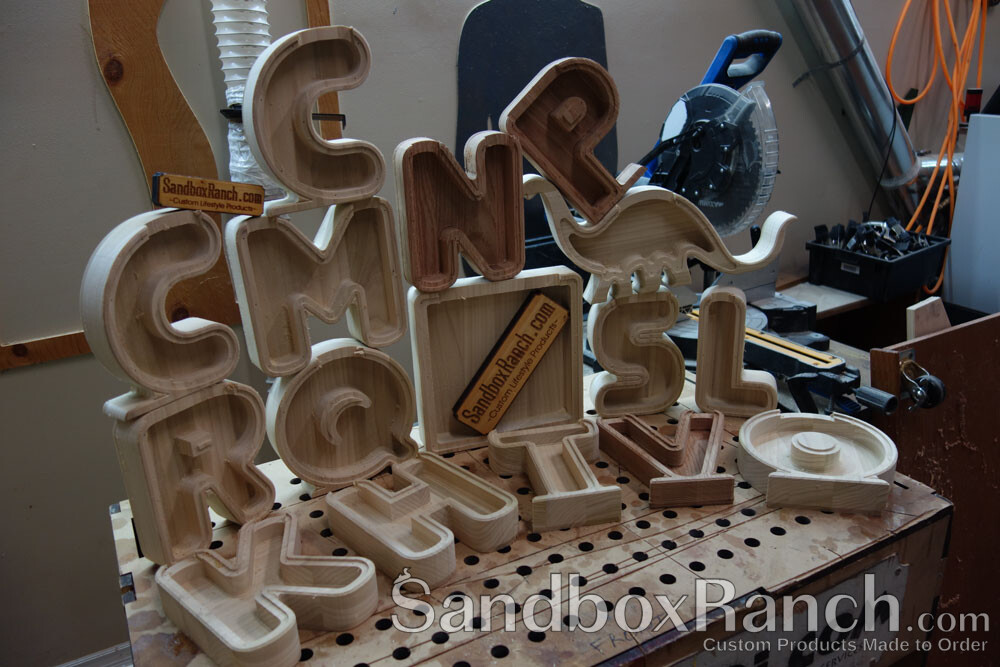
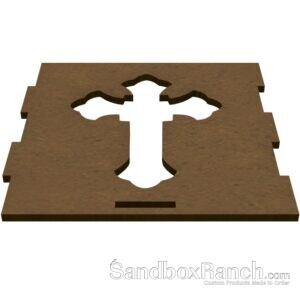
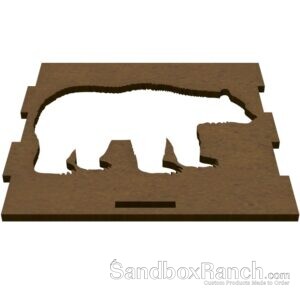
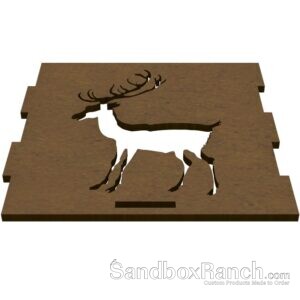
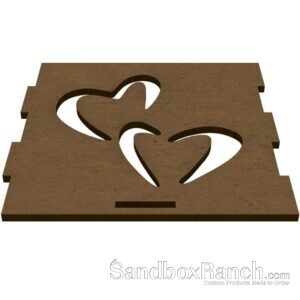
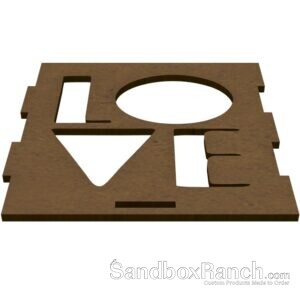
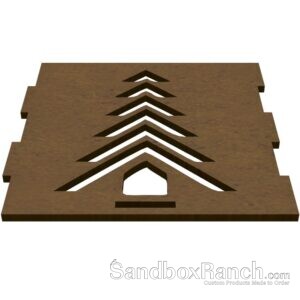
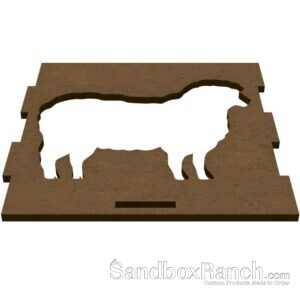
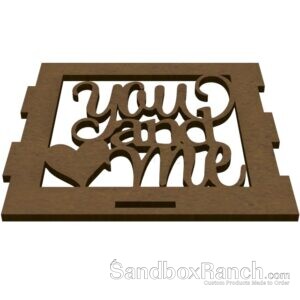
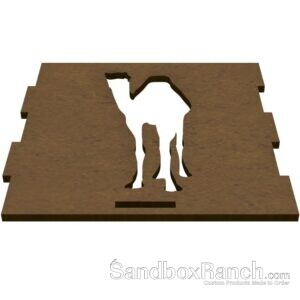
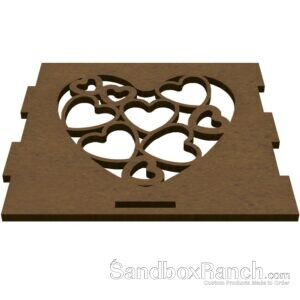
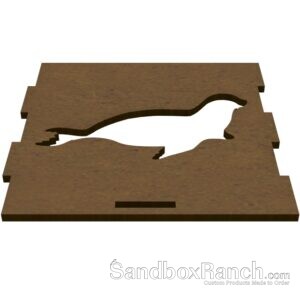
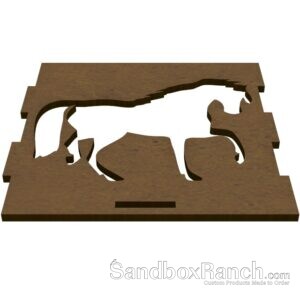
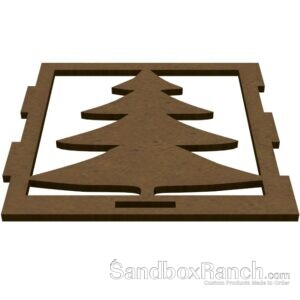
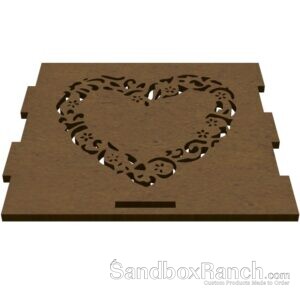
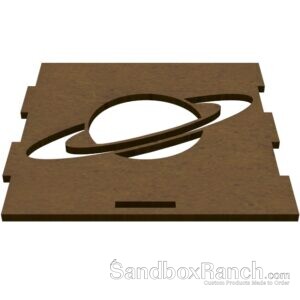
After the solid body of all these custom birthday banks is complete, the next step is making the fronts, as these designs are “new”, I test out the fronts using MDF to make sure fit, form and function are correct, it’s cheaper to use scrap MDF in the shop than expensive acrylic for this test.
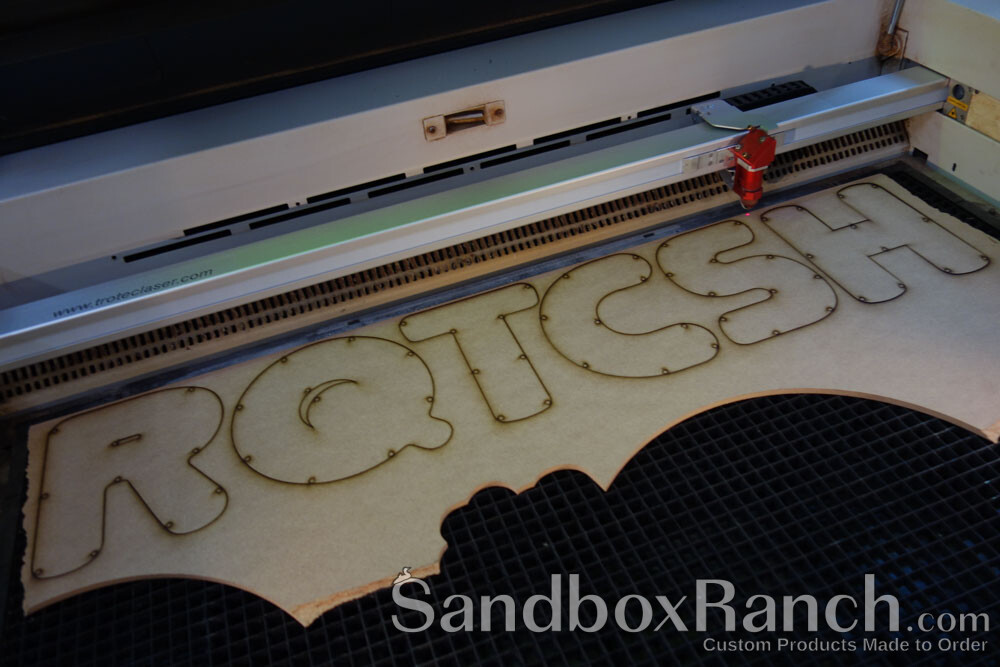
You can see in the image above how the MDF corresponds to the custom birthday banks below, the next step is optimizing the design further and then making the acrylic fronts on all of them.
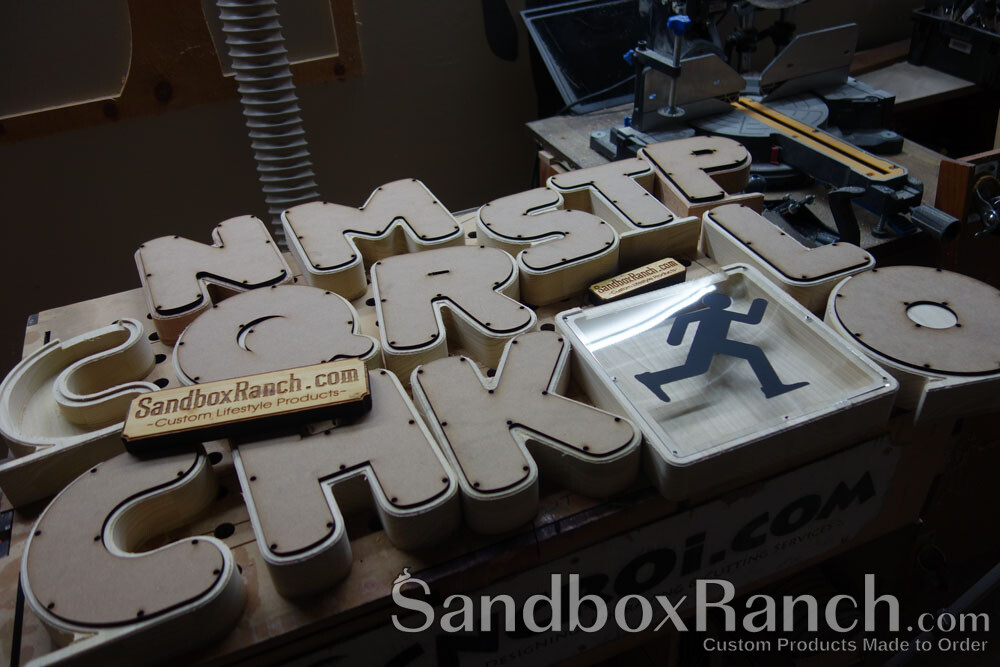
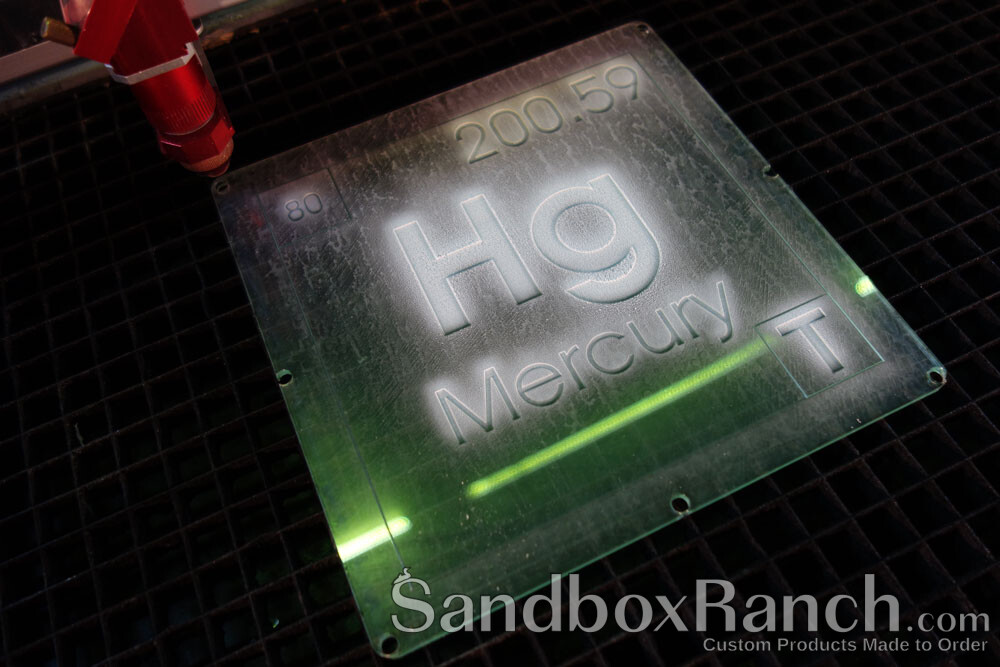
SandboxRanch.com offers transparent acrylic by default, but as you see on our website, that can also be customized in color and engraving, every aspect of these custom birthday banks is customizable by the customer.
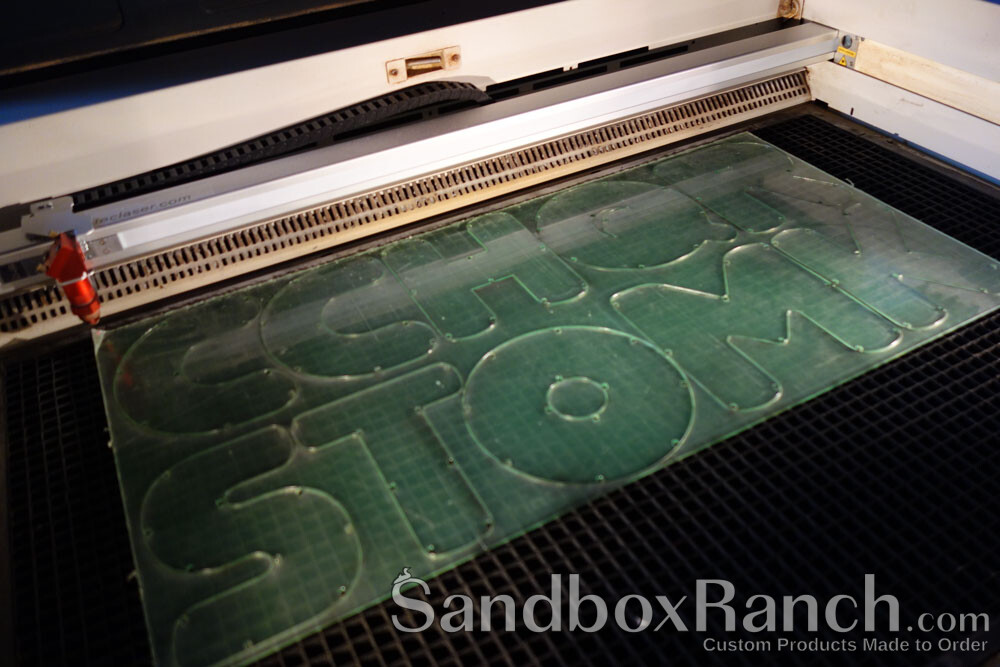
In this batch, a few of these banks had to leave the shop before I had a chance to do the video, but below you can see what the engraving of acrylic looks like when complete (but still dirty before cleanup) at SandboxRanch.com.
Need custom products? Contact SandboxRanch.com and we’ll make it for you!

