Drais BMT now on SandboxRanch.com
One of the opportunities that comes with SandboxRanch.com is to consolidate a few website ideas and products I’ve had through the years into this one so here’s a copy/paste of three blog posts into one, officially launching the Drais BMT on this website and wiping out the old one in the process.
The branding will be updated at a later date, for now, the old website will just forward to this one, SandboxRanch.com isn’t just a custom WOOD products website any longer!
***********
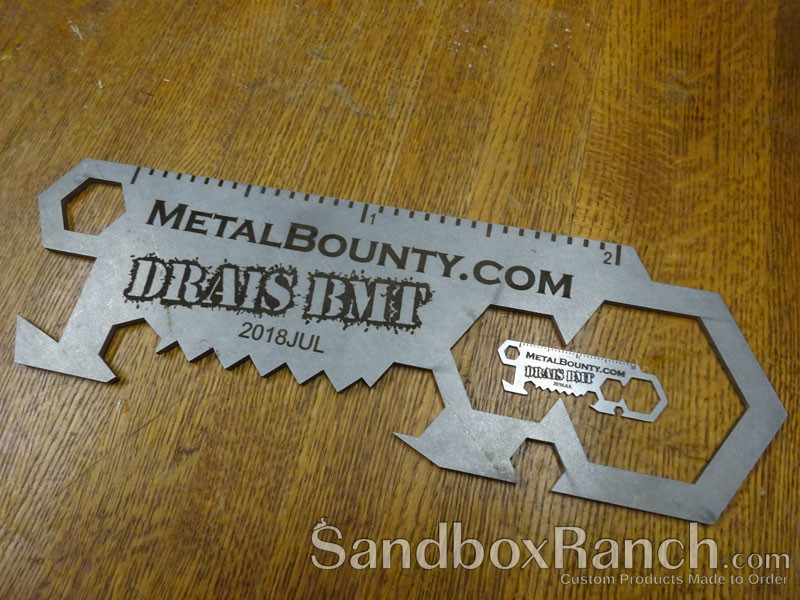
Want to know how your Drais BMT is made? It’s quite easy, first we mix water and sand to cut it then use photons to brand it however you like!
Of course, that’s a heavy over-simplification so let’s delve into this with a bit more detail.
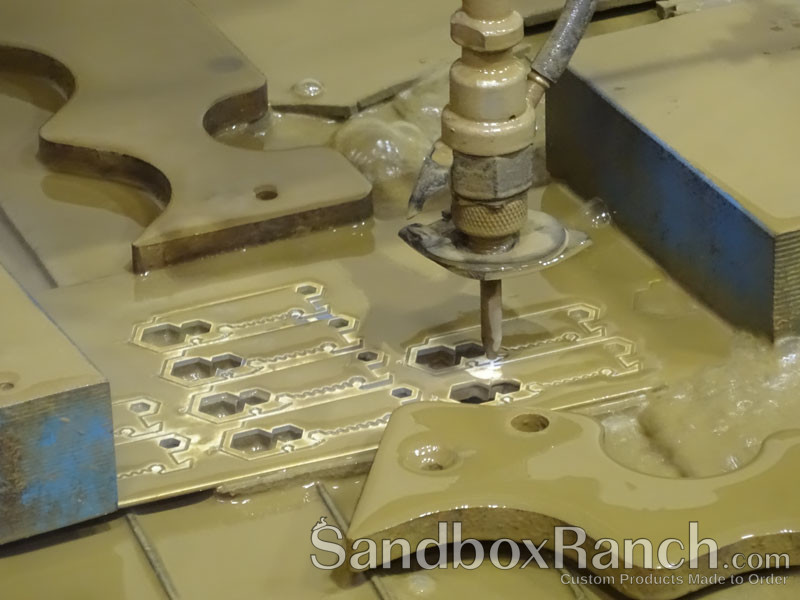
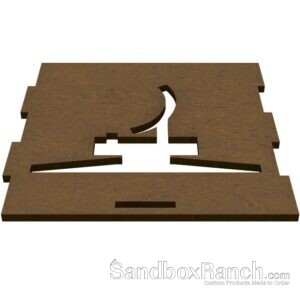
It might look dirty but it’s just high pressure water mixed with sand that allows the waterjet to cut through 14 ga (1/16″ or 2 mm) thick 304 stainless steel.
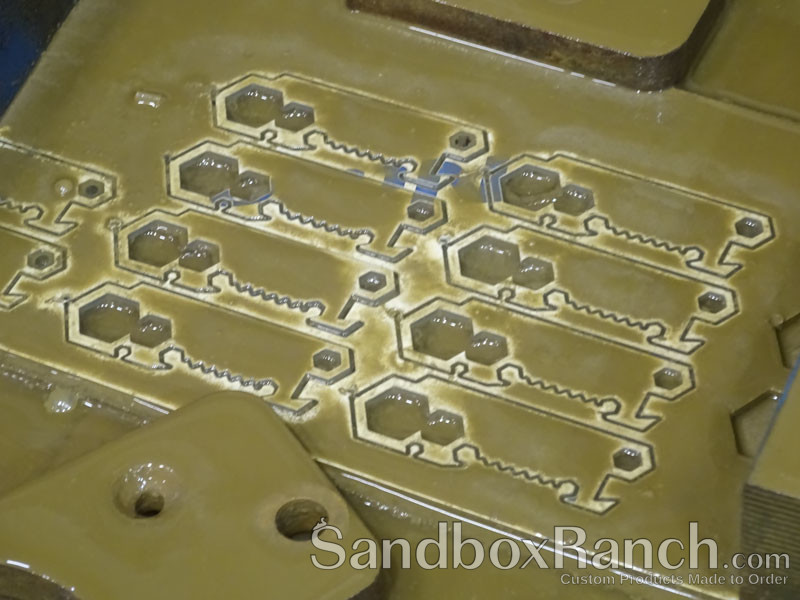
After a lot of prototyping to find the optimal thickness (cost vs strength) and then a lot more to get the etching just right, it’s time to do an actual production run.
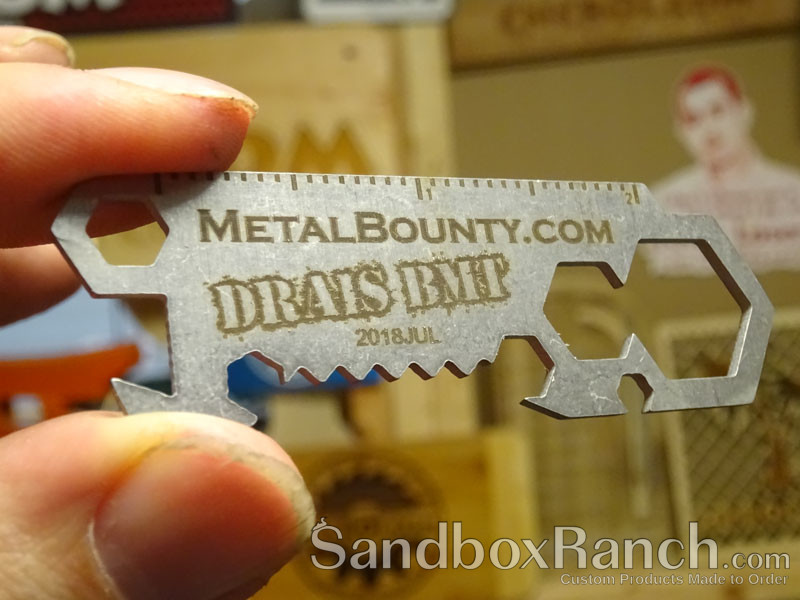
This time we use a full sheet of 304 stainless steel, nesting each one of the Drais BMTs so that they are all cut one after after the other.
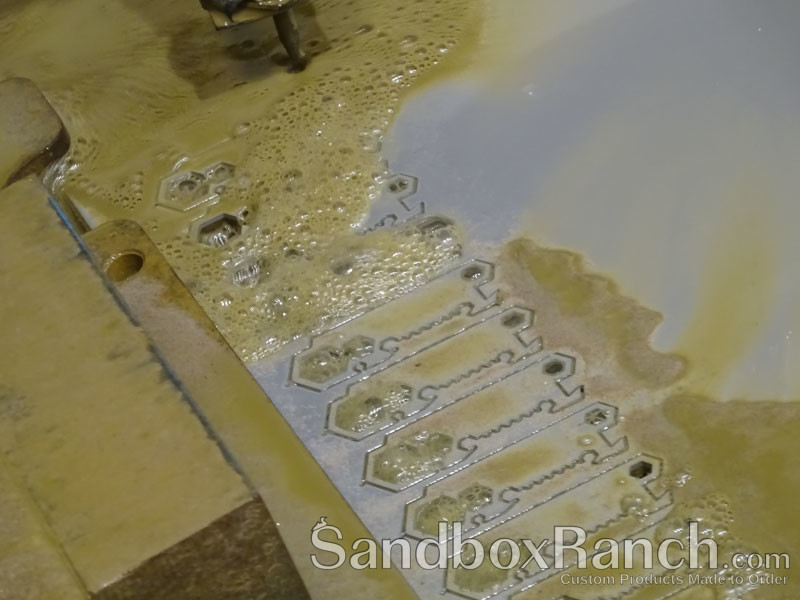
Just water, nothing gets cut, just sand, nothing gets cut, it’s the combination of both going at 60 000 PSI (pounds per square inch) that allows the combined mud to cut through the stainless steel.
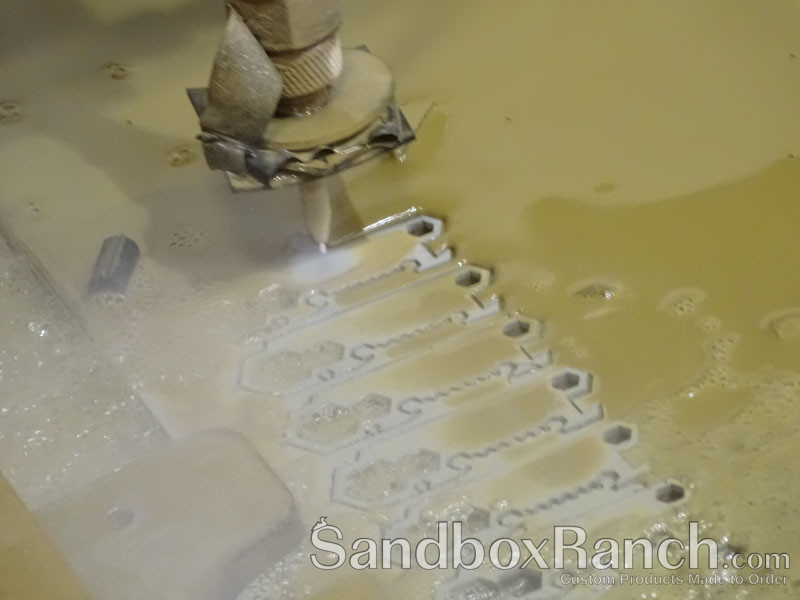
Waterjet are an abrasive cutting method, think waterfalls that slowly cut through mountain ranges over time, this is the same but way faster with the absolute precision that CNC machines offer.
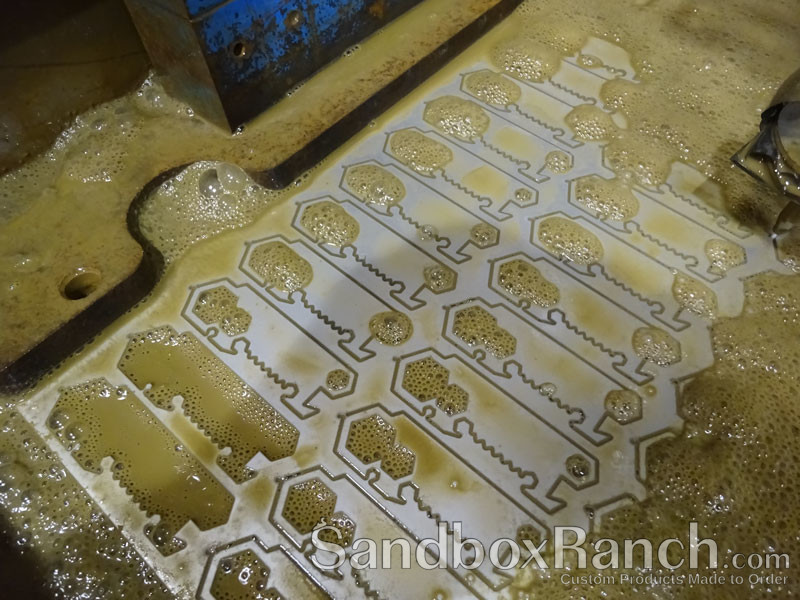
After a bunch of Drais BMTs are cut out, they are cleaned-up and we end-up with a whole bunch of blanks.
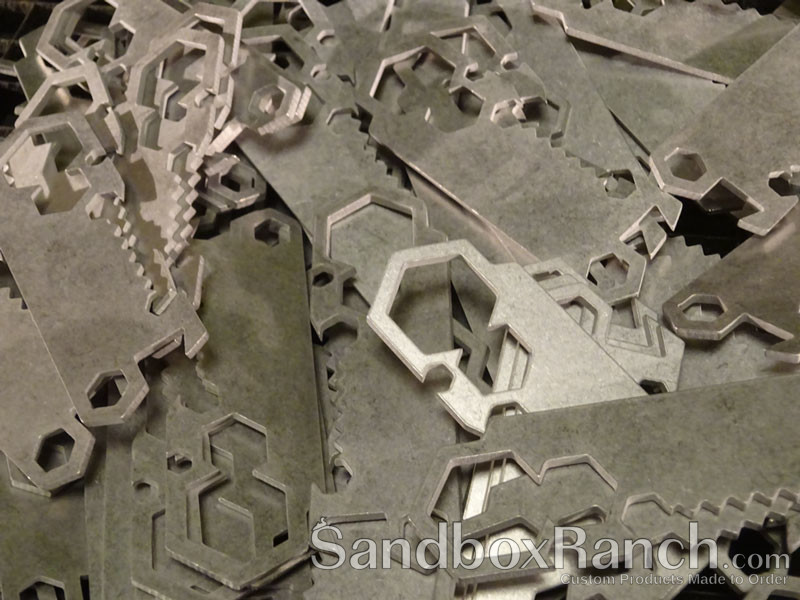
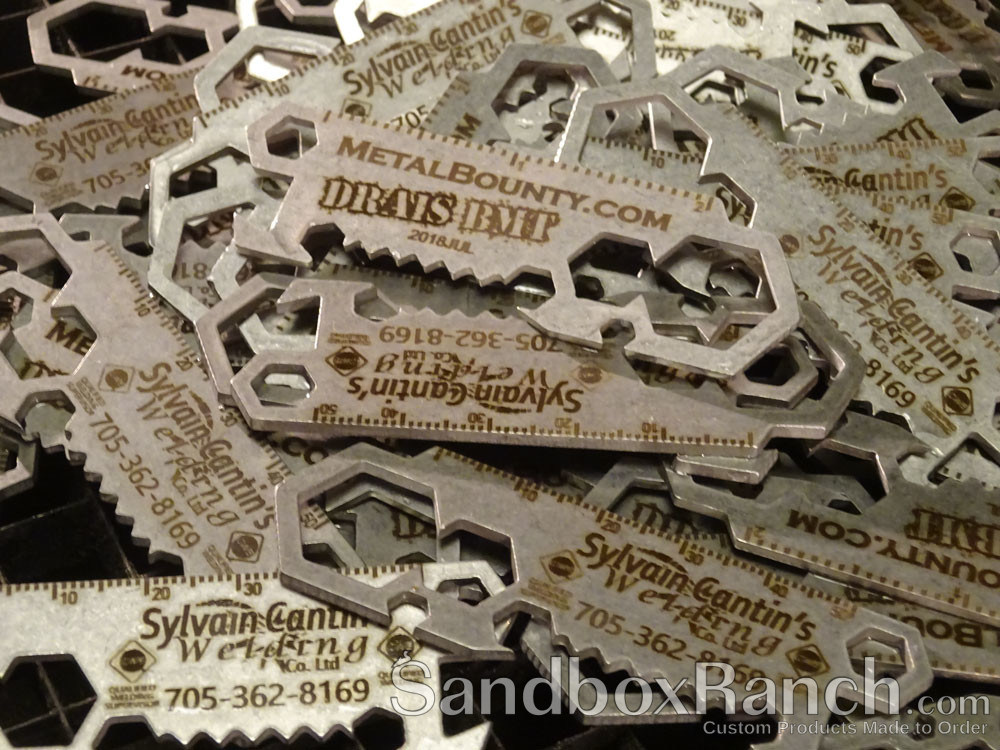
These blanks are then put into another CNC machine, this time a fiber laser, which etches the stainless steel.
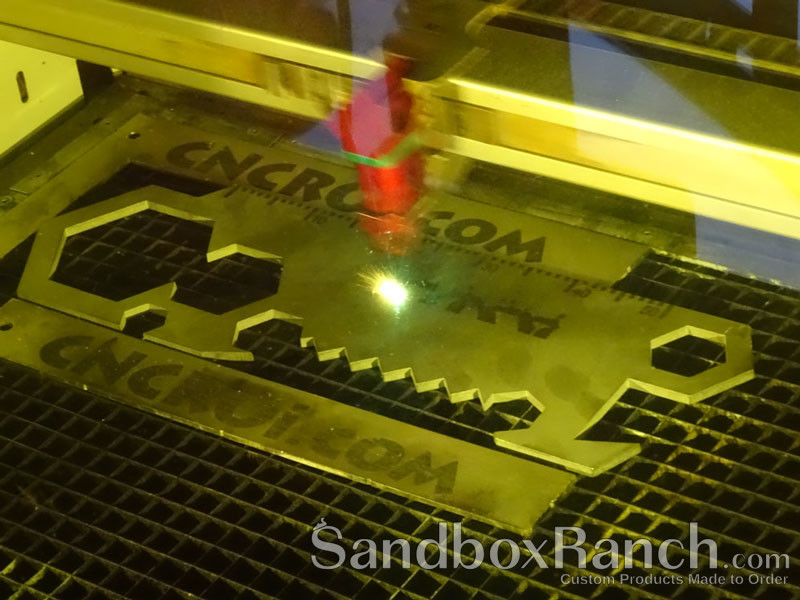
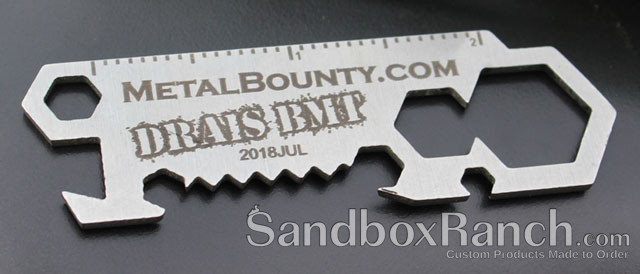
The contrast is achieved without any paint, printing or adhesive, it’s just stainless steel with energy producing the custom etching at any size, shape or image.
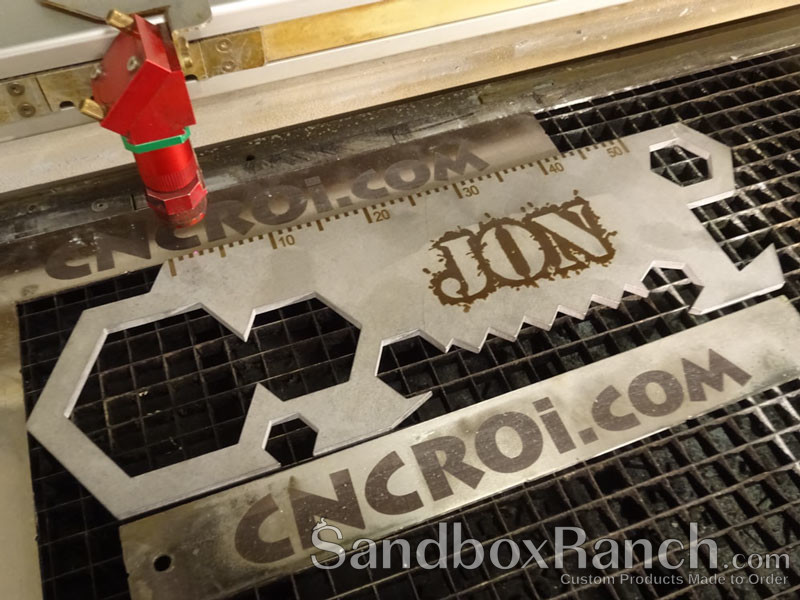
As such, if you wanted your etching to be your name, phone number and an image of a cat, we can do that!
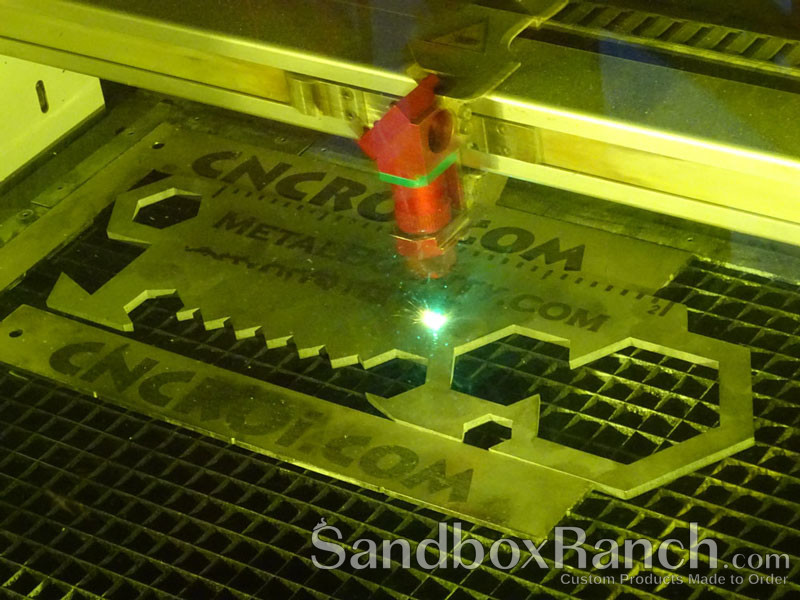
This approach towards manufacturing means that each one of the Drais BMTs can be customized however you like, so think wedding gifts where each guest has their own name on it.
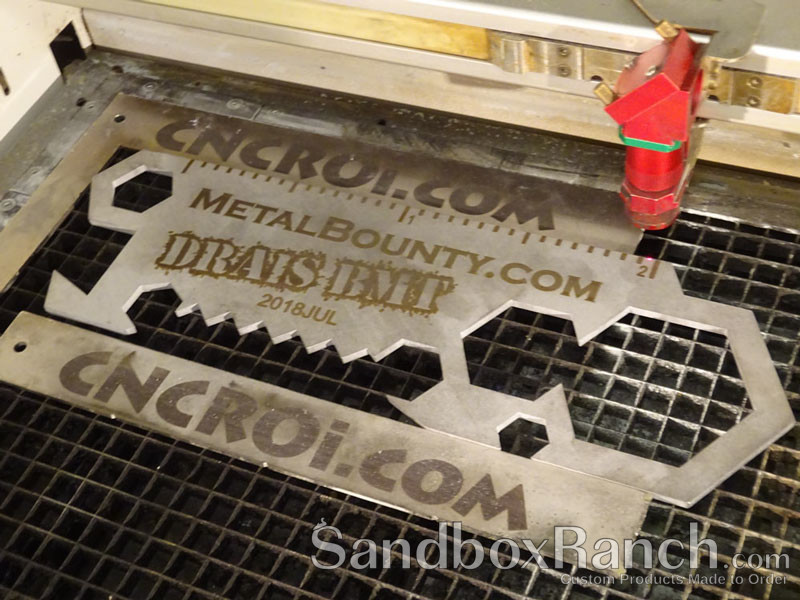
The Drais BMT also makes for a great gift for corporate and sponsorship deals, contact us if you have any more questions.
*************
The Drais BMT is a wonderful tool that allows you to quickly fix a flat tire in an emergency, here’s a video showcasing this on my own bike!
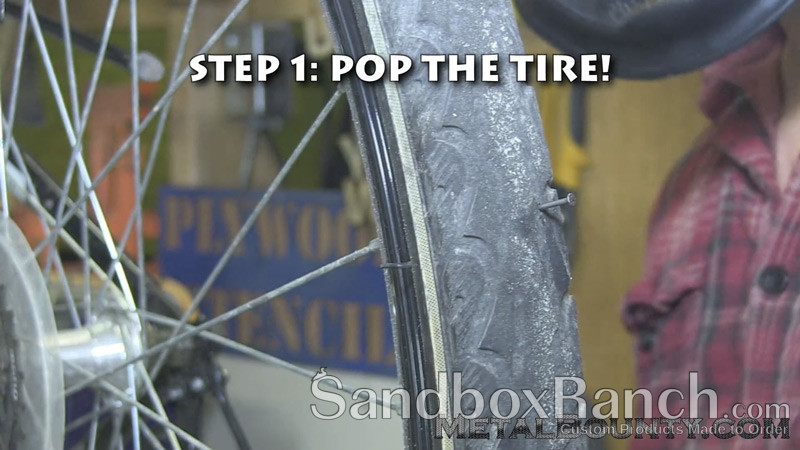
Fix a Flat Tire Step 1: Pop the Tire!
This is the first time I’ve ever popped my own tire on purpose, was expecting a boom, just heard a hiss.
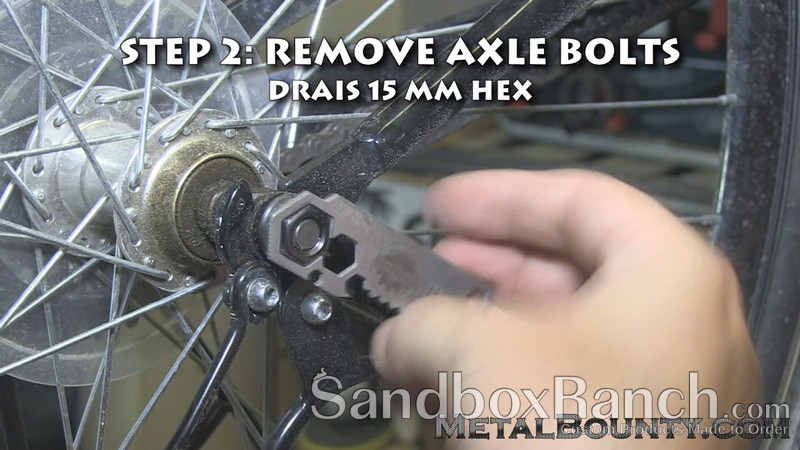
Fix a Flat Tire Step 2: Remove the Axle Bolts
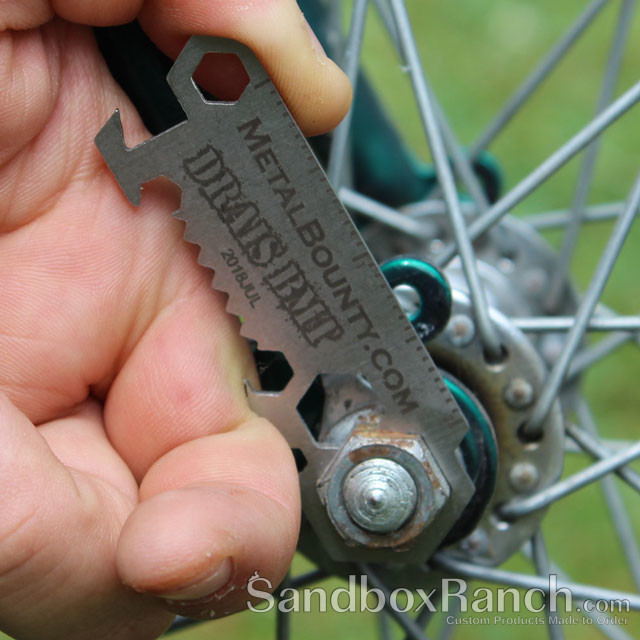
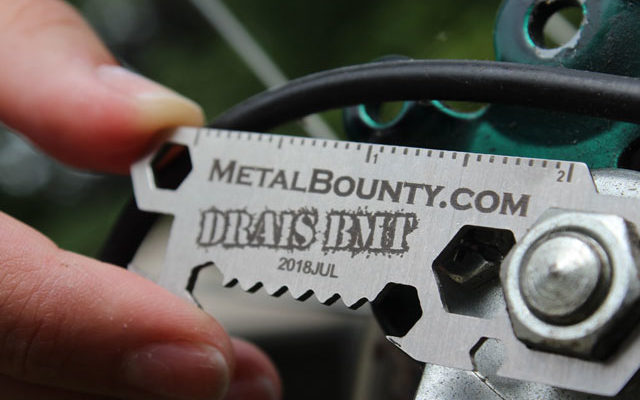
Having a 15 mm hex comes in very handy to remove these, sometimes very tough, axle bolts but with the Drais, it’s a relative piece of cake over doing it with your bare fingers.
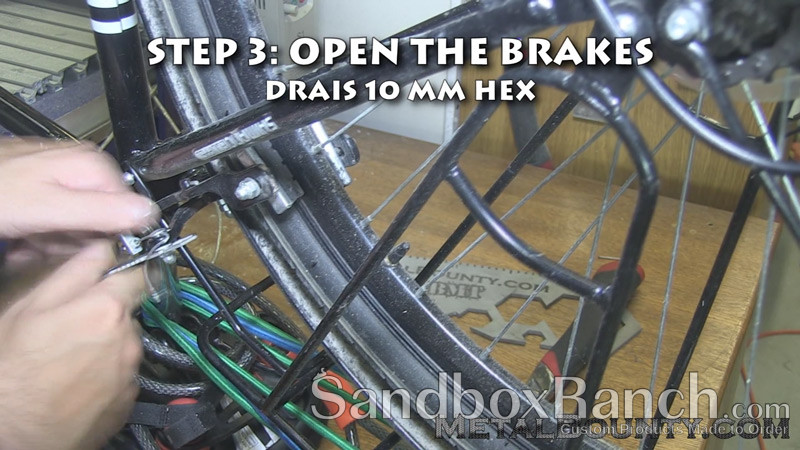
Fix a Flat Tire Step 3: Open the Brakes
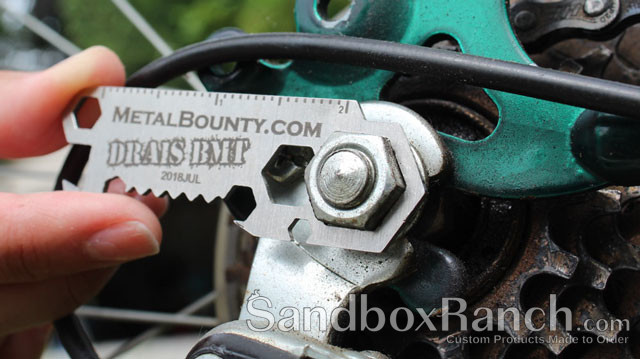
Sometimes this is a required step, sometimes not, but if it ever is, the Drais BMT 10 mm hex comes in very handy to unscrew those bolts!
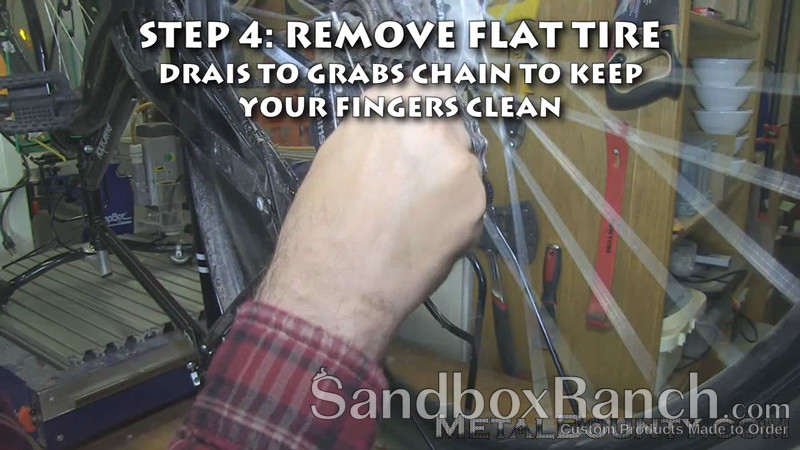
Fix a Flat Tire Step 4: Remove the Flat Tire
Sure, I’ve fixed a flat tire before without removing the entire tire but from experience, I’ve found it easier to just take it off completely to fix things way faster, the Drais BMT comes in handy for that too to keep your fingers clean!
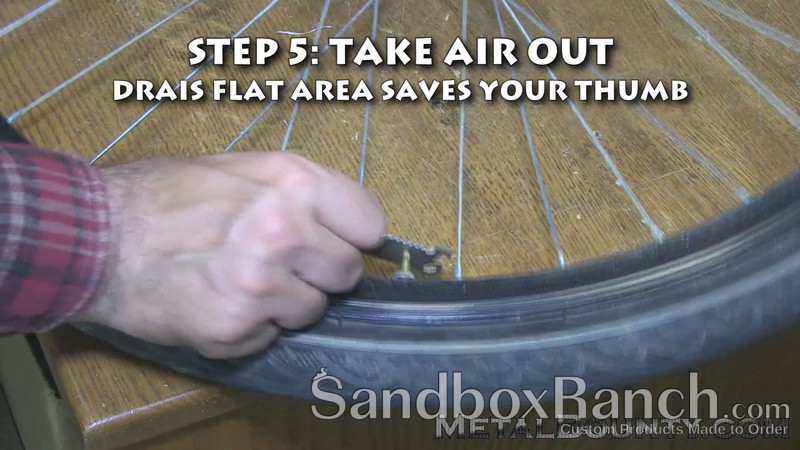
Fix a Flat Tire Step 5: Take Air Out
Do you love your thumbs? If you are like me, you’ve removed air from your tire using pointy rocks, stick and anything else on the ground around you, the Drais BMT makes quick work of this pain while saving your fingers from a lot of pain.
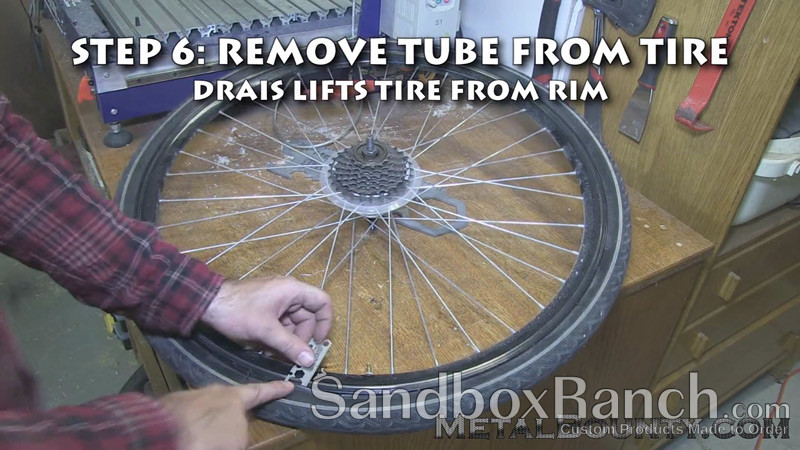
Fix a Flat Tire Step 6: Remove Tube from Tire
I’ve removed the tube from the tire endless times using sticks, the Drais BMT makes even this job a lot more safe and easier hands-down!
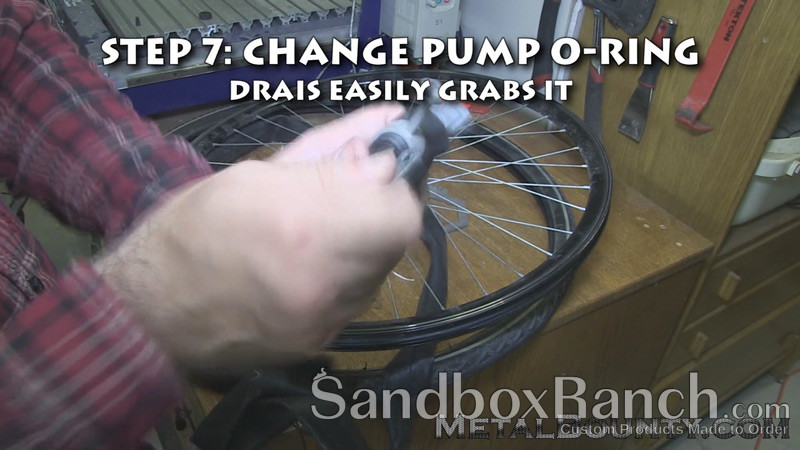
Fix a Flat Tire Step 7: Change Pump O-Ring
That little O-ring that you need to flip around because you happen to buy two different tube types for your tire inflator is an absolute pain to remove, the Drais BMT makes it easy!
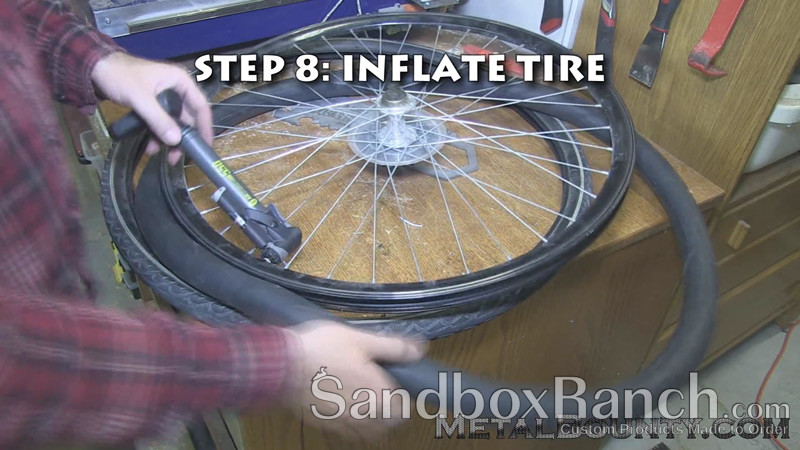
Fix a Flat Tire Step 8: Inflate Tire
The Drais BMT has limits, one of which is inflating your tire, front or back… be sure to always carry a bike pump with you somewhere in your bag or backpack!
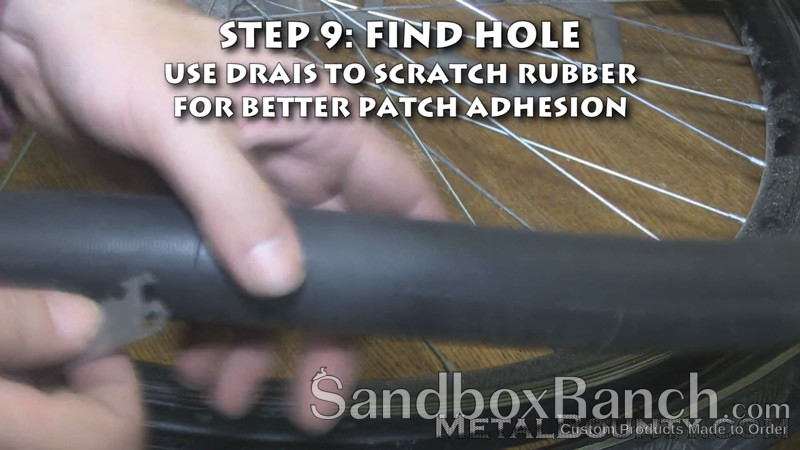
Fix a Flat Tire Step 9: Find Hole
The Drais BMT won’t help you find the hole, that’s why you inflate it to begin with, but it will help scratch the rubber on the inner tube to make adhesion of your patch a million times easier and better.
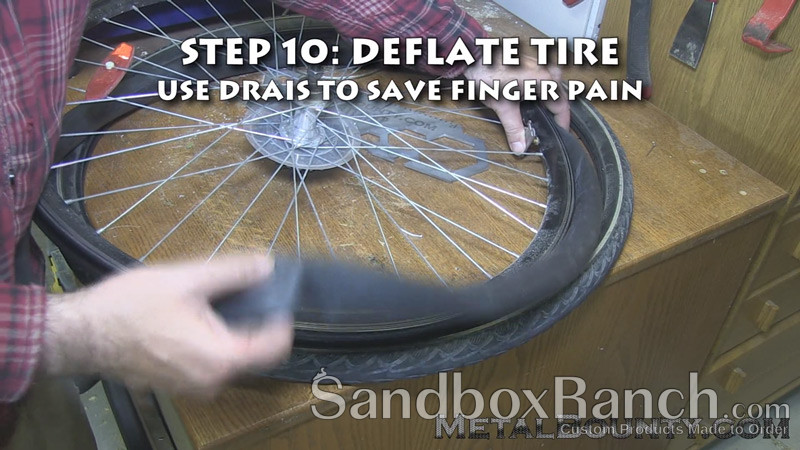
Fix a Flat Tire Step 10: Deflate Tire
After you found the hole in your inner tube, it’s time to deflate it again so that you can apply the patch, the Drais BMT does a wonderful job yet again, of saving your thumb from endless pain.
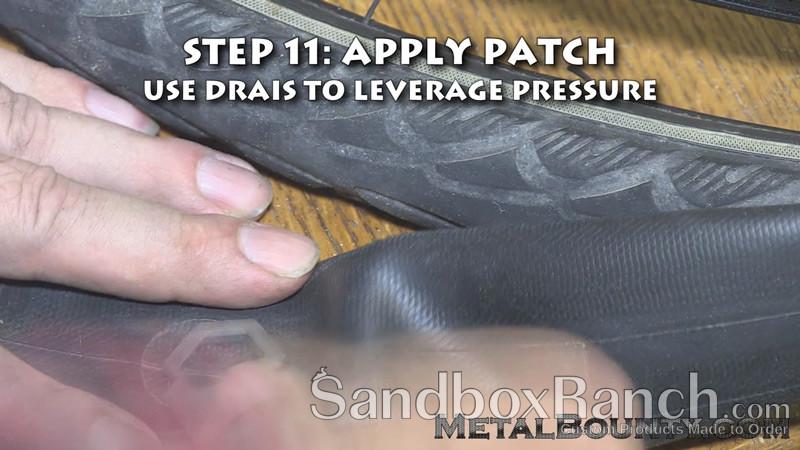
Fix a Flat Tire Step 11: Apply Patch
I love the new inner tube patches that don’t require rubber cement, just peel and stick, but how do you put maximum pressure on your patch to make sure you have perfect adhesion, the Drais BMT of course!
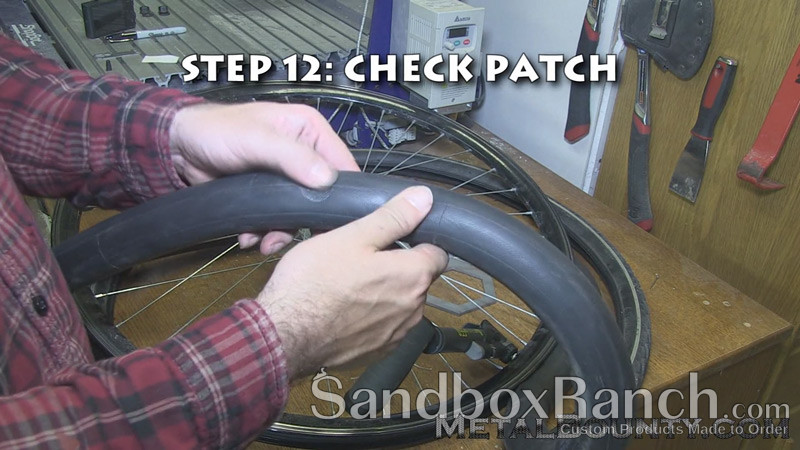
Fix a Flat Tire Step 12: Check Patch
Before you go to the trouble of putting the inner tube back in the tire and then wheel and assemble everything, always double-check the patch isn’t leaking!
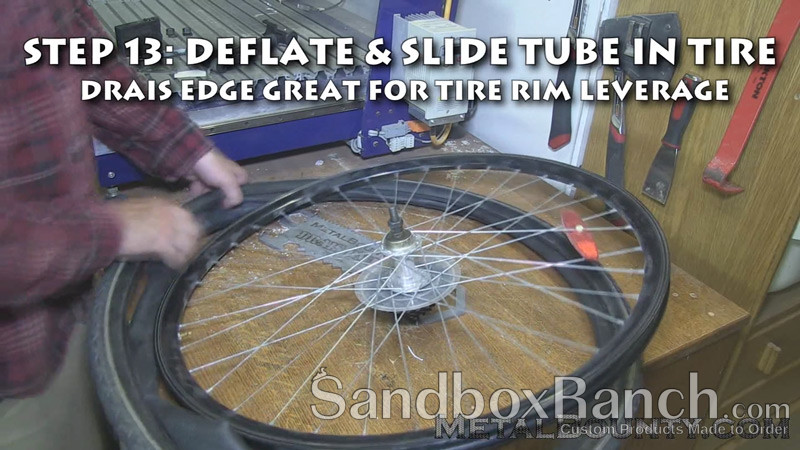
Fix a Flat Tire Step 13: Deflate & Slide Tube in Tire
Before you do this step, be sure that you remove any debris or worse, pieces of sharp who knows what that popped your tire in the first place, from the inside of the bike tire.
On more than one occasion, I’ve gotten everything done and set-up only to discover that I popped the tube AGAIN because I didn’t remove the shrapnel in the tire and it hits the inner tube.
The Drais BMT helps you leverage the tire onto the tube, same way it helped you to leverage taking it off a few steps back.
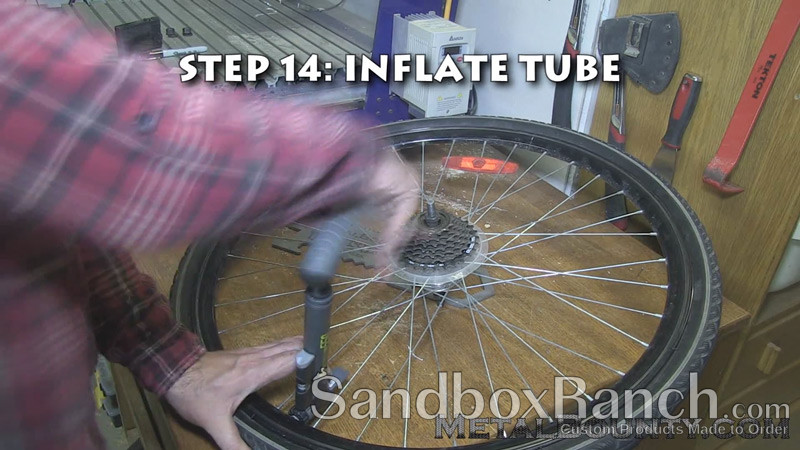
Fix a Flat Tire Step 14: Inflate Tube
Alright, we are seeing the light at the end of the tunnel, time to put some air back into the tube!
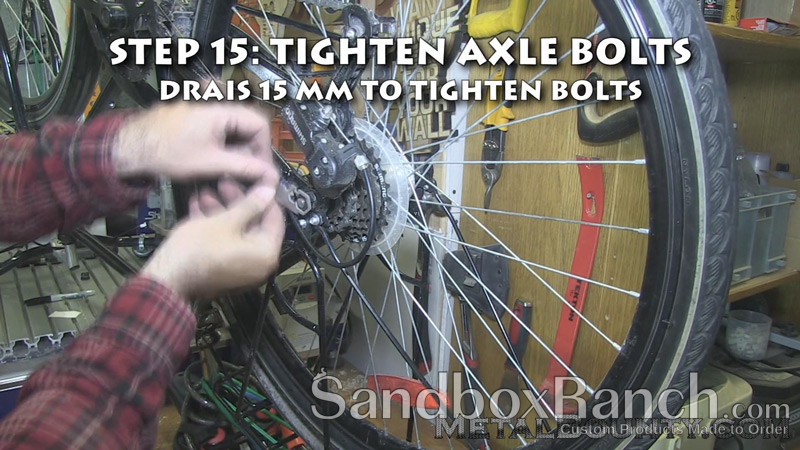
Fix a Flat Tire Step 15: Tighten Axle Bolts
Finger tight and just a little more is all that’s needed, and the 15 mm Drais BMT hex helps you accomplish this without needing a socket wrench and preventing some serious finger damage if you had to do this with your bare hands.
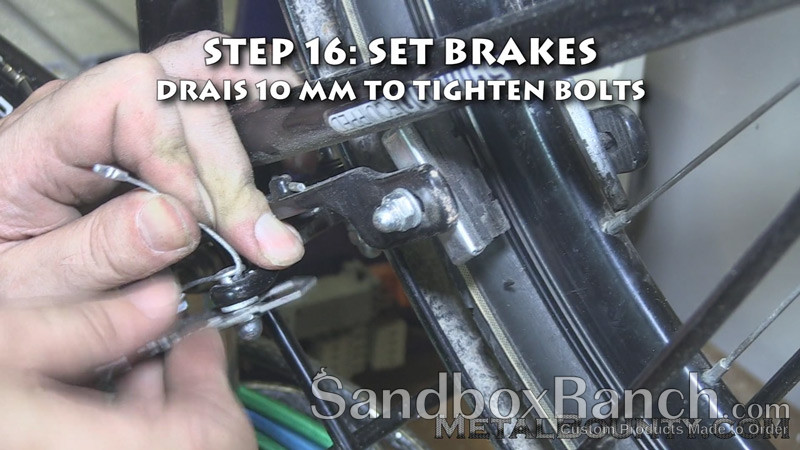
Fix a Flat Tire Step 16: Set Brakes
Now it’s time to tighten the brakes again around the tire, the Drais BMT 10 mm hex will allow you to do this like a pro, even when your tire isn’t popped!
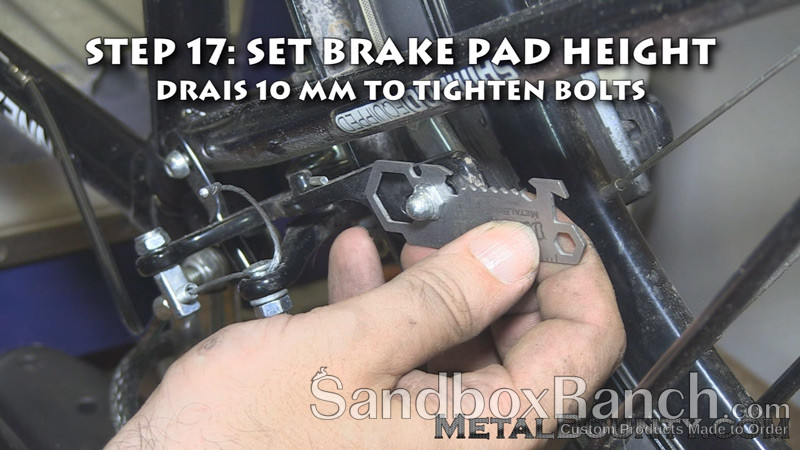
Fix a Flat Tire Step 17: Set Brake Pad Height
If you are like me, the pad moves around a bit while you are removing and sticking the tire back onto the bike, the Drais BMT allows you to easily set this to the proper height and orientation.
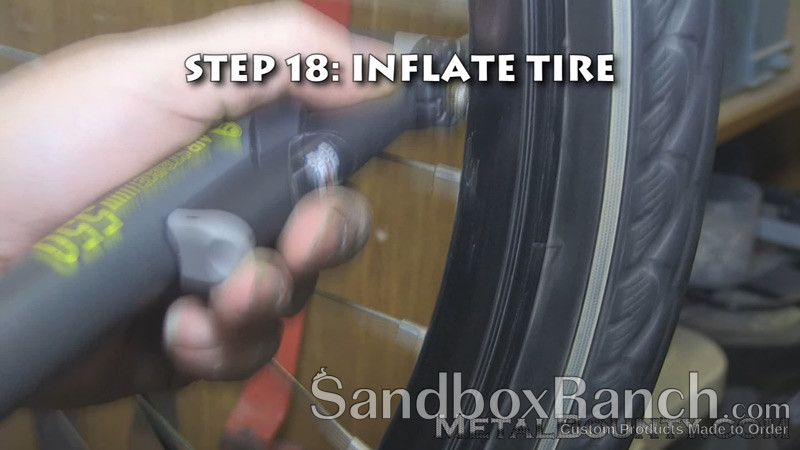
Fix a Flat Tire Step 18: Inflate Tire
This is the step where you fully inflate the tire to the correct pressure using your bike pump.
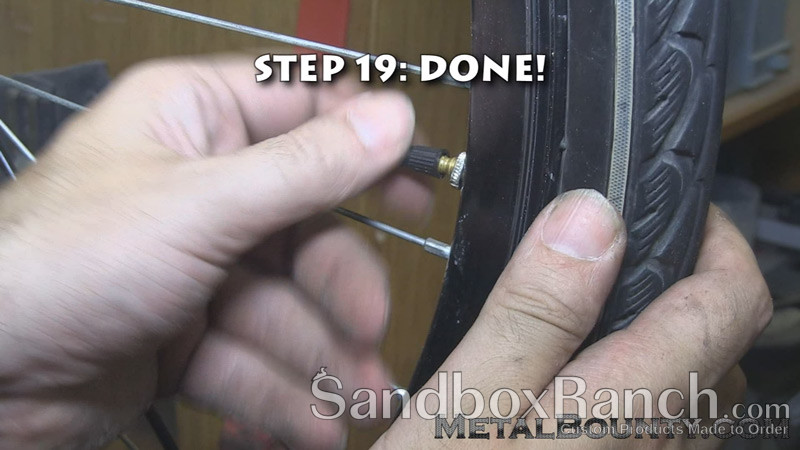
Fix a Flat Tire Step 19: Done!
Go out and enjoy a beer, you’ve earned it!
*********************
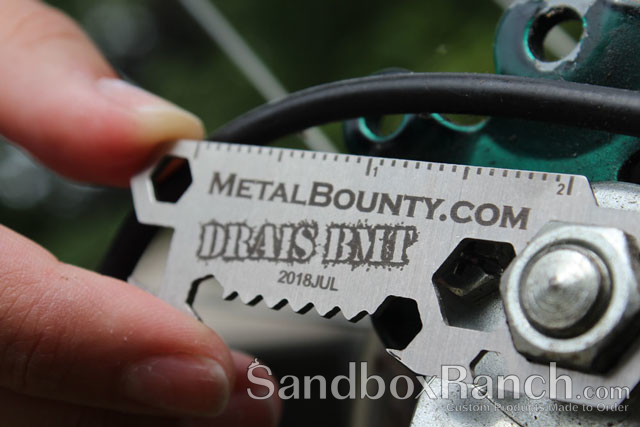
Here are some initial product Drais BMT (Bike Multi-Tool) shots showcasing just some of the places it has been highly optimized for!
