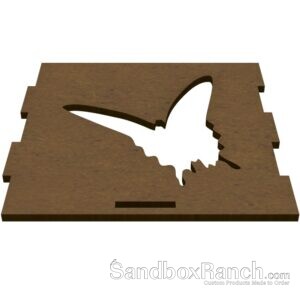
First Bank Production (ABCFMY)
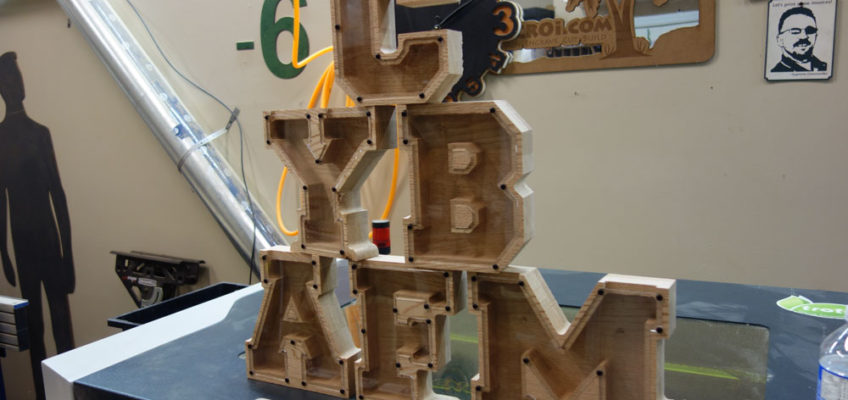
It’s been a long time coming but here’s finally the first bank production run, encompassing the letters A, B, C, F, M and Y.
I’ve been in a holding pattern for the better part of two weeks because of supply chain issues, basically, the bits I use to do these jobs with are no longer available so I had to find a new supplier, which ended-up being a very positive thing so now we are back in business at SandboxRanch.com!
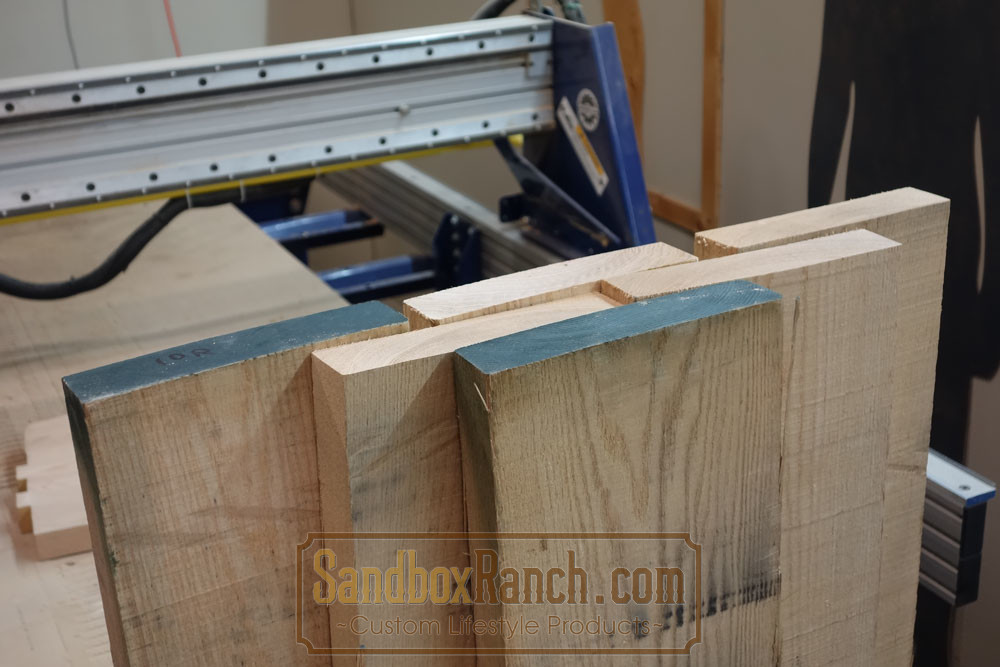
The first step in making these custom letter banks (and shapes to come) is getting the rough sawed red oak lumber from the mill, this is kiln dried and pretty thick stuff that needs to be cut into smaller pieces and flattened before gluing it together in a sheet then finally milling it into awesome letter banks.
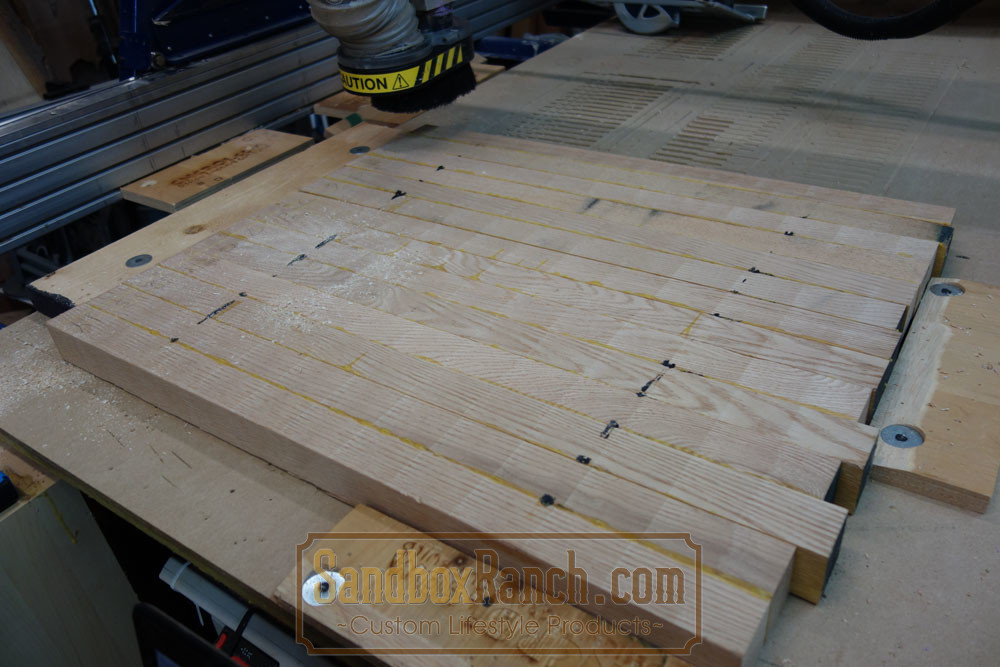
As this was the last bit of an earlier test run, you can see how these slabs came together by watching the video below.
The same steps, though with continual small improvements to produce a more consistent result, are used throughout the production process, lots of work is done at SandboxRanch.com before any letter banks are cut out at the shop.
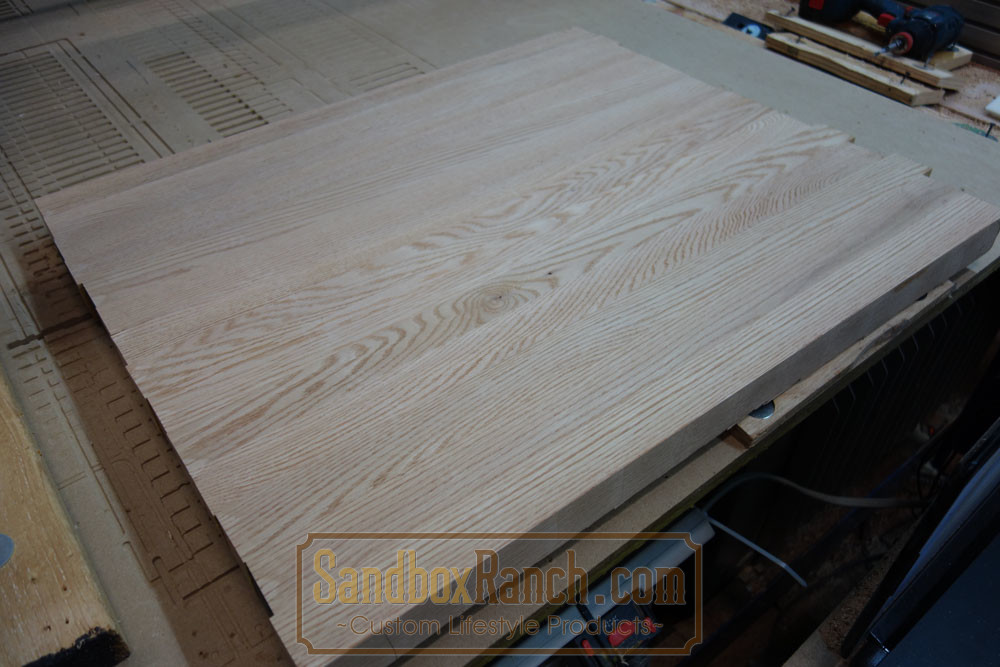
The reason that these rough sawed lumber are cut down is to create a stronger end-product and reduce warping, wood isn’t a material that’s the same density throughout, there are pockets of more and less density, and this is what causes warping in the wood (and possibly your bank).
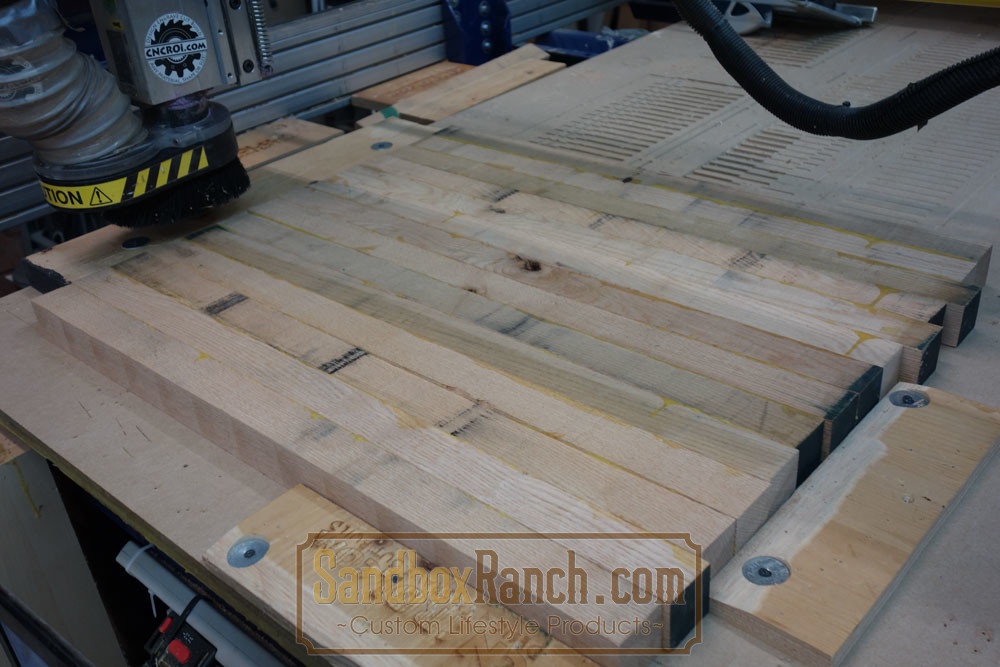
Density of the red oak affects how much humidity is sucked in, how much is there already and the direction of the warp, so mixing it up tends to soften the blow, and make densities more even throughout the letter bank.
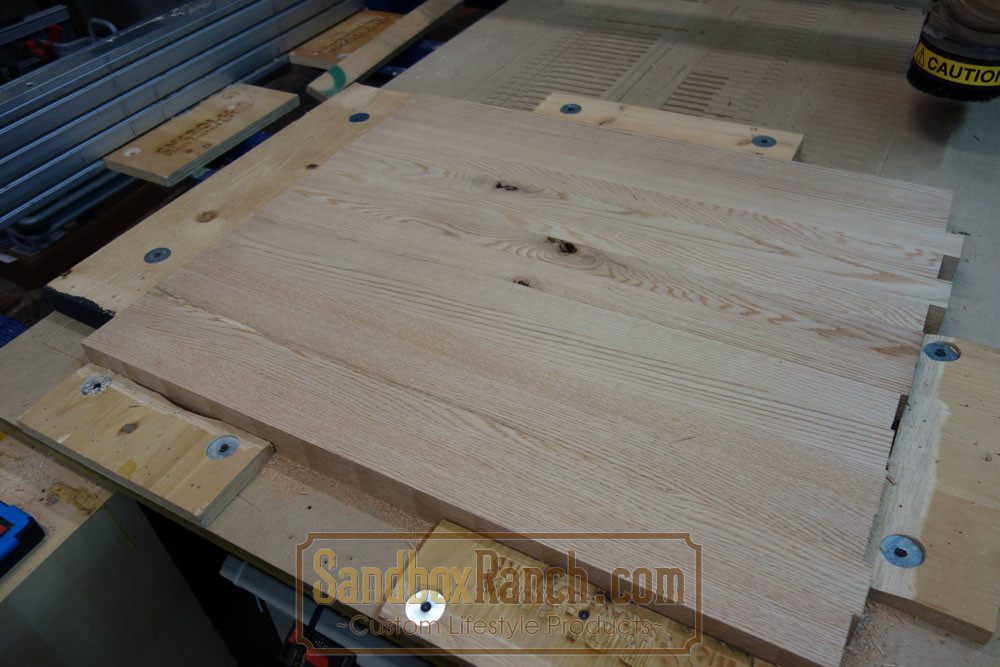
You’ll also notice that yes, this is real wood, and yes there are knots (which we avoid using for bank) and there is also some variation in the color and grain pattern… all tell-tale signs that this is very much not a man made product that SandboxRanch.com is making your letter banks from.
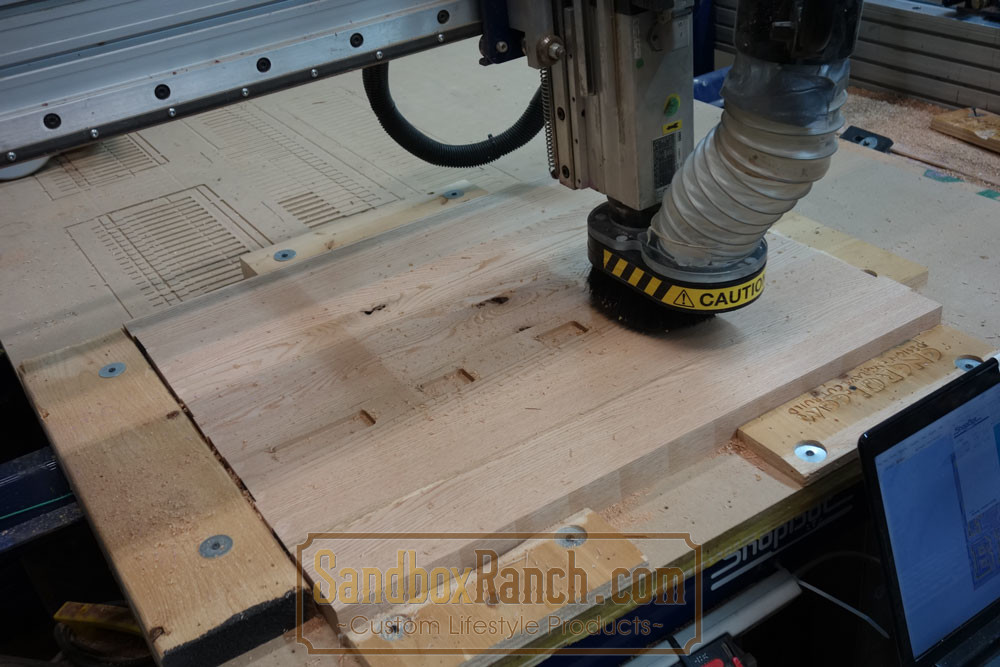
After the glue is dry and both sides of the newly formed laminated slab flattened, the next step is to cut out some awesome custom letter banks!
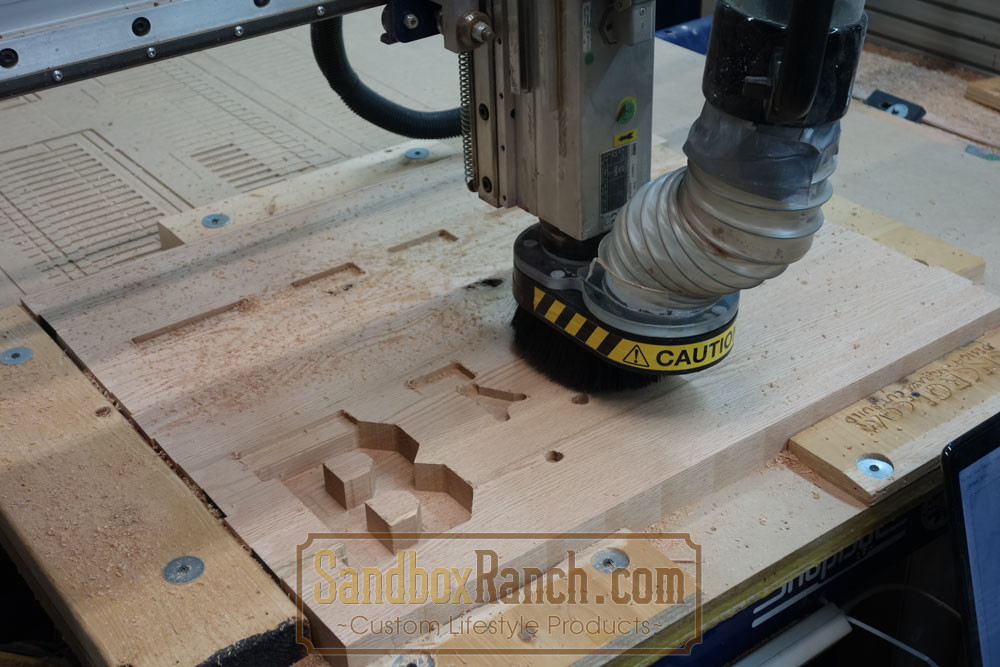
There are 8 separate operations across two different bit types used by our CNC router to produce the finished kiln dried red oak bank at SandboxRanch.com, some are faster than others.
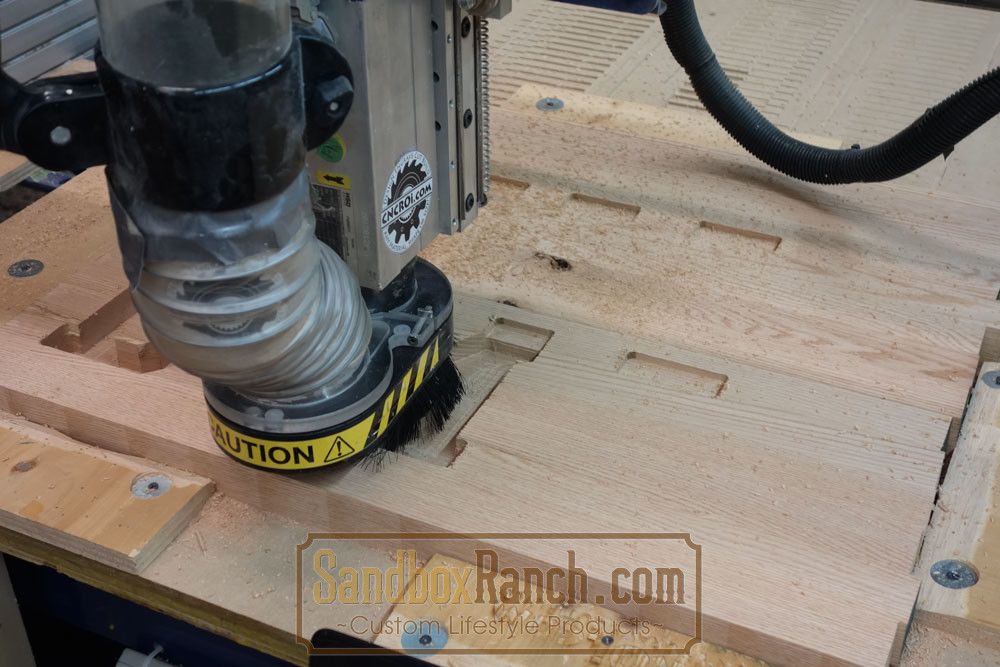
The first operation is making the slot for the coins to go into the excavated area, which is the second operation you see happening on this first bank production run.
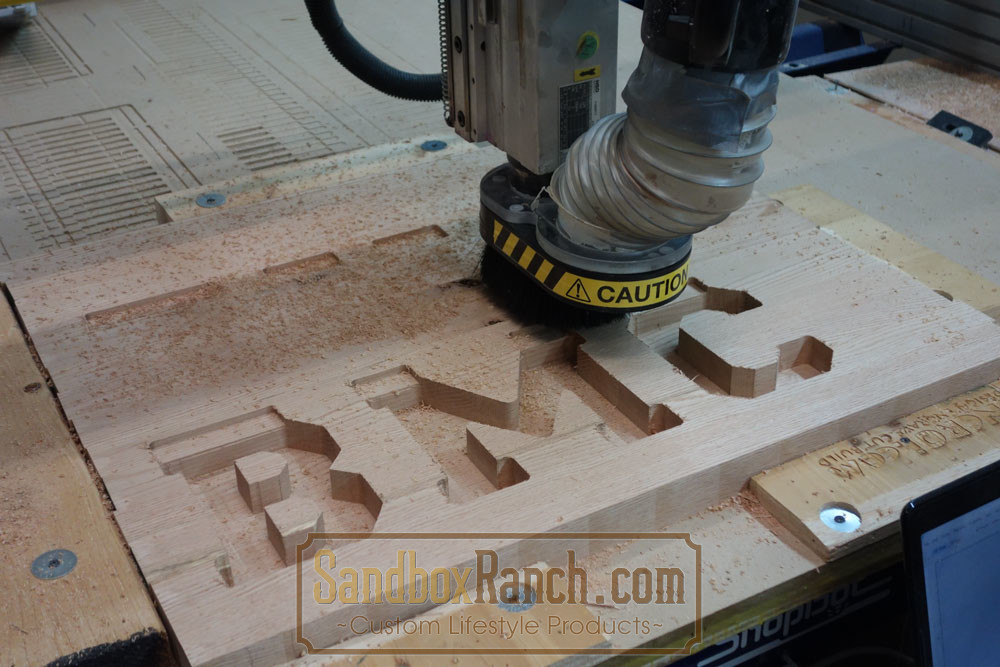
Of course, lots of saw dust is created by our CNC router, but there was a lot made before this step just to get to this point for these custom letter banks, but you can clearly see B, M and C coming into being.
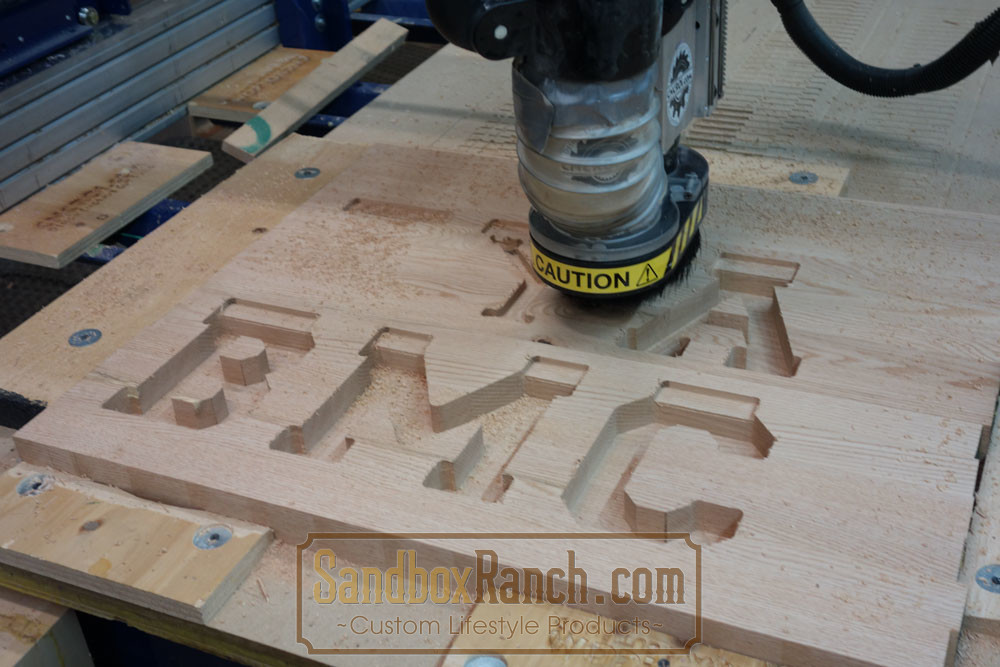
There is quite a bit of wasted material in this first bank production run, I made a mistake and put in the machine the length and width reversed, I had enough room for two more custom letter banks but as you see, there was no room because the orientation was 90 degrees off… don’t worry, I kept that unused area to make other product ideas at SandboxRanch.com.
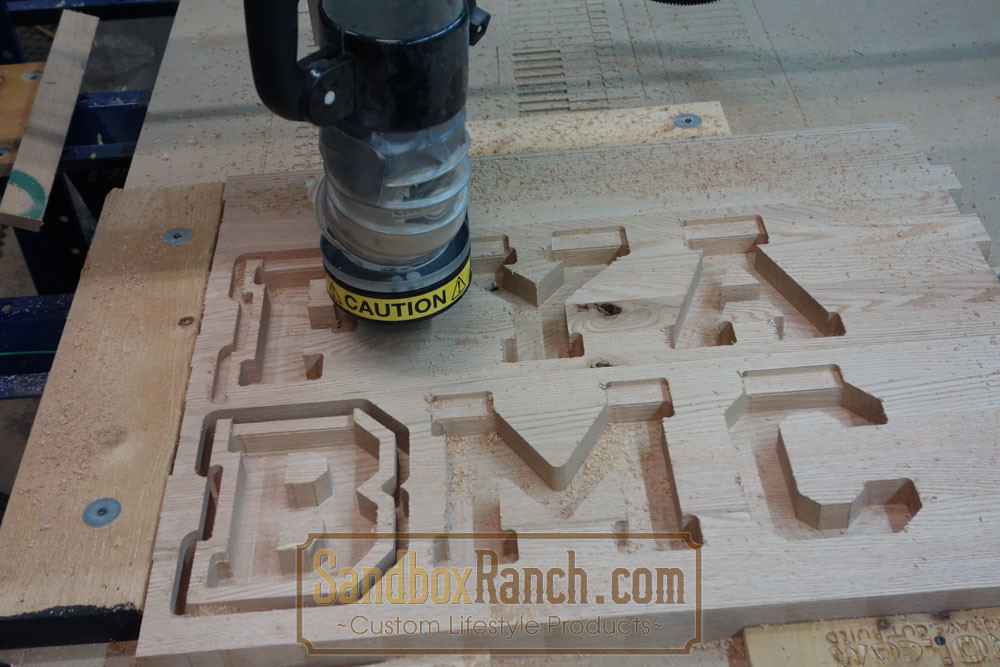
You can now clearly see F, Y and A letter banks coming into being for this first bank production run, the order isn’t alphabetical as I’m trying to optimize placement of the letters to make as many with as little wasted material as possible.
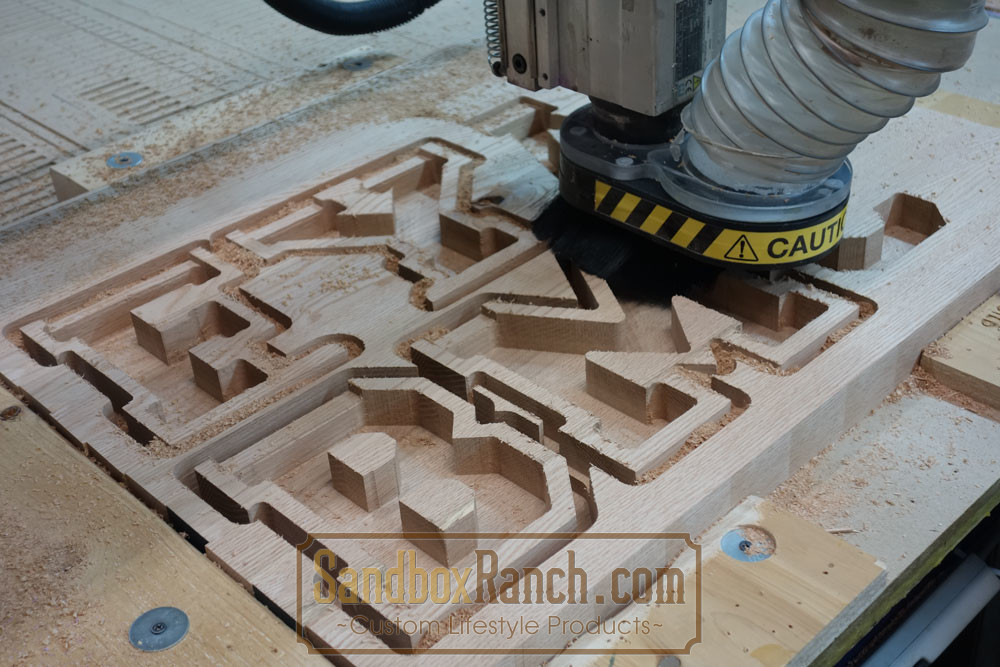
For example, the Y and A letter banks actually can fit closer together due to the opposite sharp angle of these countering one another while the B and the M letter banks have to be straight one next to the other.
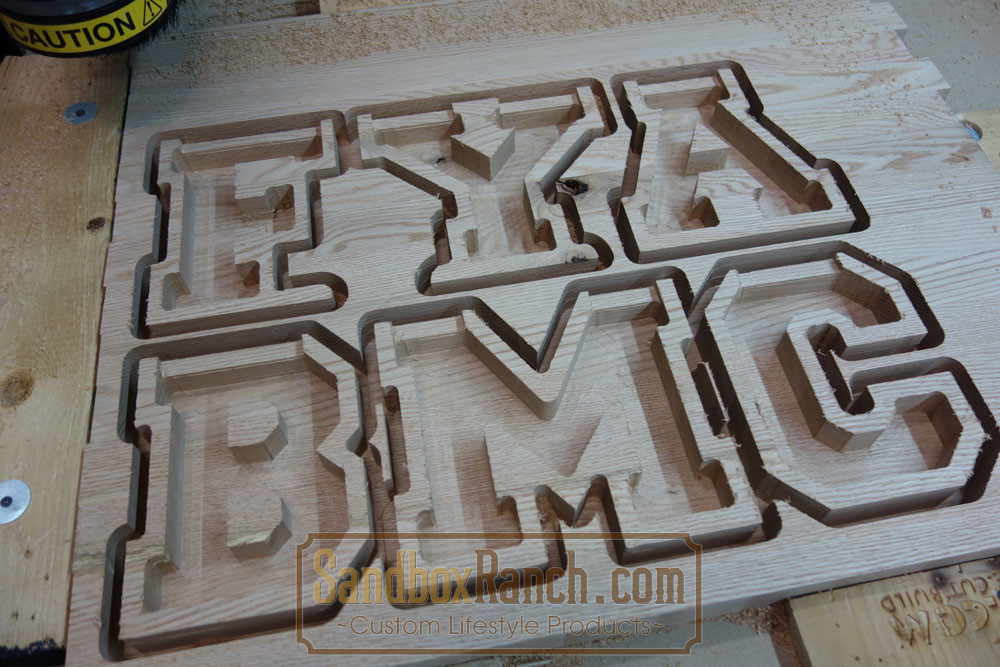
As mentioned earlier for this first bank production run, I use two bits, the first one has done its job, it cleared out as much material as possible for the next bit to clean everything up at SandboxRanch.com.
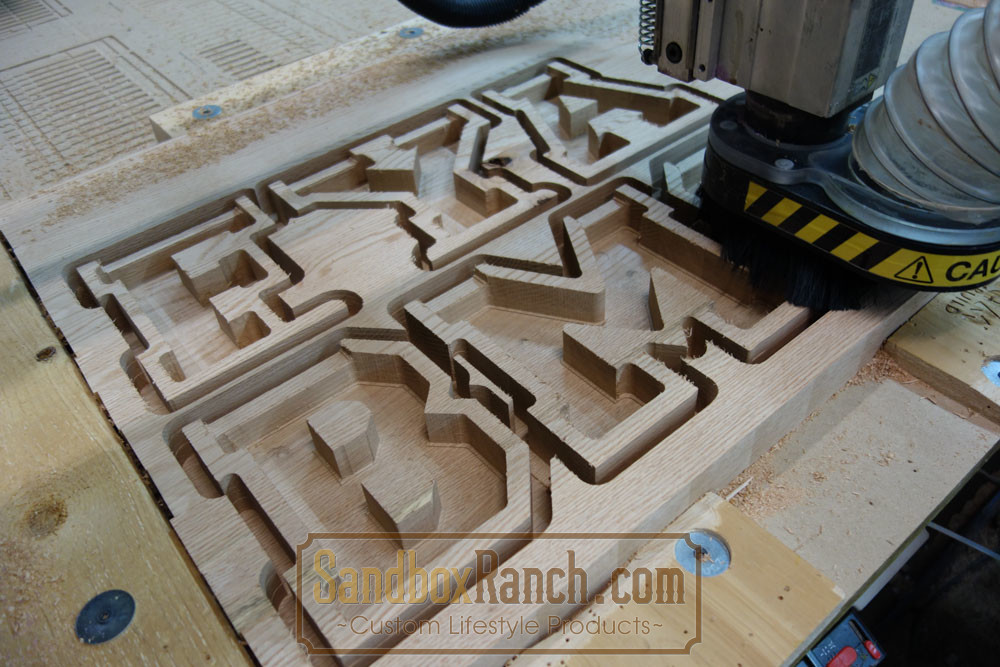
The first bit leaves a very rough finish everywhere, while the second bit produces a far cleaner result, it isn’t sanding it by any means, but getting rid of major gouges and other issues caused by a rougher bit that’s focused purely on removing as much material as possible.
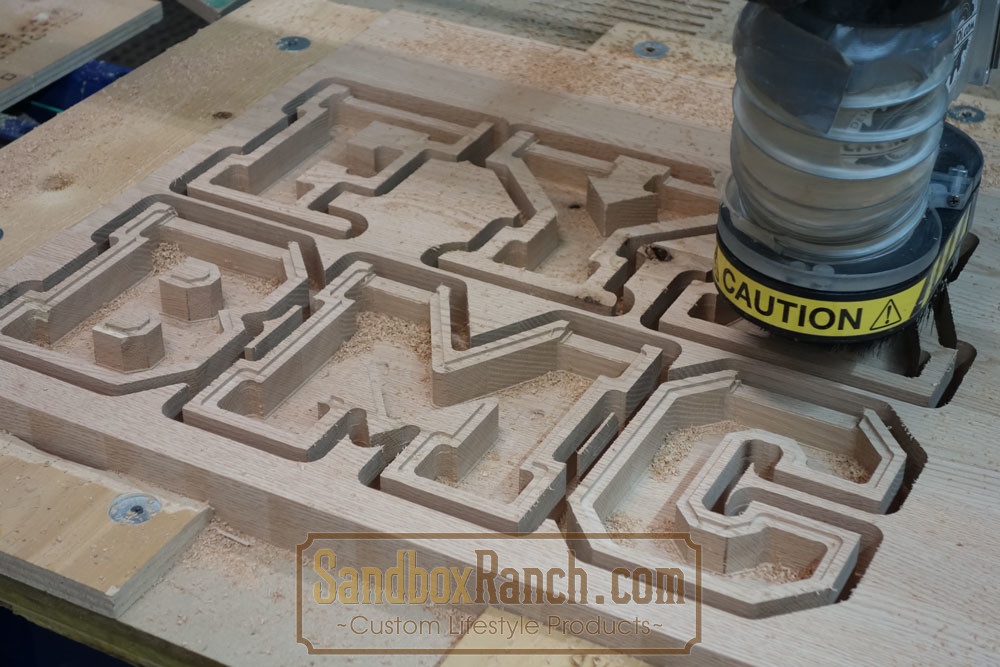
As such, the first operation for making these custom red oak letter banks is the most time-consuming, the other bit is just going along the edges of everything, much quicker, to clean up the bottoms of the banks and the edges throughout… and finally almost cutting it out.
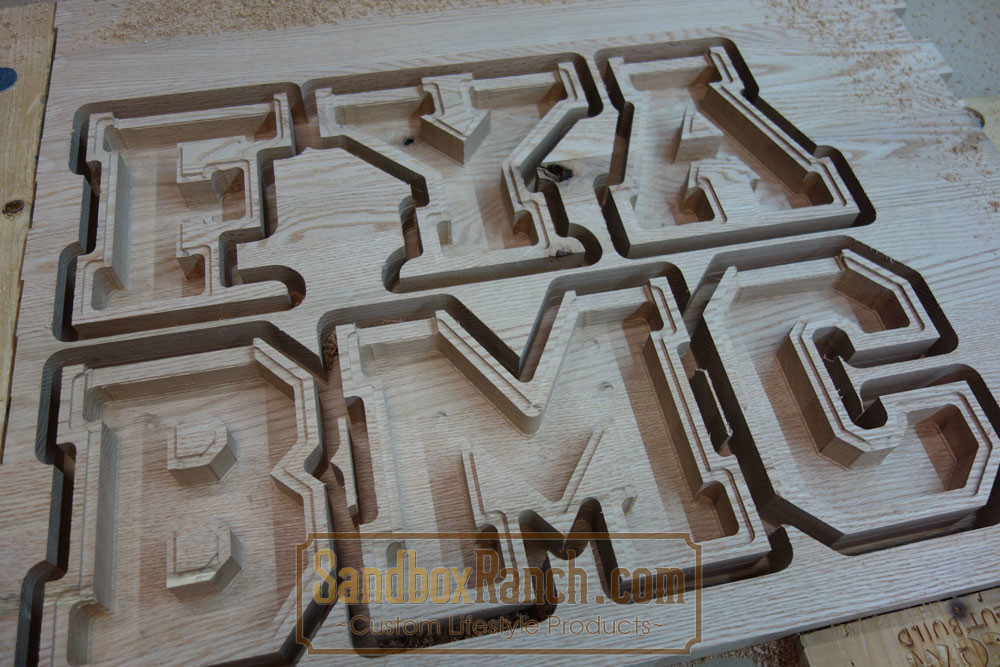
Now that this first bank production run is complete, as far as the CNC router is involved, it’s time to cut them all out, something I don’t do with my CNC router because I don’t want these banks to go flying across the shop, this is a manual process.
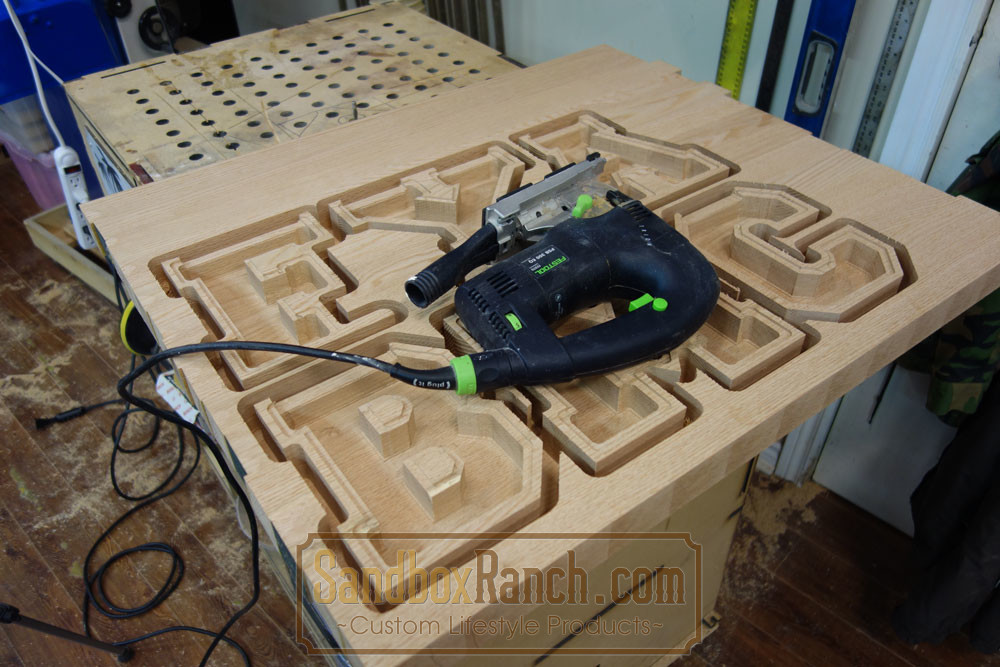
There are several ways to remove the letter banks from the wooden slab, but after lots of trial and error – watch the video below – I’ve come to the conclusion that the jigsaw is the best tool followed by my router table.
Yeah, this whole process of developing these letter banks into viable products has taken a lot of learning to do properly, and there is always room for improvements at SandboxRanch.com.
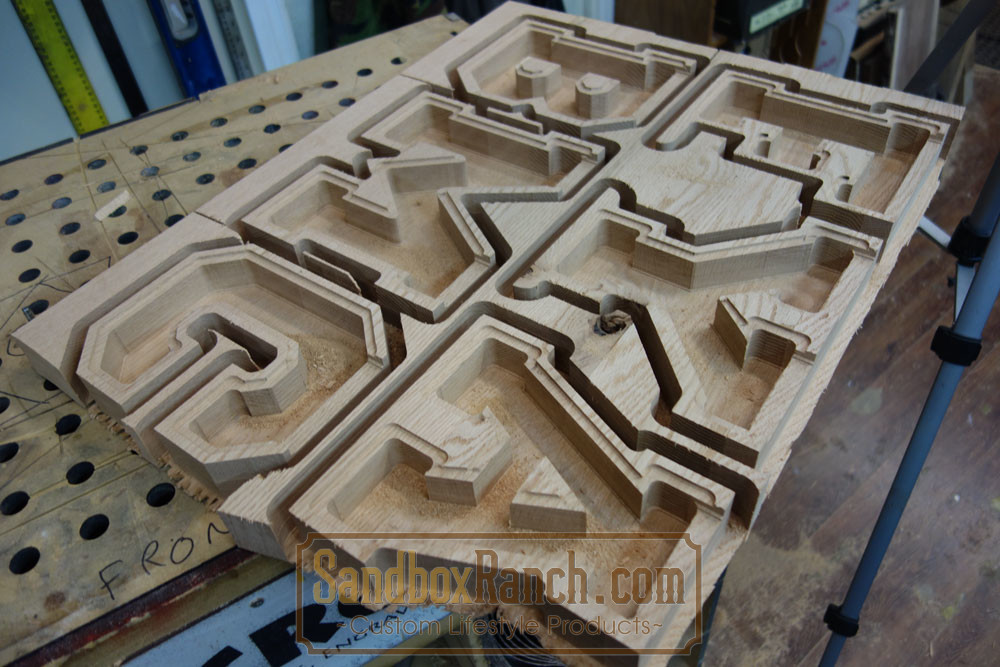
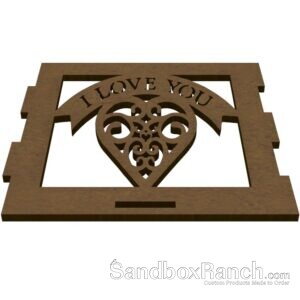
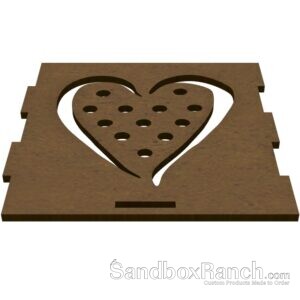
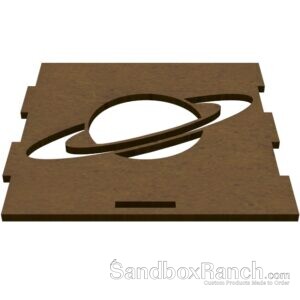
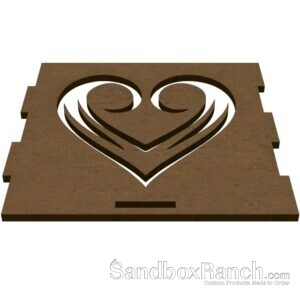
As this was the first bank production run, I needed to test out the front windows as well, as those were never sorted out in earlier runs, each time I make a change to the letter banks, this process must be done again to assure the best form and function for the windows.
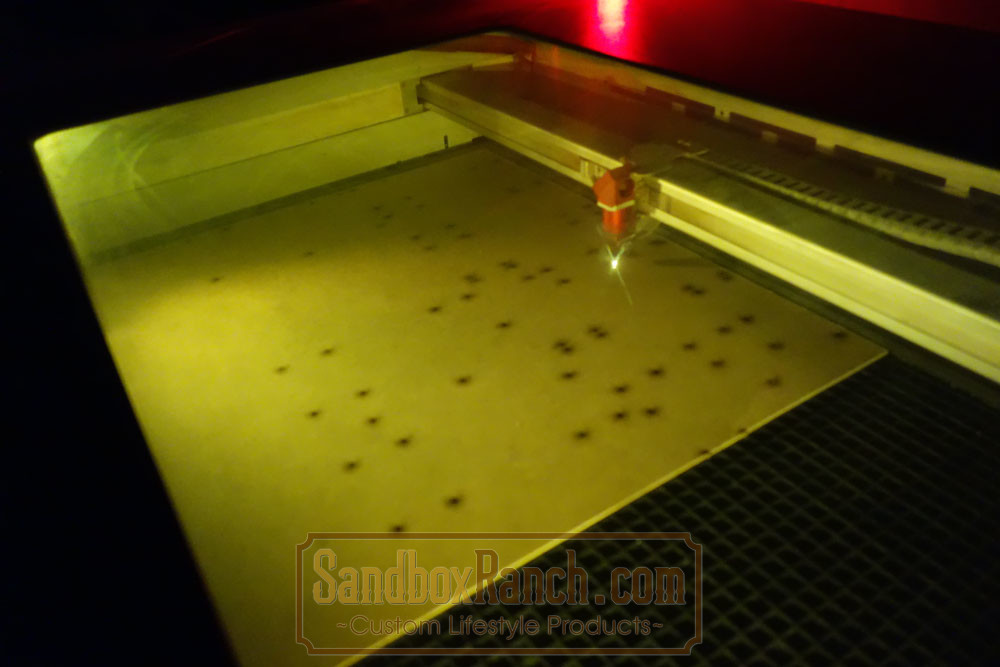
I use MDF because it’s the cheapest material possible to see how the front windows fit and whatever I cut with the laser using this MDF also holes true for the acrylic of the same thickness.
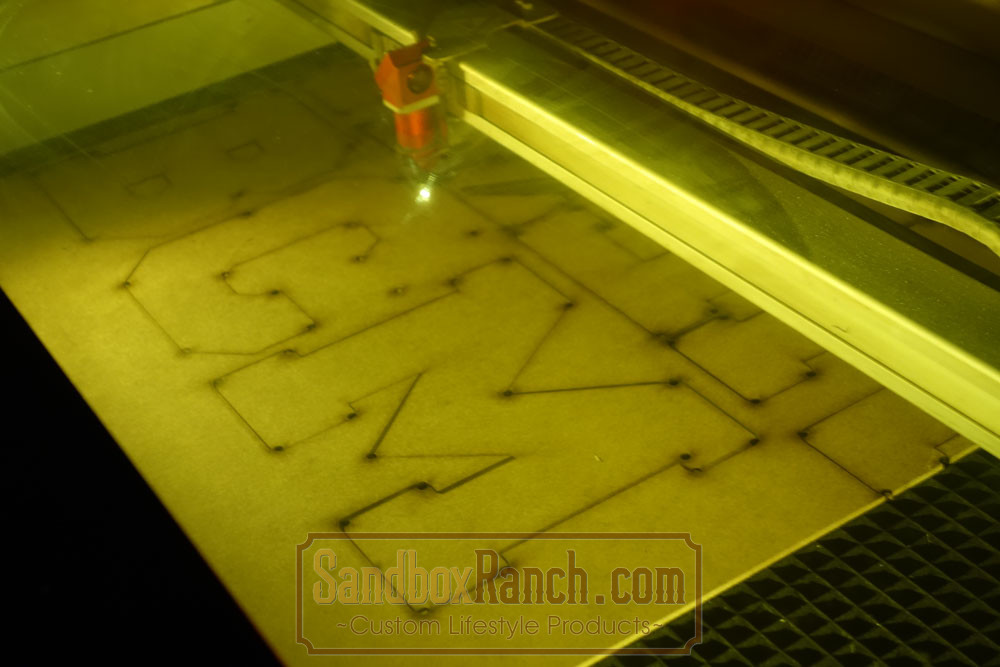
After all the settings are sorted out with the MDF front windows, notice the important addition of the screw holes, this way, no special jigs are required, placement is intuitive for all the hardware involved… this of course, is another thing I’m continually improving up on at SandboxRanch.com.
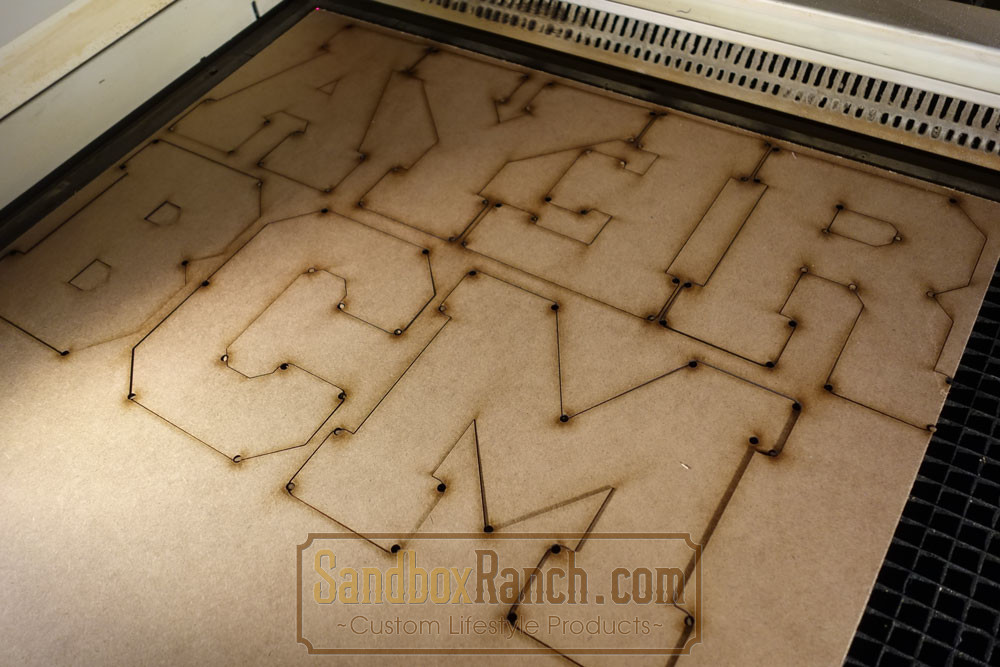
The MDF test fits work perfectly though, as you can see in the image below of the first bank production run.
The acrylic in this photo below may look green but it’s completely transparent, it’s the masking on both sides that is a green color, which comes off, that’s giving you the false color.
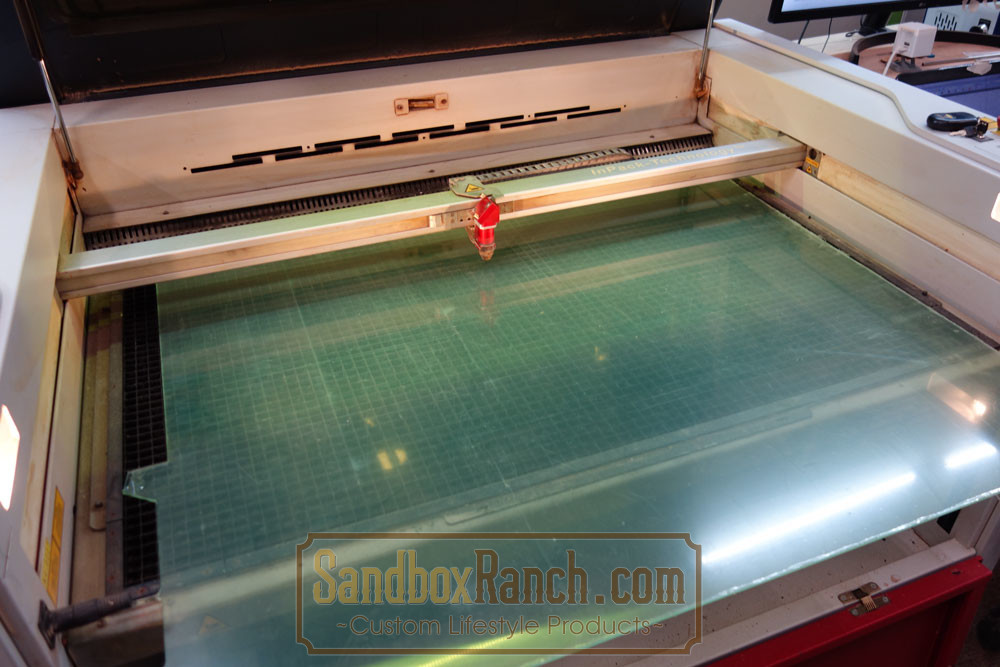
Laser cutting acrylic is like cutting through gas, there is fire and a big flame going underneath that you only see because of the material transparency, this is why it’s important to have a good extraction and compressed air system, otherwise the whole shop would catch fire and burn to the ground.
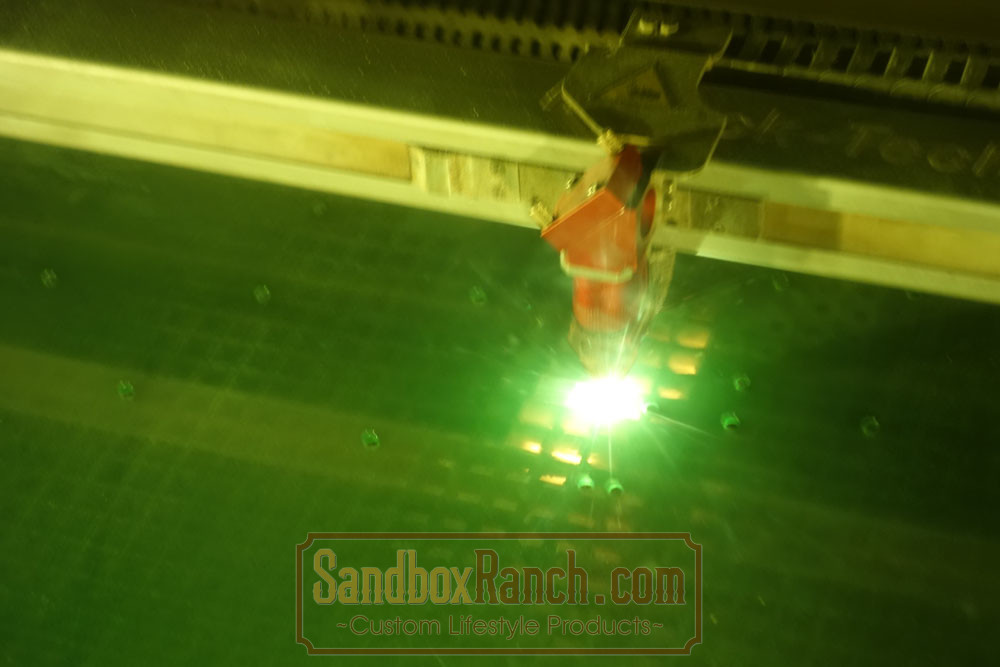
The first step is cutting out all the screws holes and then the outline of all the first bank production run items, this way, everything stays accurate and within spec, probably way overkill for this particular application but no point cutting corners when you have a system and a process that has been working flawlessly for years at CNCROi.com.
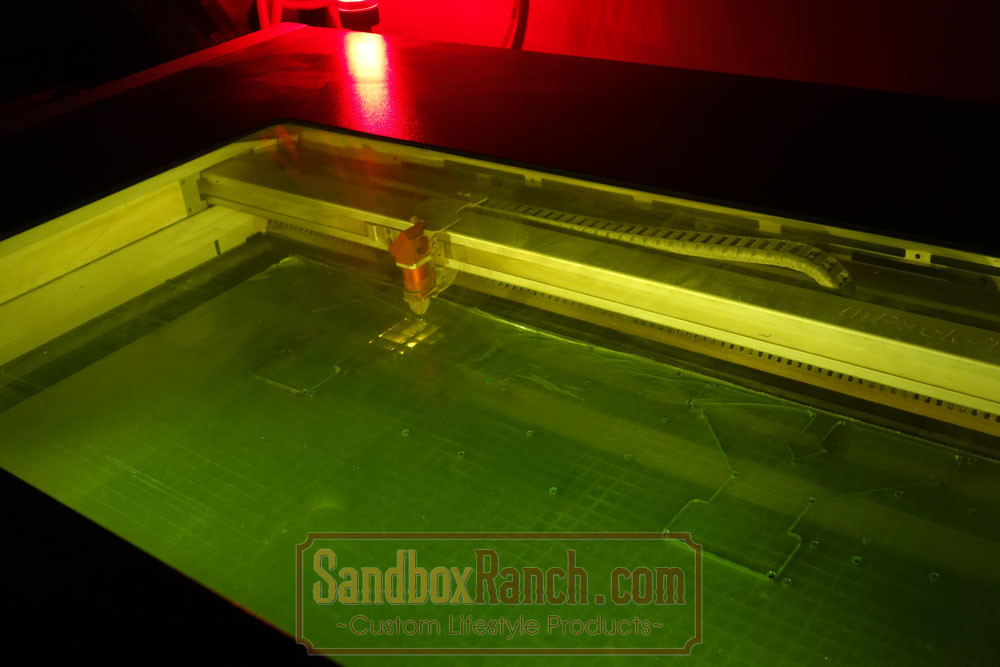
You can see how great the front windows of all these kiln dried red oak banks will appear, the masking might appear rough and some burn marks here and there but don’t worry, all of that comes off with the masking.
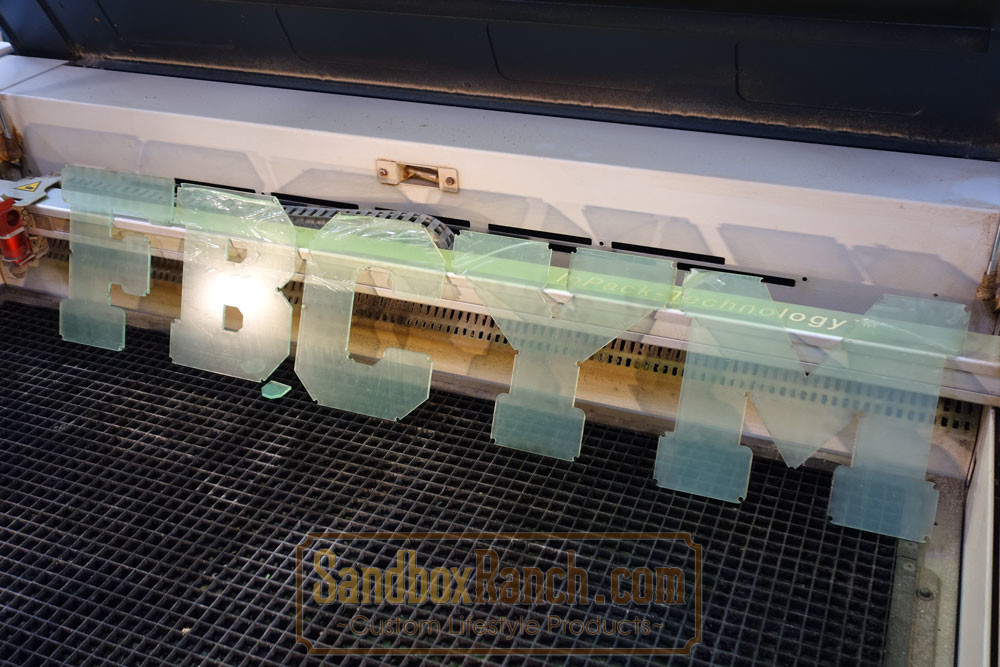
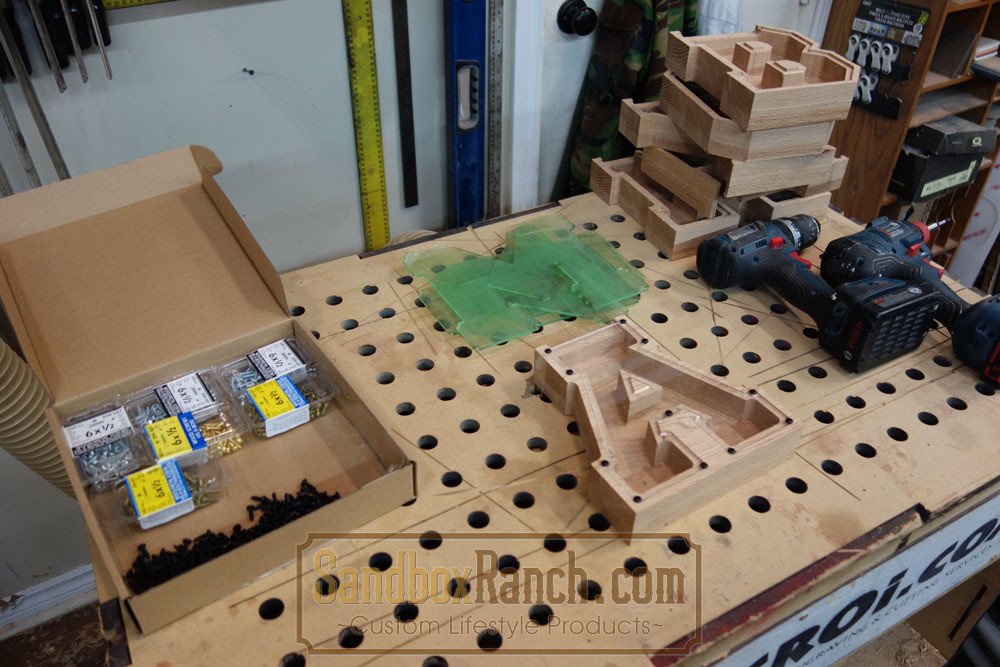
Once all the banks are cut along with the windows, it’s time to assemble the banks at SandboxRanch.com with the different hardware involved, I’ll be doing the staining on this first bank production run down the line, right now, I’m just checking off all my boxes regarding fit, function and quality.
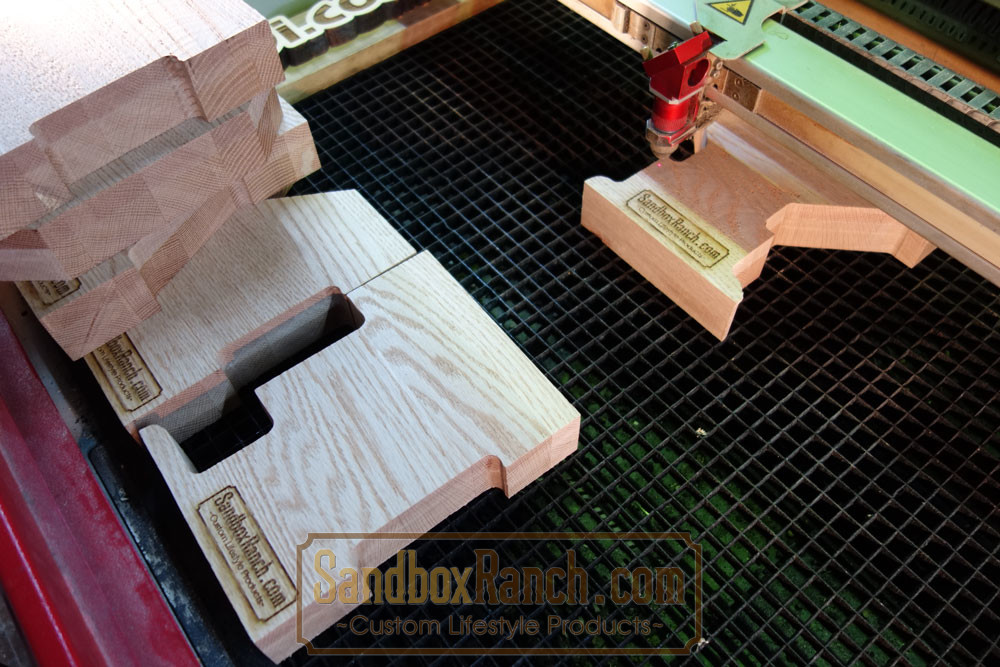
Of course, all the banks head into the laser for one final branding on the back, if you want to order more custom letter banks from SandboxRanch.com, you got to know where they came from!
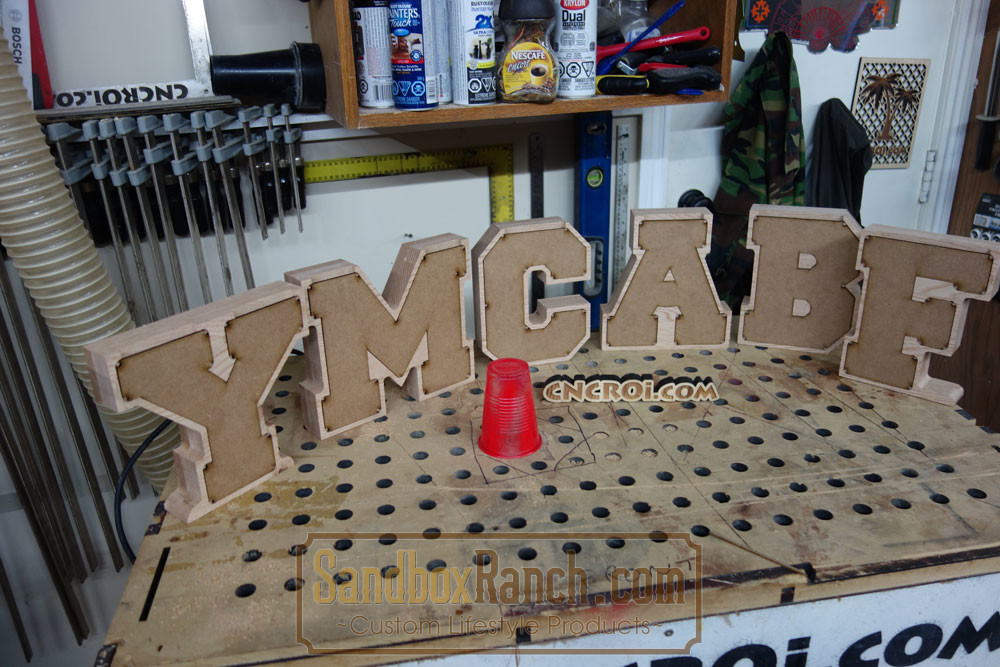
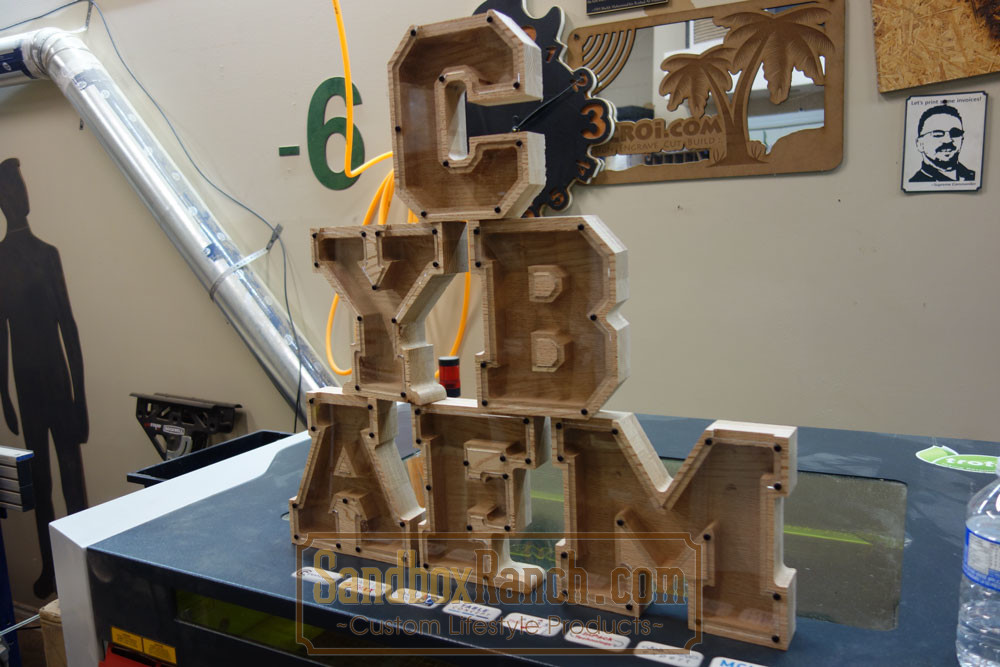
And below is the first bank production run of raw banks, I’ll take another picture once the staining with tung oil is done and the front windows all branded for whom they will be going to, but overall, very excited to finally have products ready for customers at SandboxRanch.com.
Need some custom woodworking or bank, contact us at SandboxRanch.com and/or CNCROi.com right now!

